Simón and the families bring each well to life, from choosing a location to keeping the pump working. These pictures and stories follow their work. Printable illustrated instructions are available for the teams building wells.
Our first trip to Panama was in 2005. Questions at Rotary presentations led to training with Hydromissions and our first well in 2011. Our first hand pump followed in 2013. In 2016, we began coordinating annual trips with Hydromissions, and Simón joined the project.
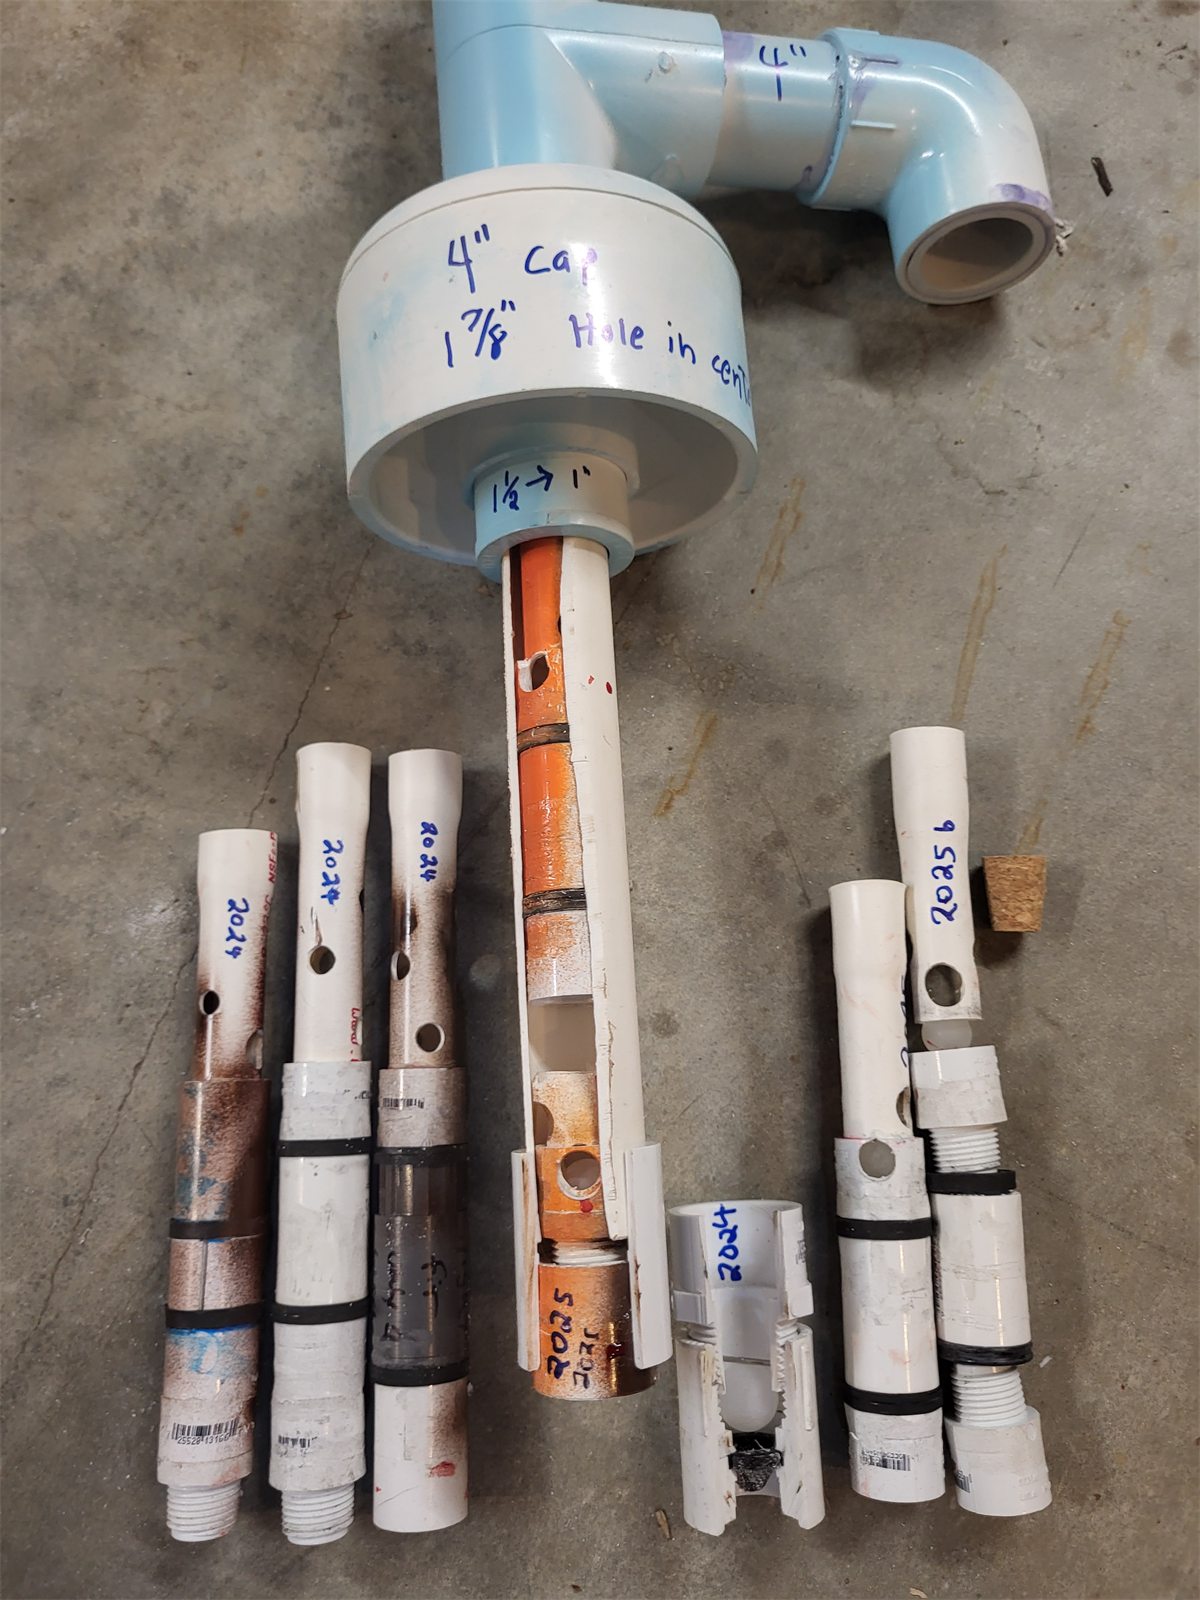
Improving the inner valveDifferent inner-valve designs show the project's ongoing practical experimentation.Archive source1b PumpSpigotAssembly\IterationsOfInnerValveDesigns.jpg
Simón works with community and family members to choose a well site. Nearby families share what they know about year-round water, while he considers the land, contamination risks, and flooding. Two or three strong adults then take turns drilling together with a portable hand auger.
Once the drilling is finished, the family and crew lower a filtered PVC casing into the well. Pea gravel forms an additional filter around the bottom. The family then clears out mud and sand with a bailing bucket, preparing the well for Simón’s return to finish the base and install the pump.
When the family has cleared the sediment, Simón returns for the permanent seal and concrete base. The seal fills the narrow space outside the casing, and a reinforced 4-inch pad supports the wellhead. The coupler remains accessible above the concrete so a damaged riser can be replaced later.
Once the well is ready, Simón helps the family fit the pump. Two pipes, one inside the other, bring water up to the spigot as the handle moves. Their lengths are fitted to each well so the inner valve has room to travel without striking the fixed valve below it.
A ball, a pin, and two PVC fittings make a valve we can build in batches and send to Panama. The same ½-inch design works in both parts of the hand pump and in the bailing bucket. Here is how we make it and where it fits.