From the field

Images & videos

Meet the people whose knowledge, effort and encouragement keep these projects going.

Videos

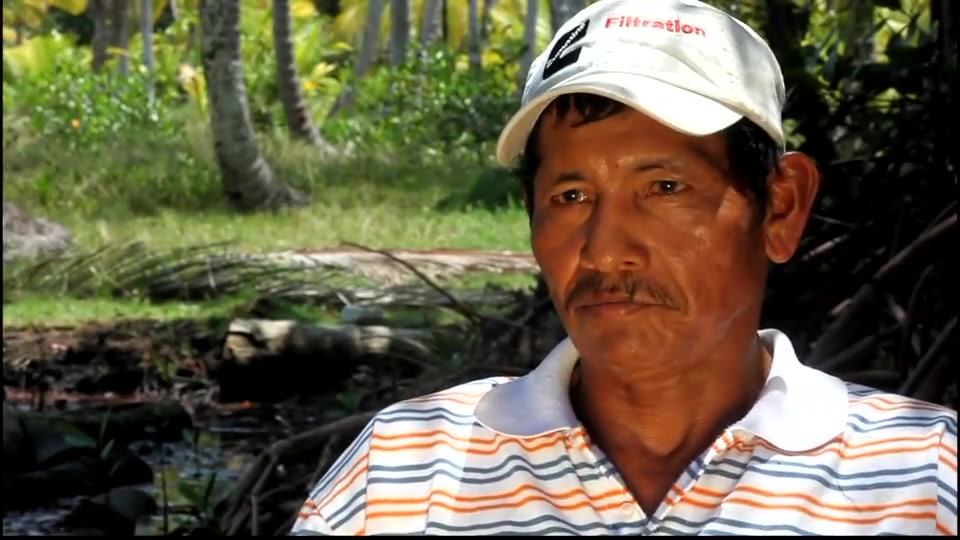
Why water access matters

A field recording about the need for water in the communities served.

About this recording

Original field recording. Titles and written summaries are available in both languages.

Audio is presented in the language originally recorded.
How Rotary became involved in Bocas

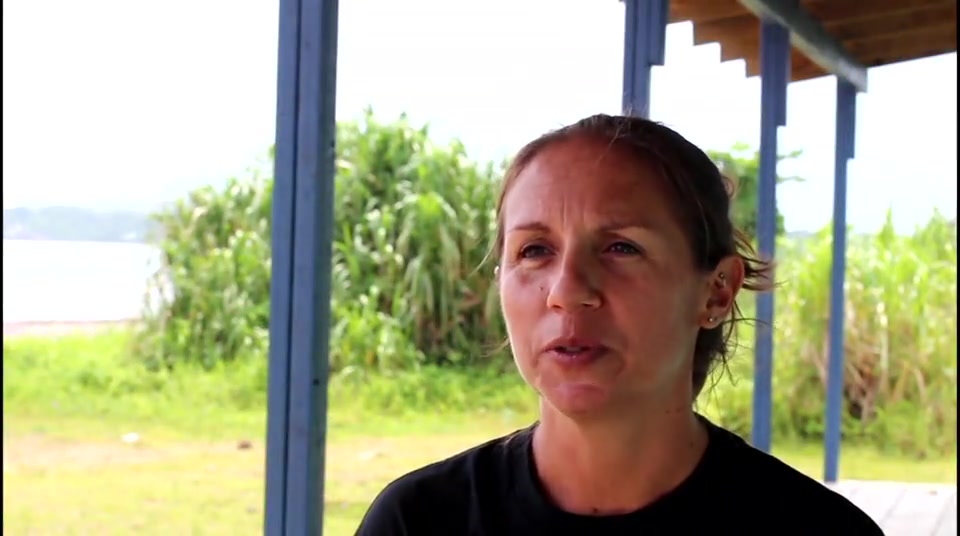
An archive interview about Rotary's beginnings in Bocas del Toro.

About this recording

Original field recording. Titles and written summaries are available in both languages.

Audio is presented in the language originally recorded.
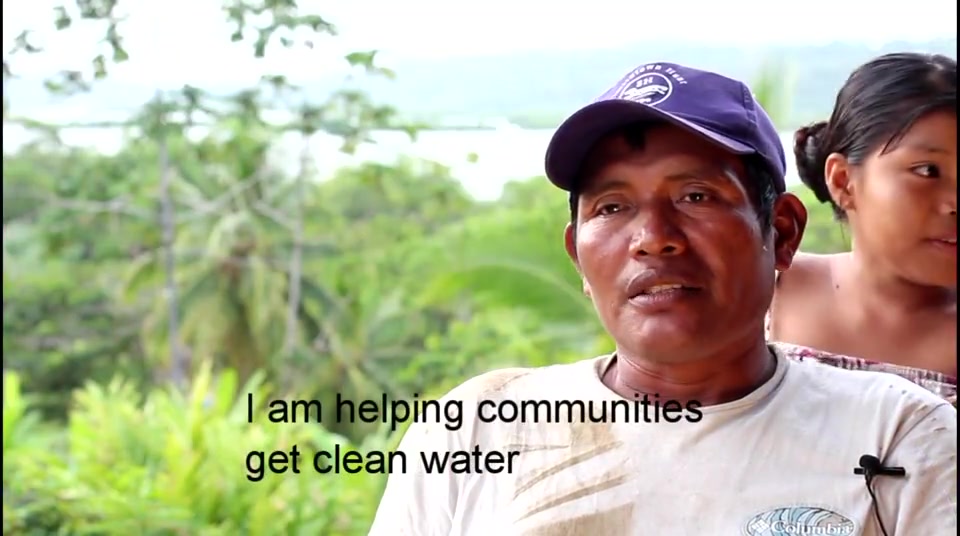
Simón's motivation to serve

Simón speaks about serving his community through water projects.

About this recording

Original field recording. Titles and written summaries are available in both languages.

Audio is presented in the language originally recorded.
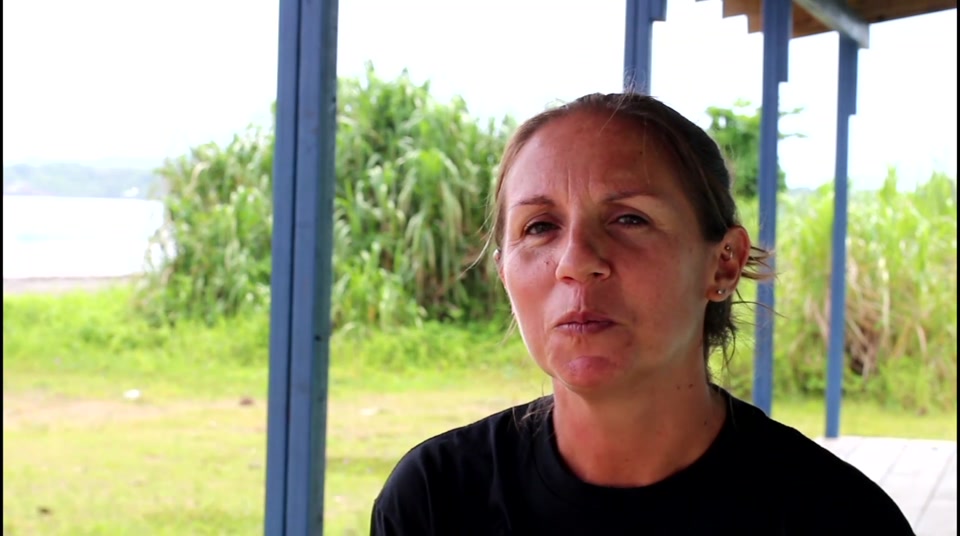
Why volunteer in Bocas?

Emily discusses volunteering in Bocas.

About this recording

Original field recording. Titles and written summaries are available in both languages.

Audio is presented in the language originally recorded.
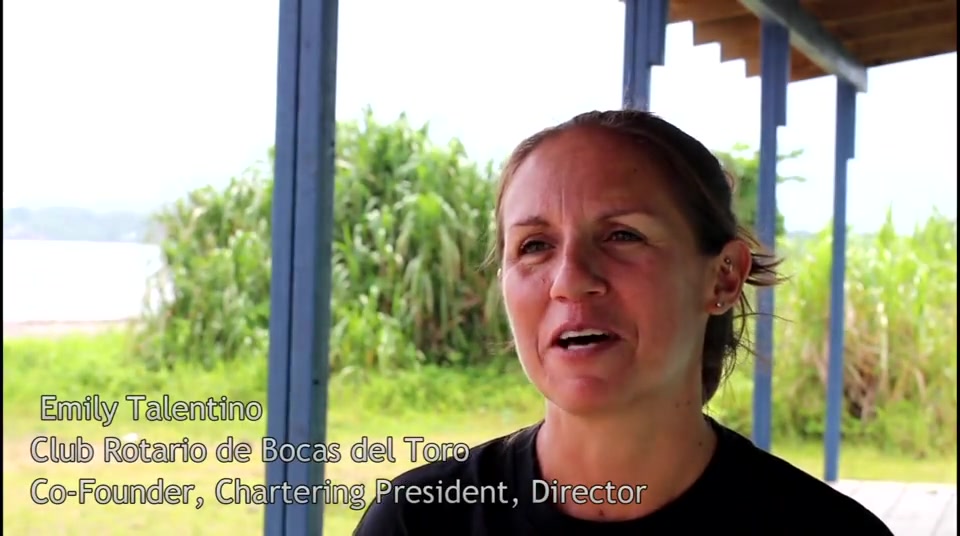
Partnerships and local needs

Emily and Alejandro discuss Rotary and the needs in Bocas.

About this recording

Original field recording. Titles and written summaries are available in both languages.

Audio is presented in the language originally recorded.

Felix shares his thanks

A field message of thanks from Felix.

About this recording

Original field recording. Titles and written summaries are available in both languages.

Audio is presented in the language originally recorded.
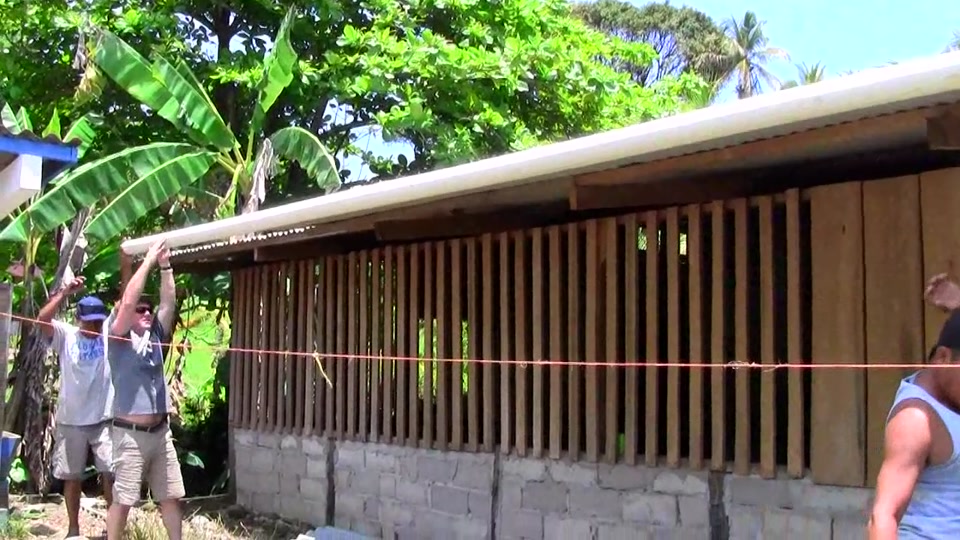
Installing catchment gutters

Gutter installation for a rainwater catchment system.

About this recording

Original field recording. Titles and written summaries are available in both languages.

Audio is presented in the language originally recorded.
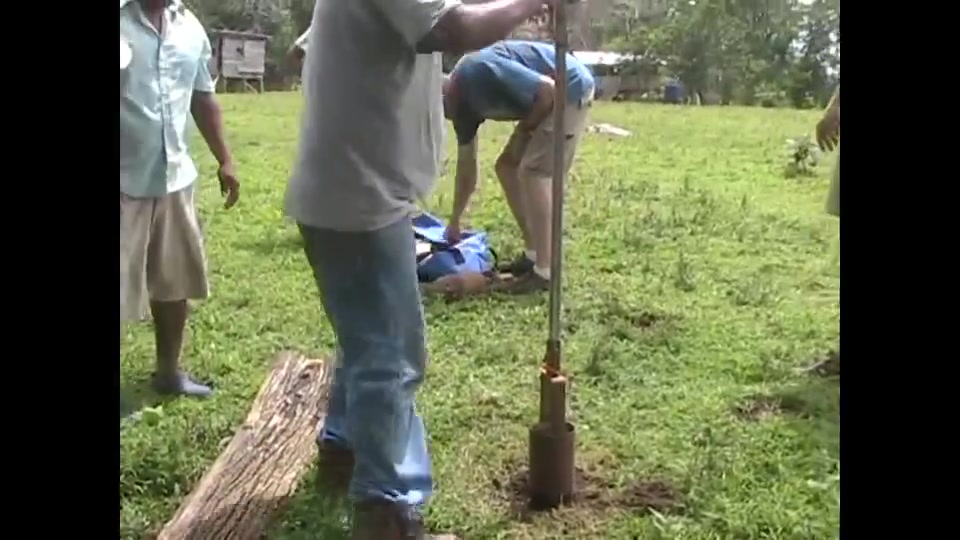
The hand auger at work

A short field recording of the hand auger drilling a well.

About this recording

Original field recording. Titles and written summaries are available in both languages.

Audio is presented in the language originally recorded.
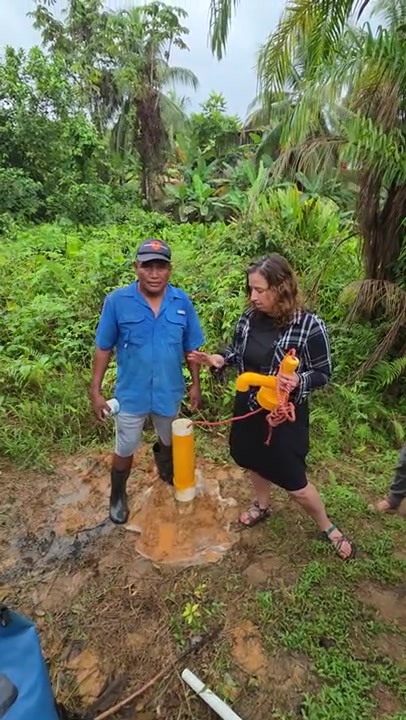
Caitlin explains the well process

A selected field explanation from the well-process recording.

About this recording

Original field recording. Titles and written summaries are available in both languages.

Audio is presented in the language originally recorded.
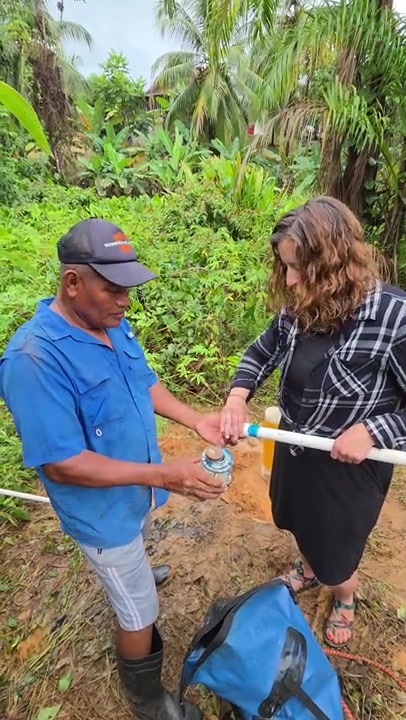
Installing the pump

Field footage of the pump installation process.

About this recording

Original field recording. Titles and written summaries are available in both languages.

Audio is presented in the language originally recorded.
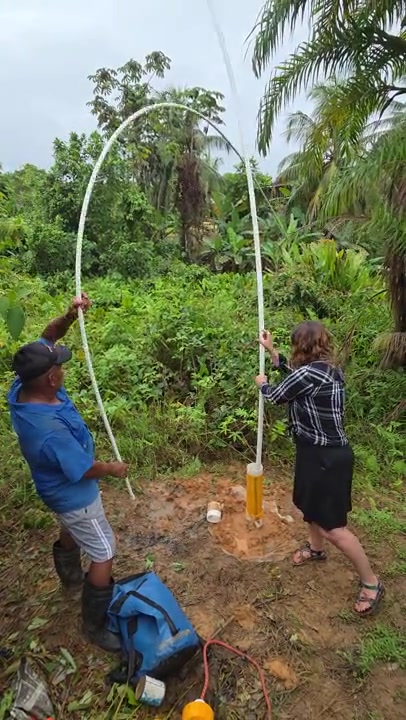
Lowering the pipe and foot valve

A short clip of the 1-inch pipe and foot valve being lowered into the well.

About this recording

Original field recording. Titles and written summaries are available in both languages.

Audio is presented in the language originally recorded.
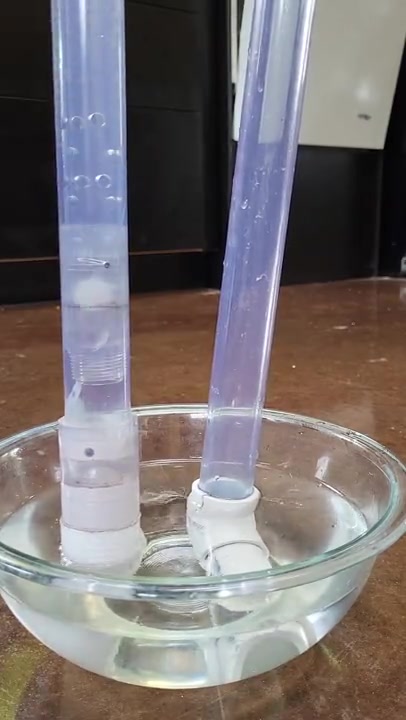
The universal valve at work

A demonstration of water flowing through the universal valve.

About this recording

Original field recording. Titles and written summaries are available in both languages.

Audio is presented in the language originally recorded.
Photographs

Open the photograph to see the detail.

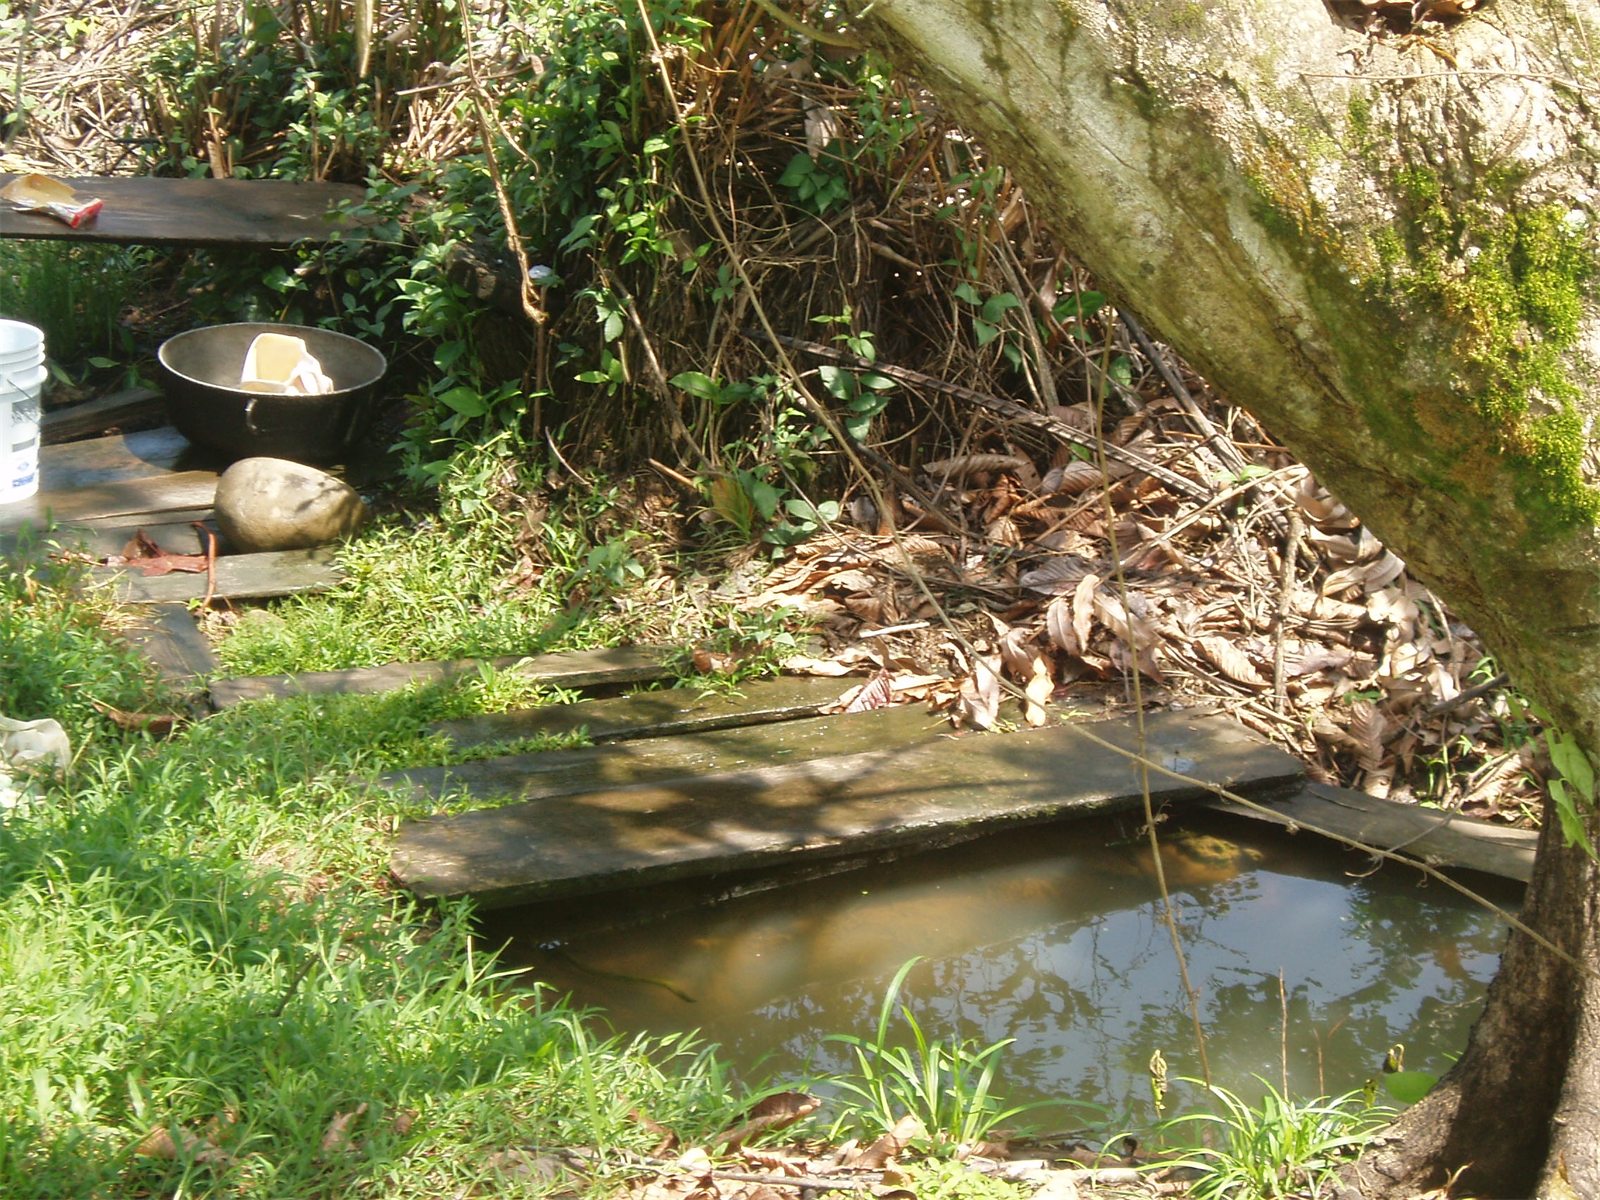
Shallow open water source beside boards and vegetation
An open water sourceAn uncovered water source in the community.
Archive sourcePeople\Kids Drinking from dirty water\0_Poso.JPG
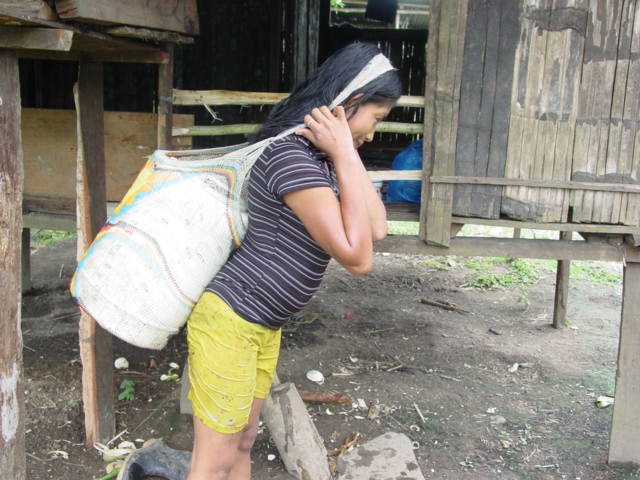
A community scene showing water being carried
The daily task of collecting waterCarrying water is part of daily life for many families.
Archive sourcePeople\Kids Drinking from dirty water\carrying water.JPG
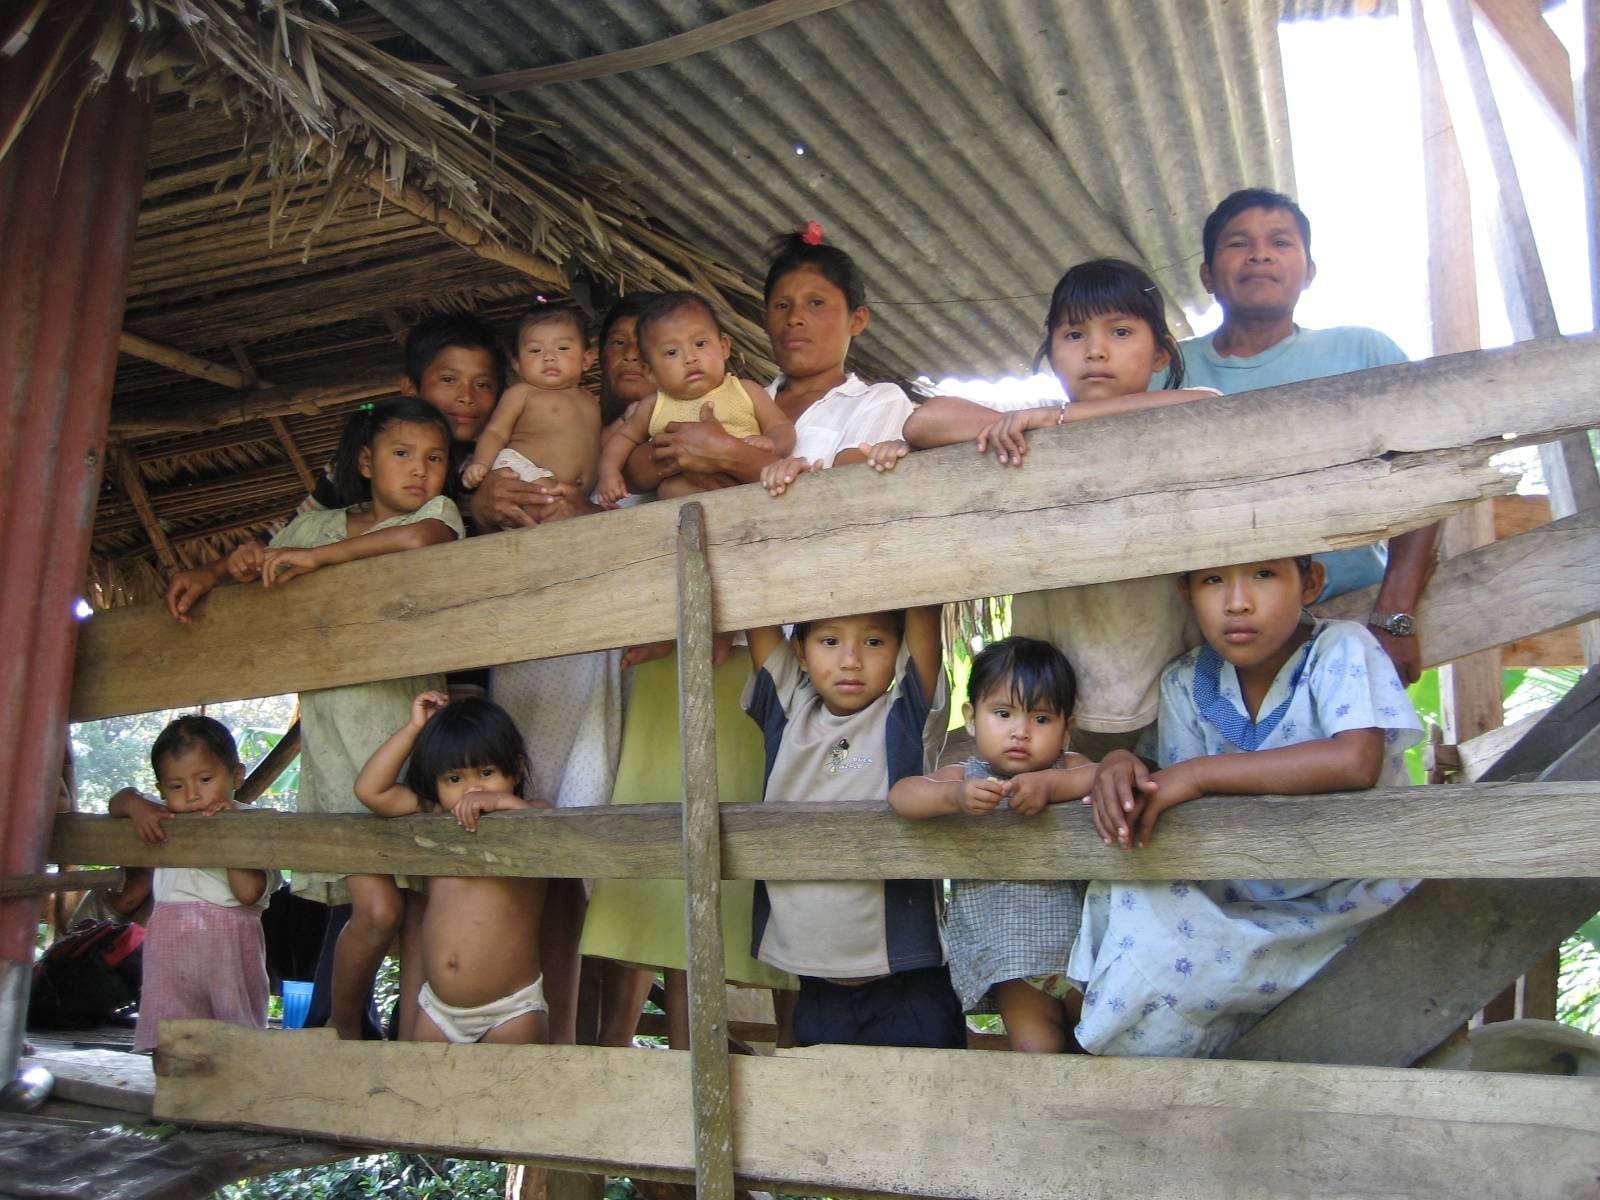
Family members together in their community
Families at the centerA family at the center of the well-building work.
Archive sourcePeople\Needy Kids\0_LargeFamily.jpg
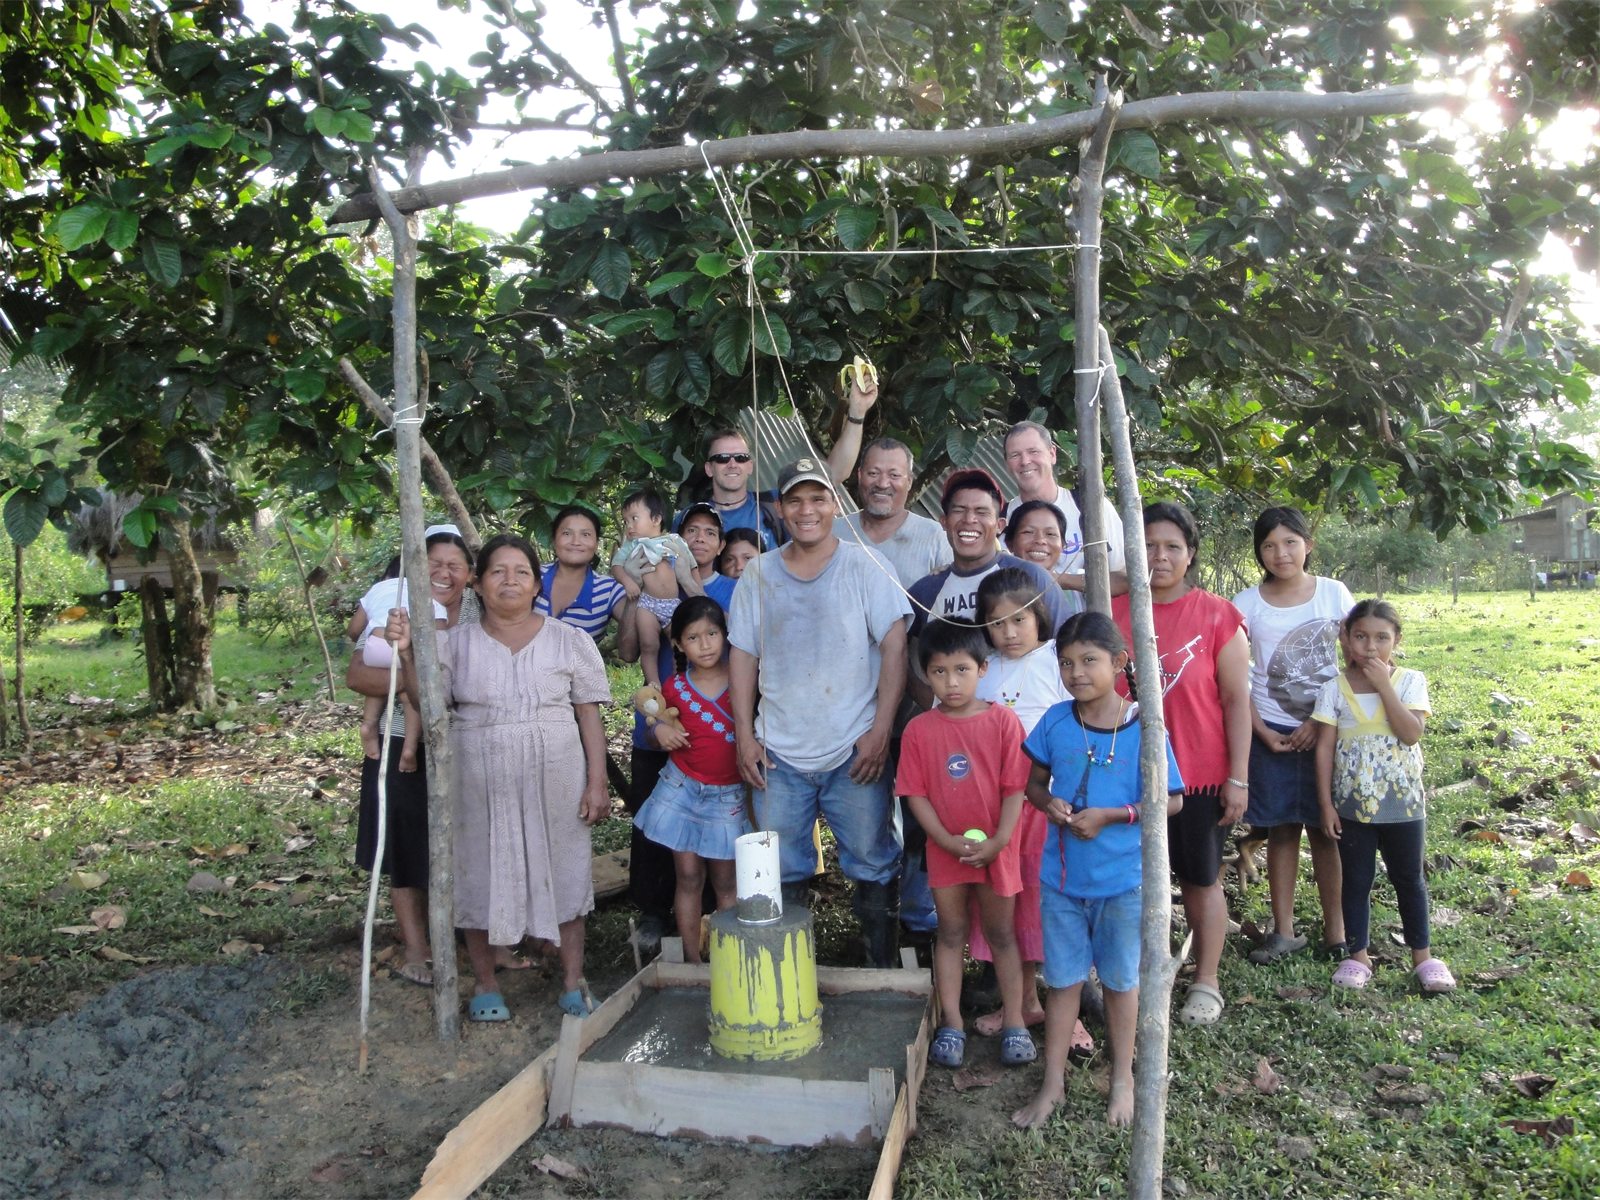
An early well project documented in April 2011
The first well, April 2011Our first well, April 2011.
Archive source2b CasingTheWell\FirstWellDugApril2011.JPG
Simón beside an earlier hand-pump design
Learning from earlier designsSimón with an earlier pump design, part of the project's continuing development.
Archive source2b CasingTheWell\simon with a legacy pump design.JPEG
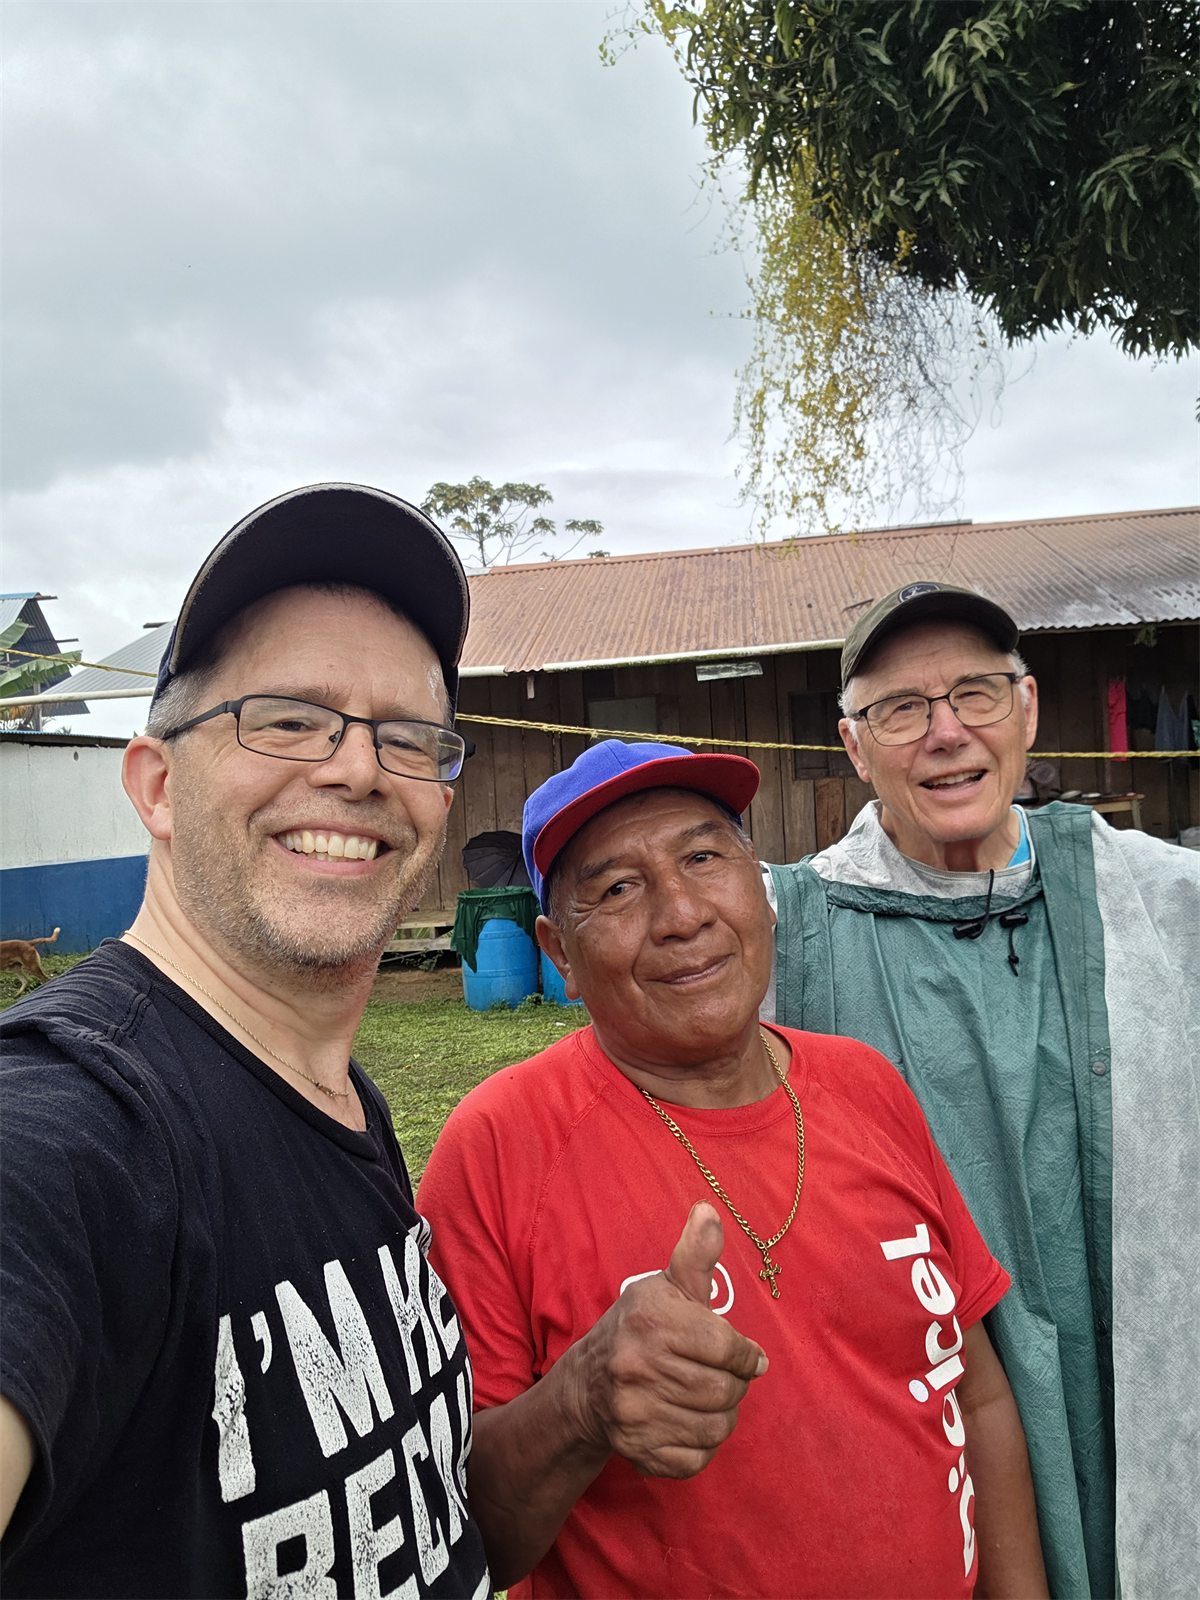
Aleph and Ron with a community leader
Relationships built over timeAleph and Ron with a community leader.
Archive sourcePeople\Friendships developed within the community over the years\aleph and Ron with community leader.jpg
Aleph with community friends in Bahía Grande
Friends in Bahía GrandeAleph with Juan and Serhio in the community.
Archive sourcePeople\Friendships developed within the community over the years\aleph with Juan and serhio from the Bahia Grande community.JPG
Aleph with a local schoolteacher
Connections beyond the wellSpending time with a local schoolteacher.
Archive sourcePeople\Friendships developed within the community over the years\Aleph with local school teacher.JPG
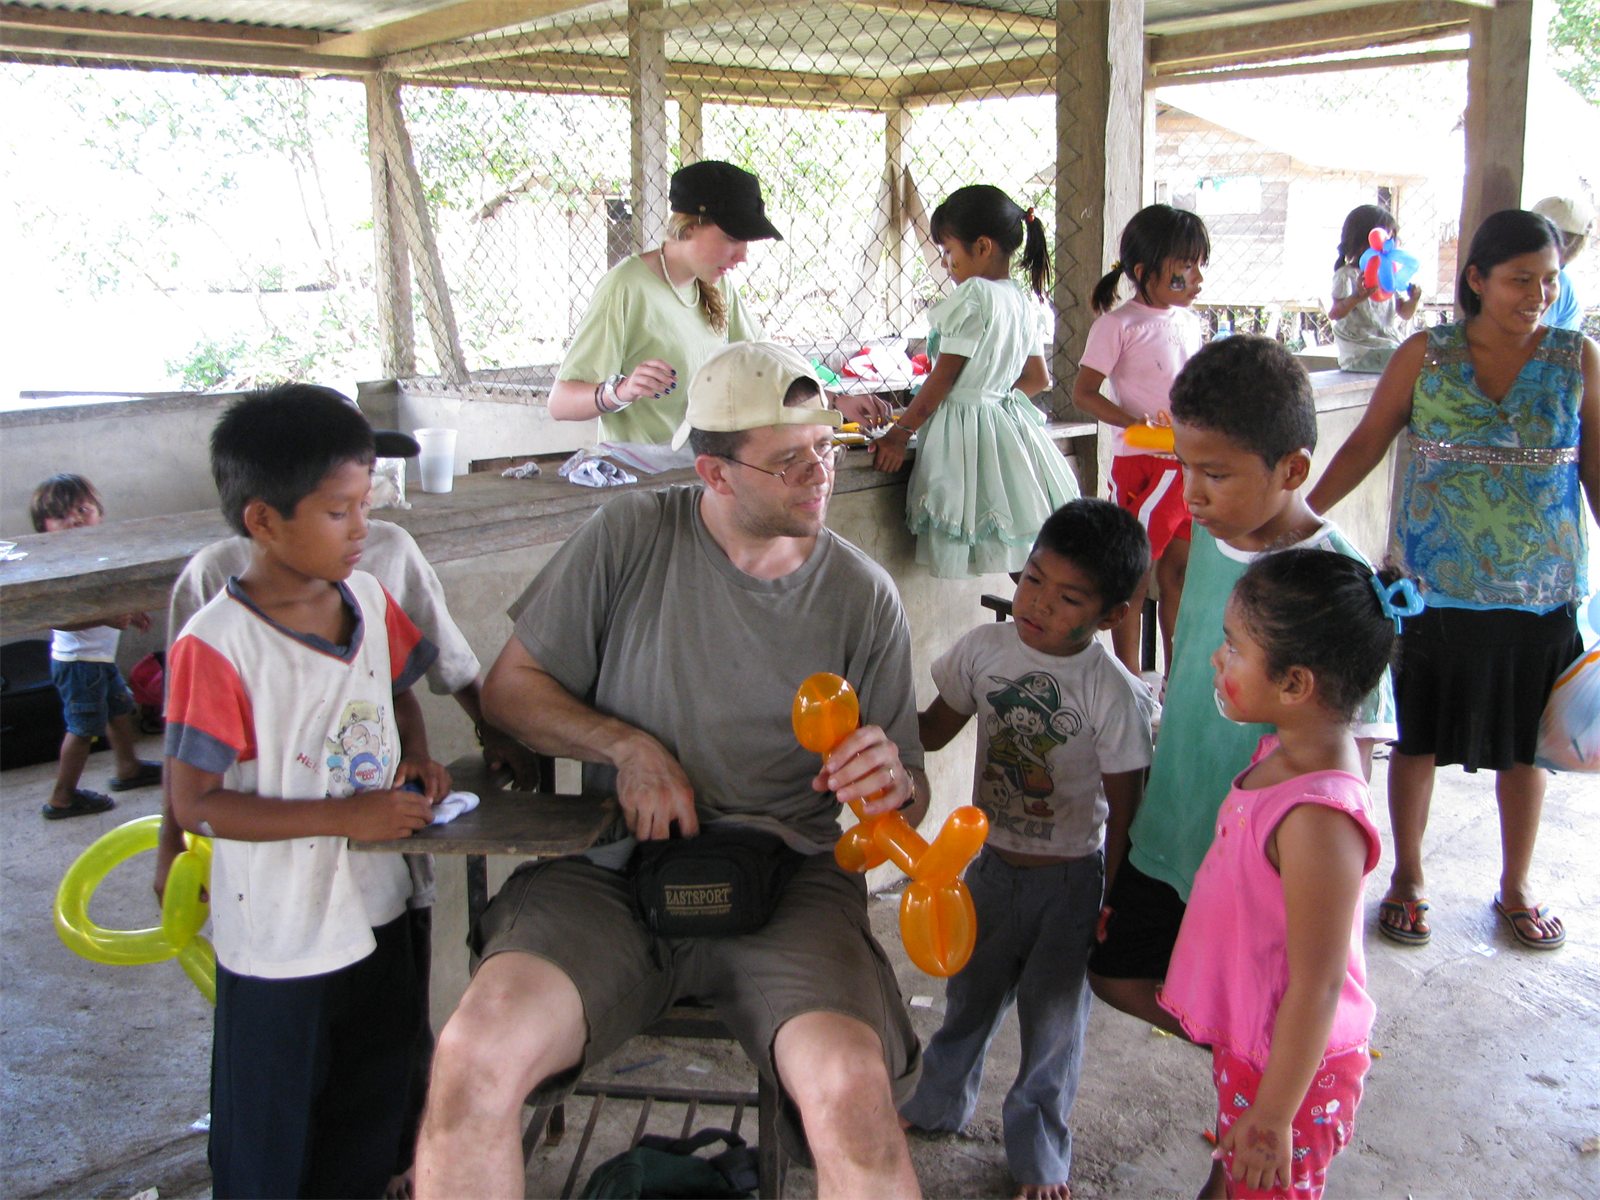
Aleph making balloon animals with children
Time to connectAlongside the work, volunteers share activities with children and families.
Archive sourcePeople\Fun with kids\Aleph making balloon animals.JPG
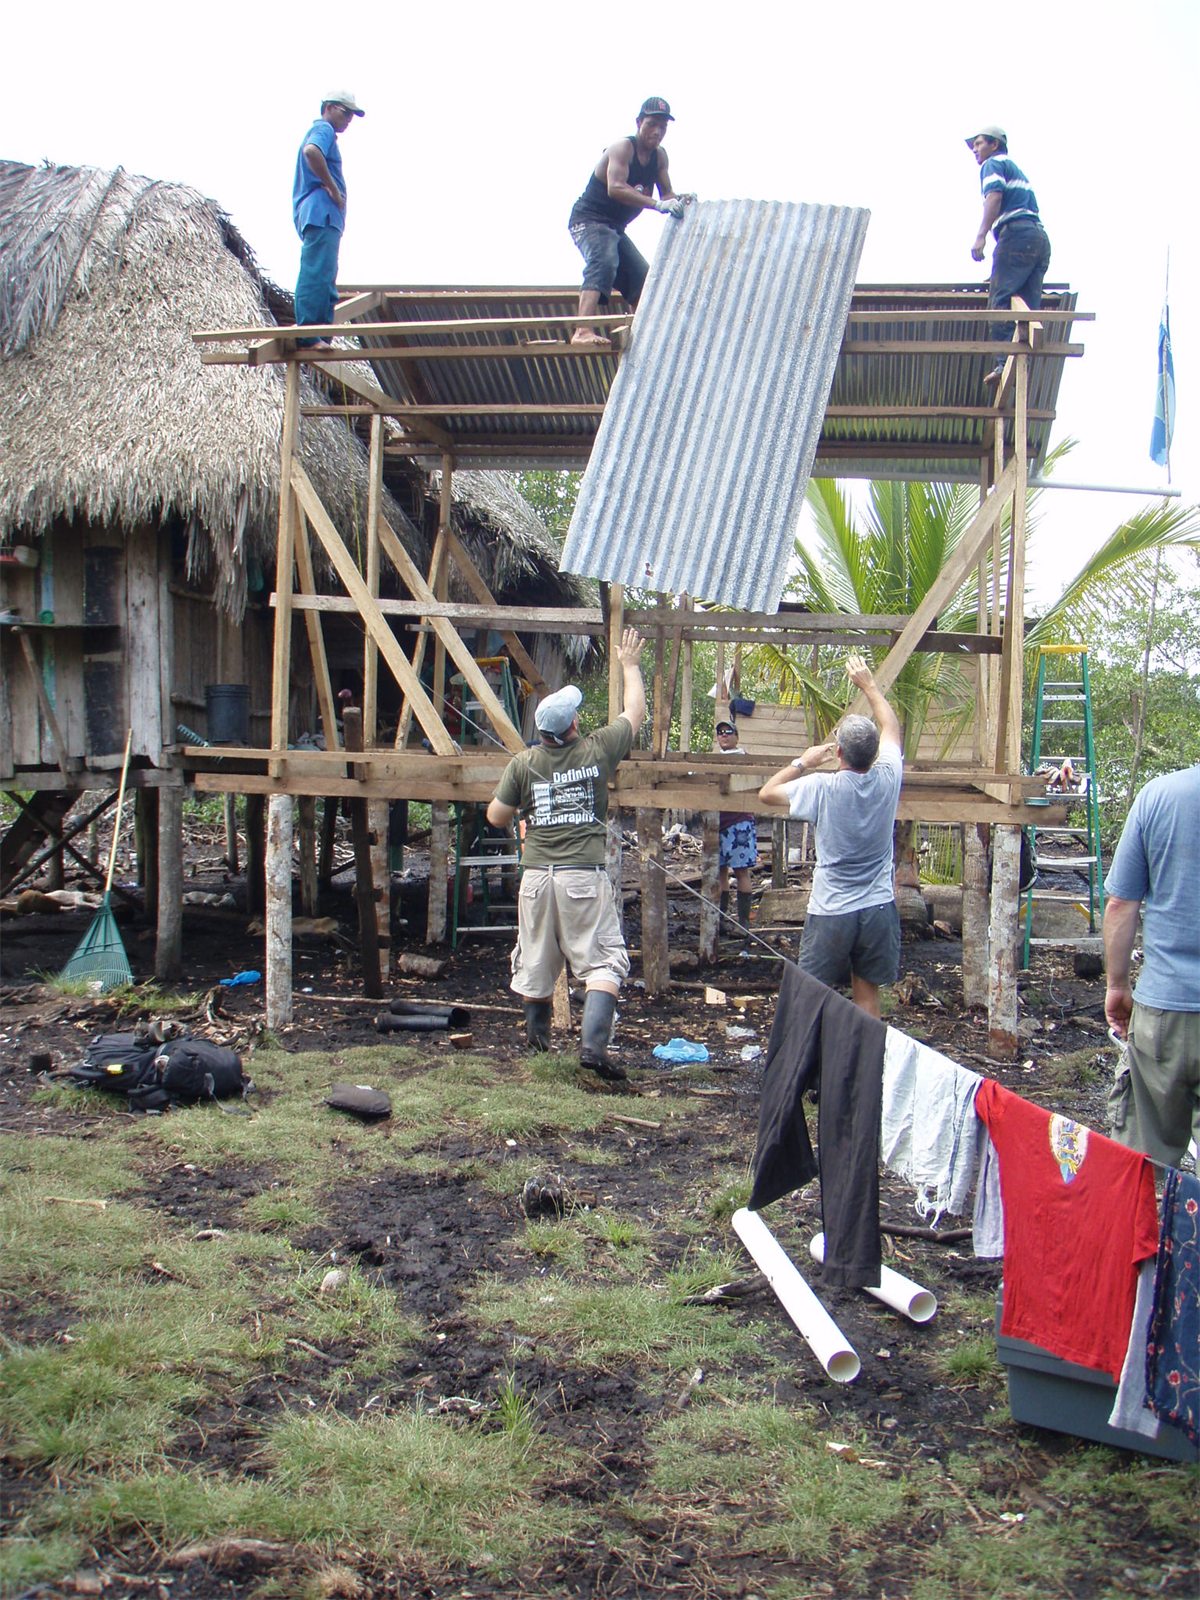
Roof installation for rainwater collection
A roof becomes part of the systemPreparing roofing for a rainwater catchment installation.
Archive source0 Water Catchment\0_InstallingZincRoof.jpg
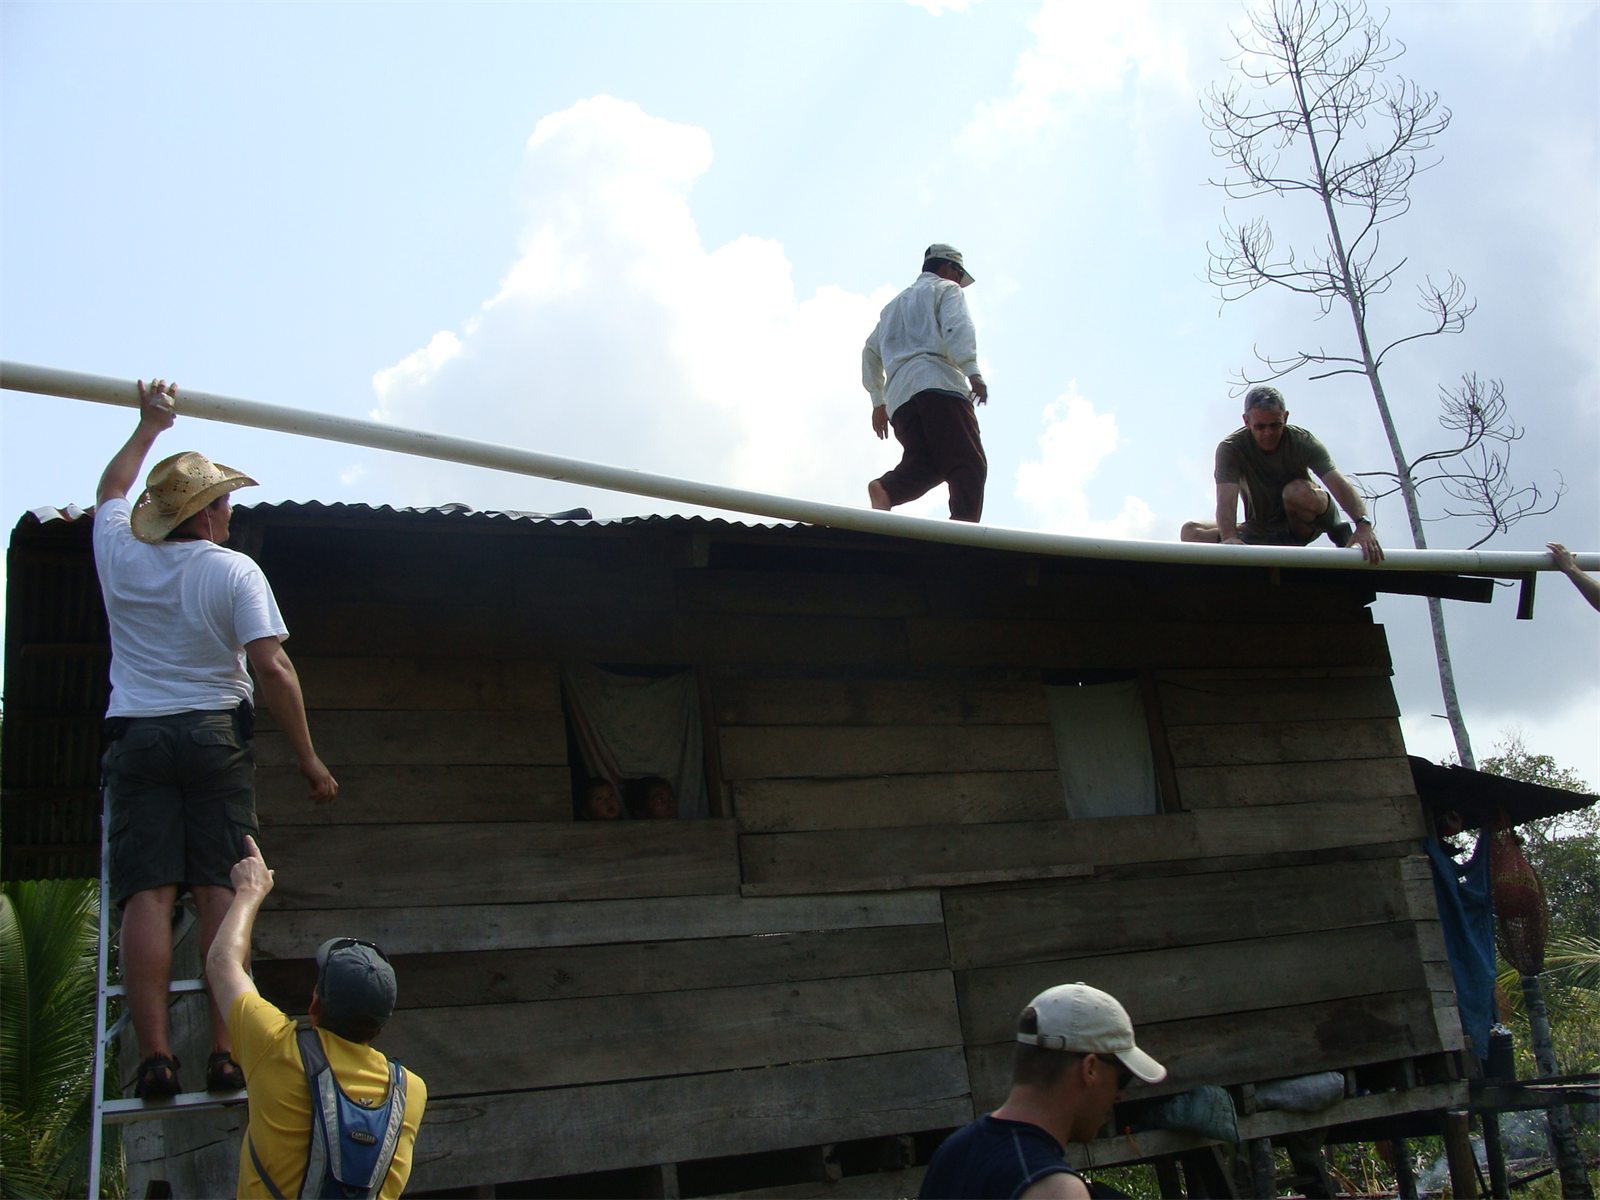
Installing a gutter on a roof
Guiding rain toward storageGutters carry roof runoff toward a storage tank.
Archive source0 Water Catchment\on roof installing gutter for catchment system.JPG
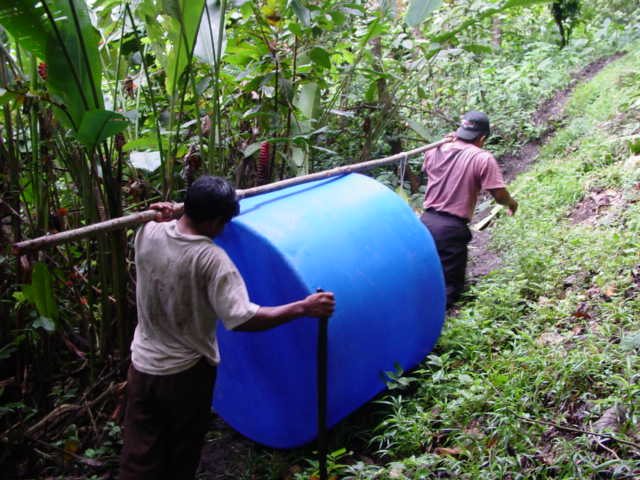
Team members carrying a water tank
Getting materials to the siteTransporting a water tank is part of the work before installation.
Archive source0 Water Catchment\Hauling tank up the narrow and steep mountian trail.JPG
Team members positioning a water tank
Placing the tankA tank is positioned for a rainwater catchment system.
Archive source0 Water Catchment\0_PlacingTank.JPG
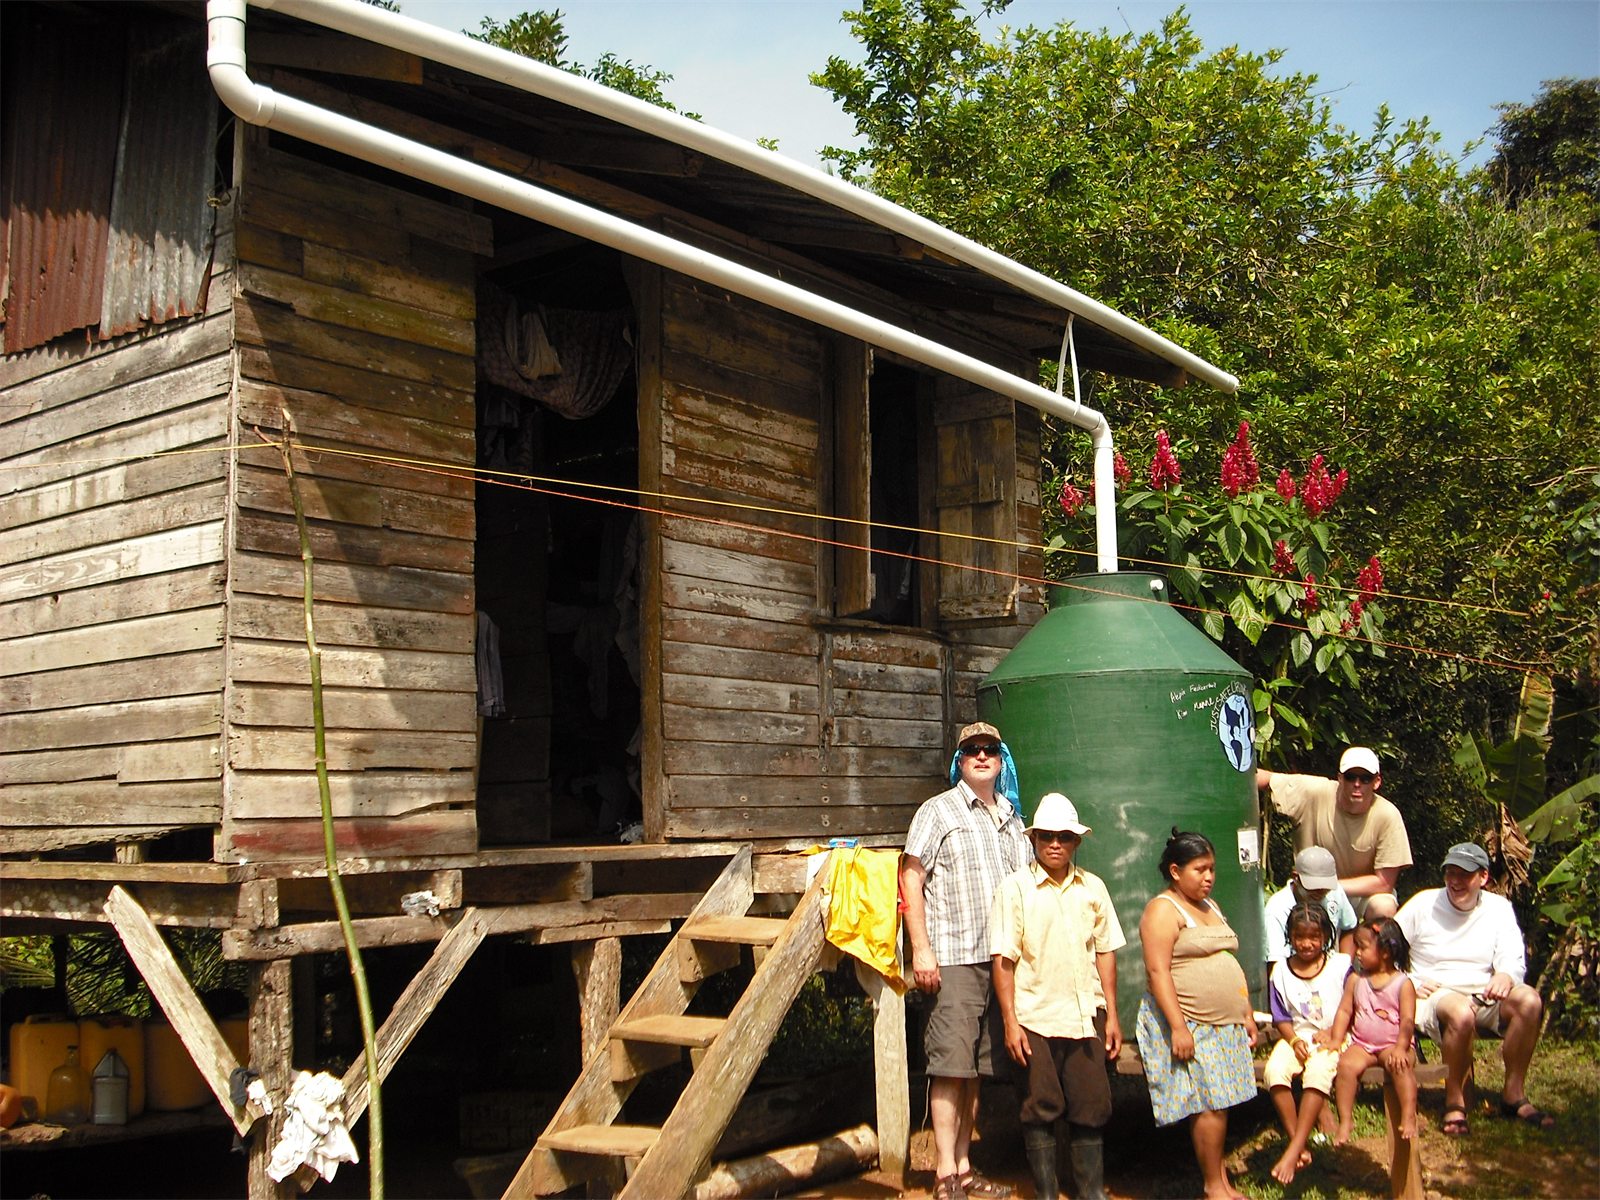
Family and volunteers beside a water system
A system and the family it servesA family and project volunteers beside an installed water system.
Archive source0 Water Catchment\0_PowersWithFamilyAndInstalledWaterSystem.jpg
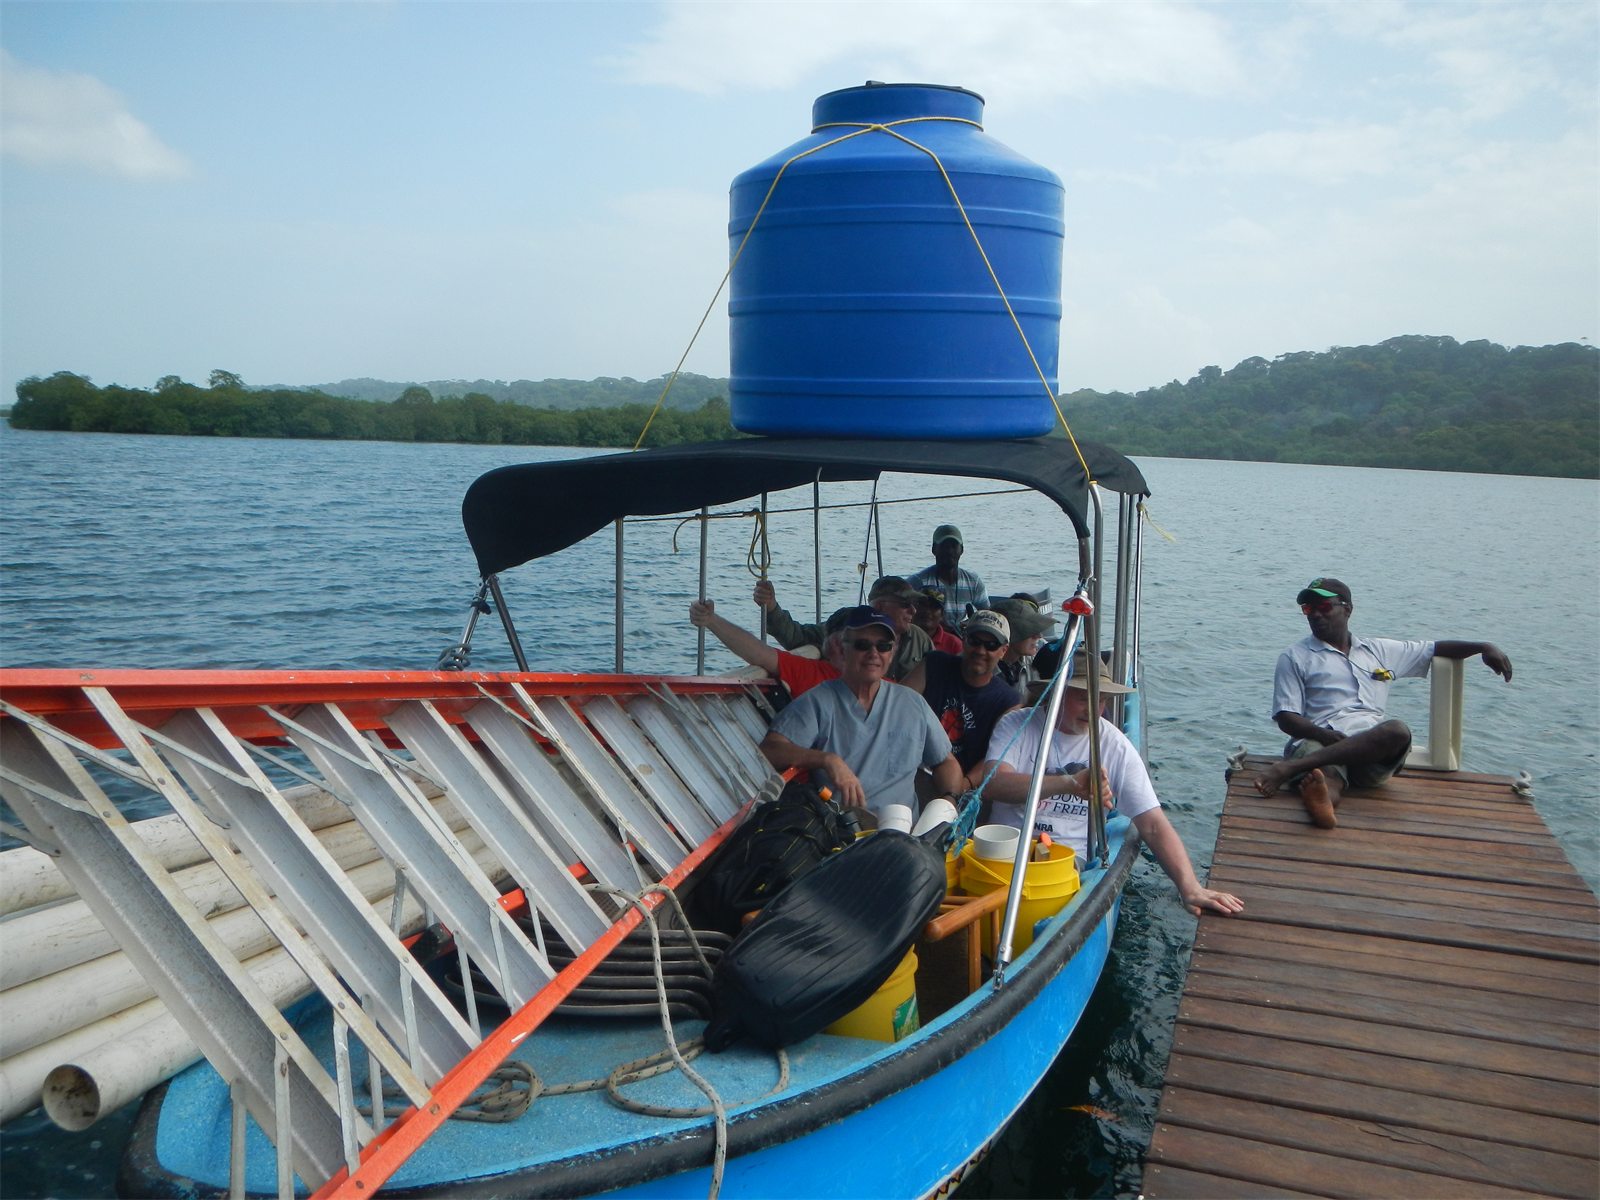
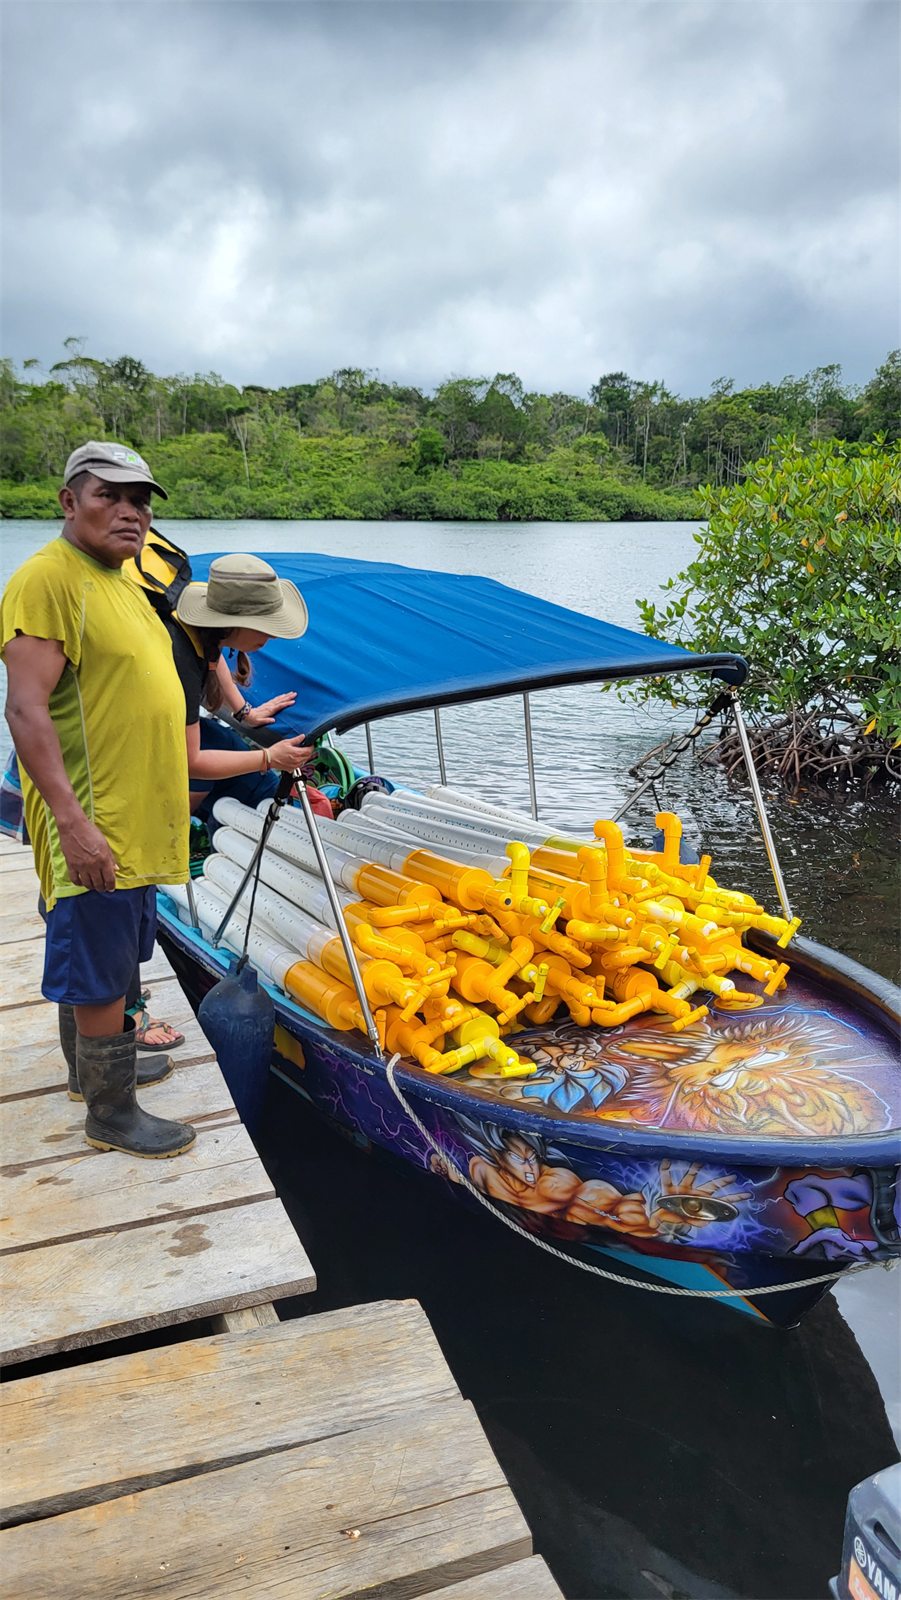
Boat loaded with tanks, PVC and a ladder
The journey is part of the workTanks, gutter materials and a ladder travel with the team by boat.
Archive source0 Water Catchment\team loaded in boat with tanks, pvc for gutters and ladder.JPG
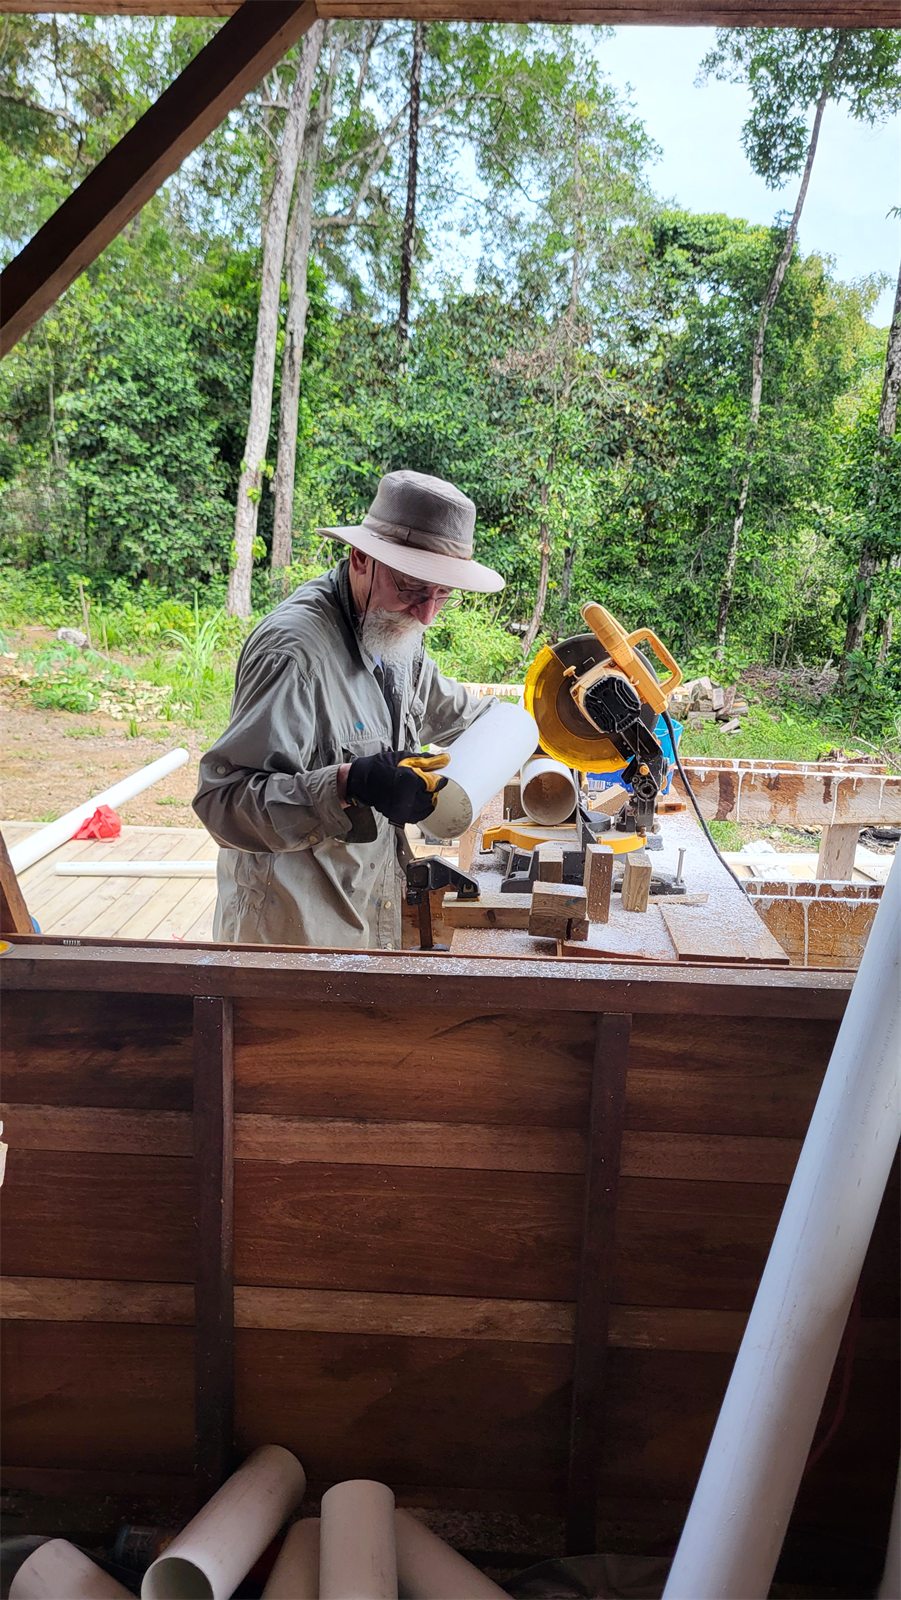
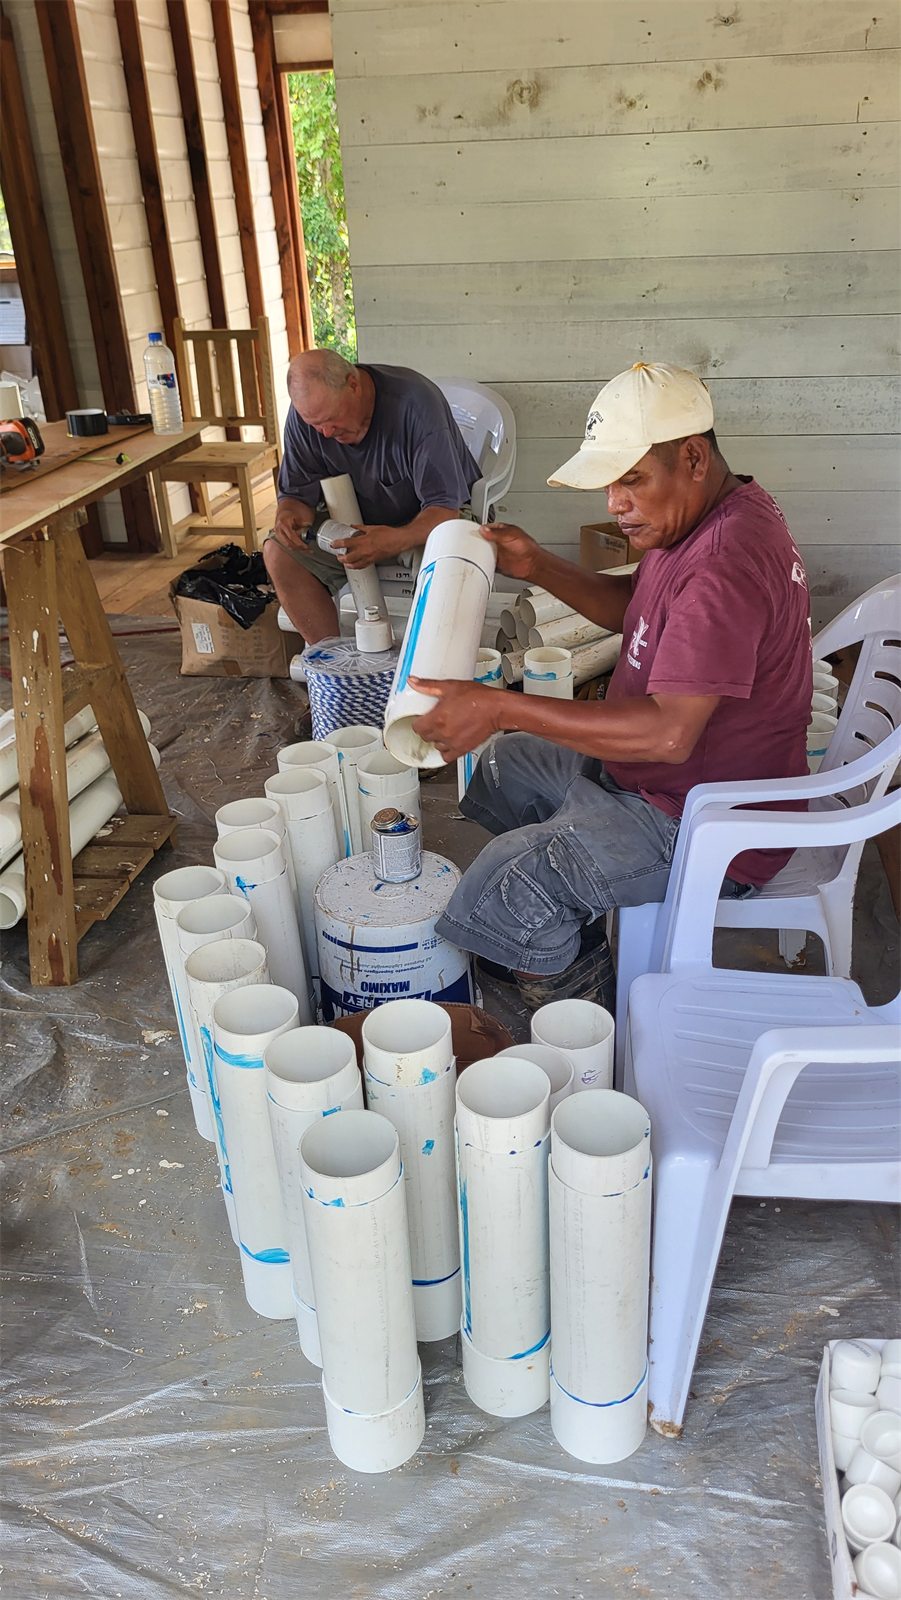
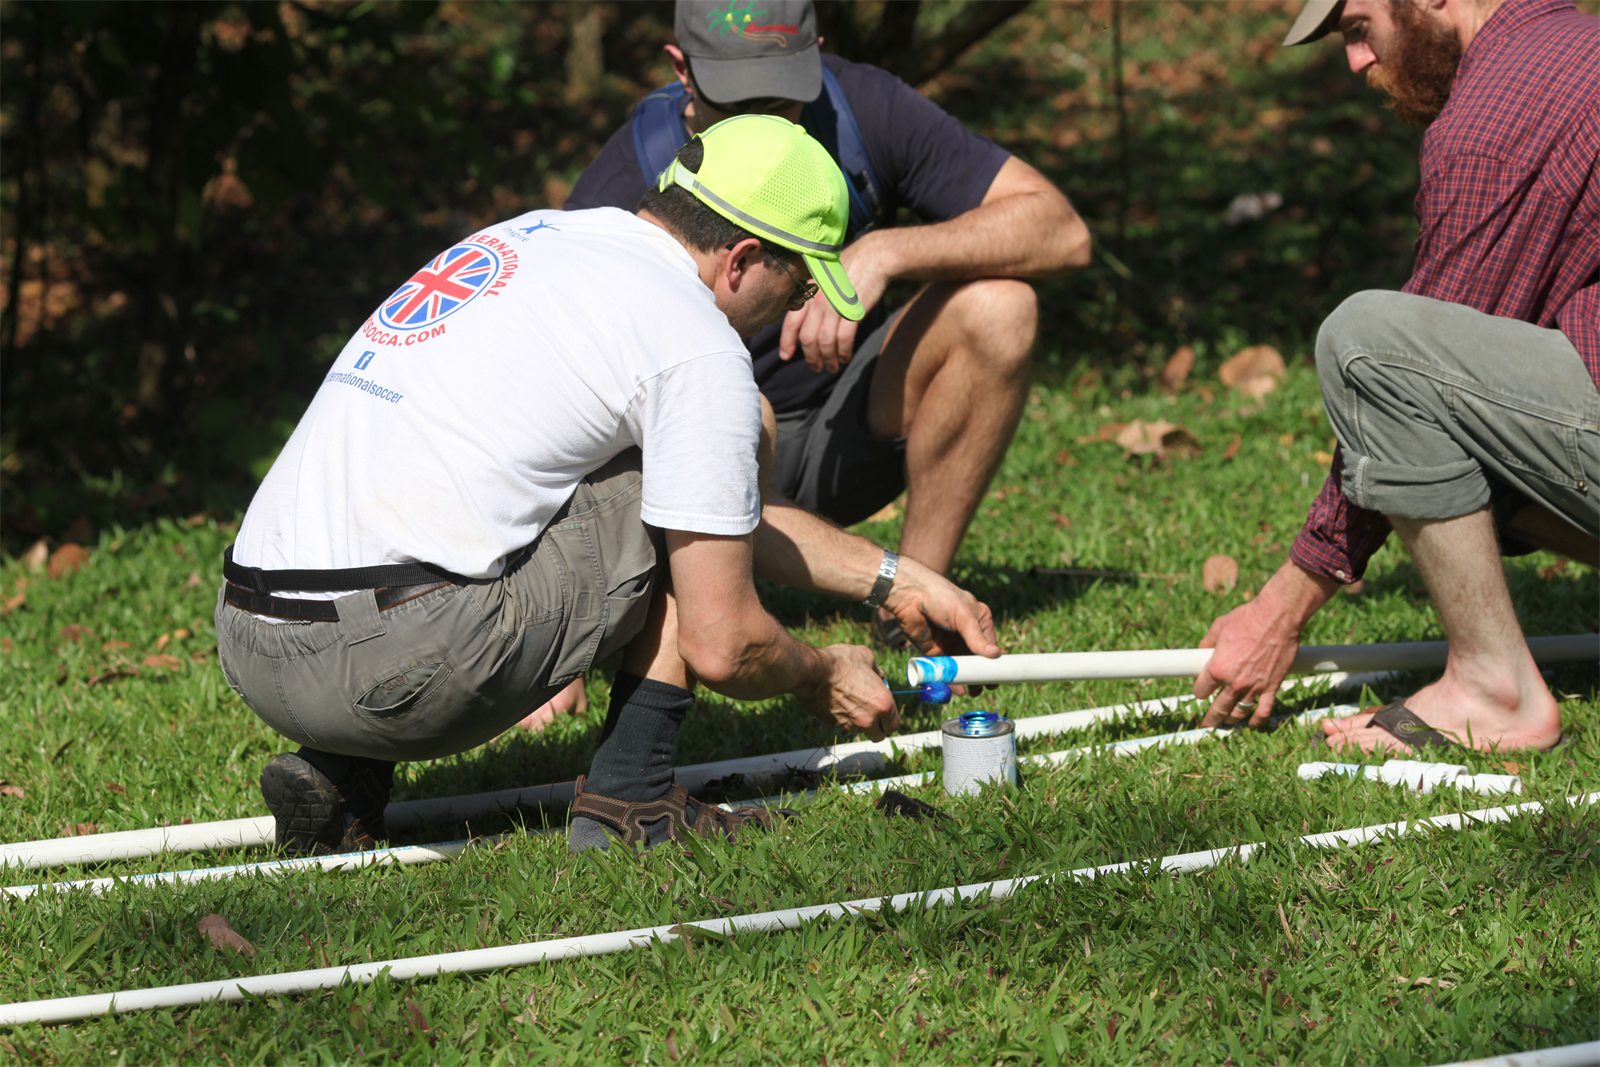
Rob cutting PVC pipe
Prepare the PVC partsRob cuts PVC while the team prepares pump components.
Archive source1c PumpCreation\0d rob cutting pvc.jpg
Simón assembling a spigot riser
Local expertise in each kitSimón assembles a spigot riser.
Archive source1c PumpCreation\1b simon building spigot riser.jpg
Esther painting well casing tops
Protect the exposed partsEsther paints the exposed casing tops to protect the PVC from sunlight.
Archive source1c PumpCreation\4d2 Esther painting the case tops for UV protection.jpg
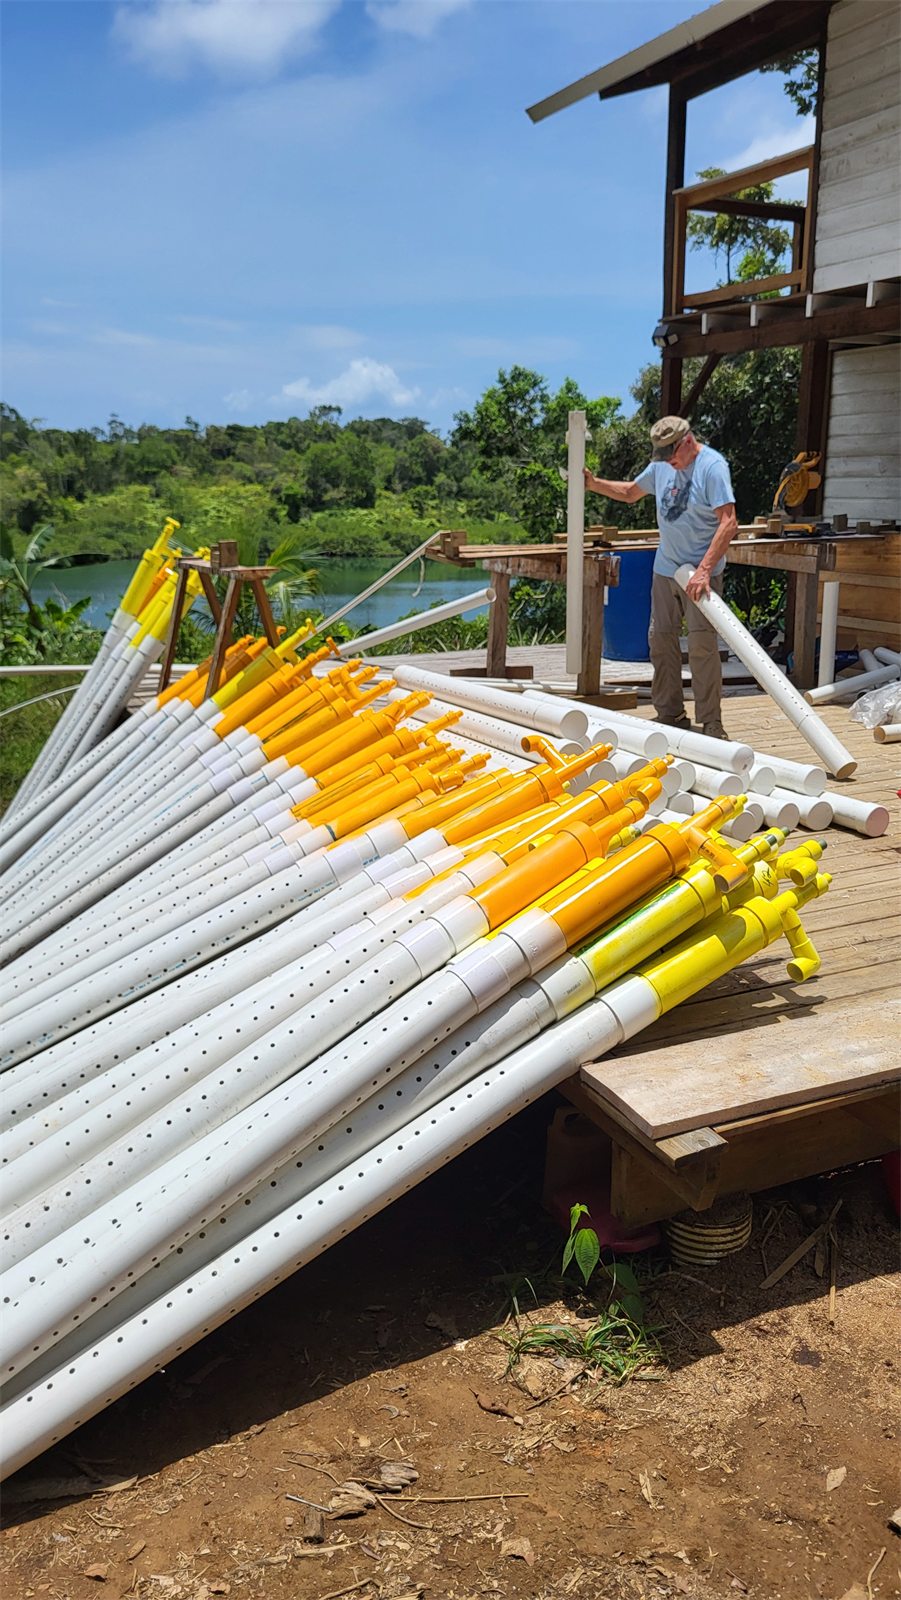
Assembled PVC pump kits
Modular kits, ready for the fieldAssembled kits can be adapted to a well's depth at the installation site.
Archive source1c PumpCreation\4e fully assembled pump kits .jpg
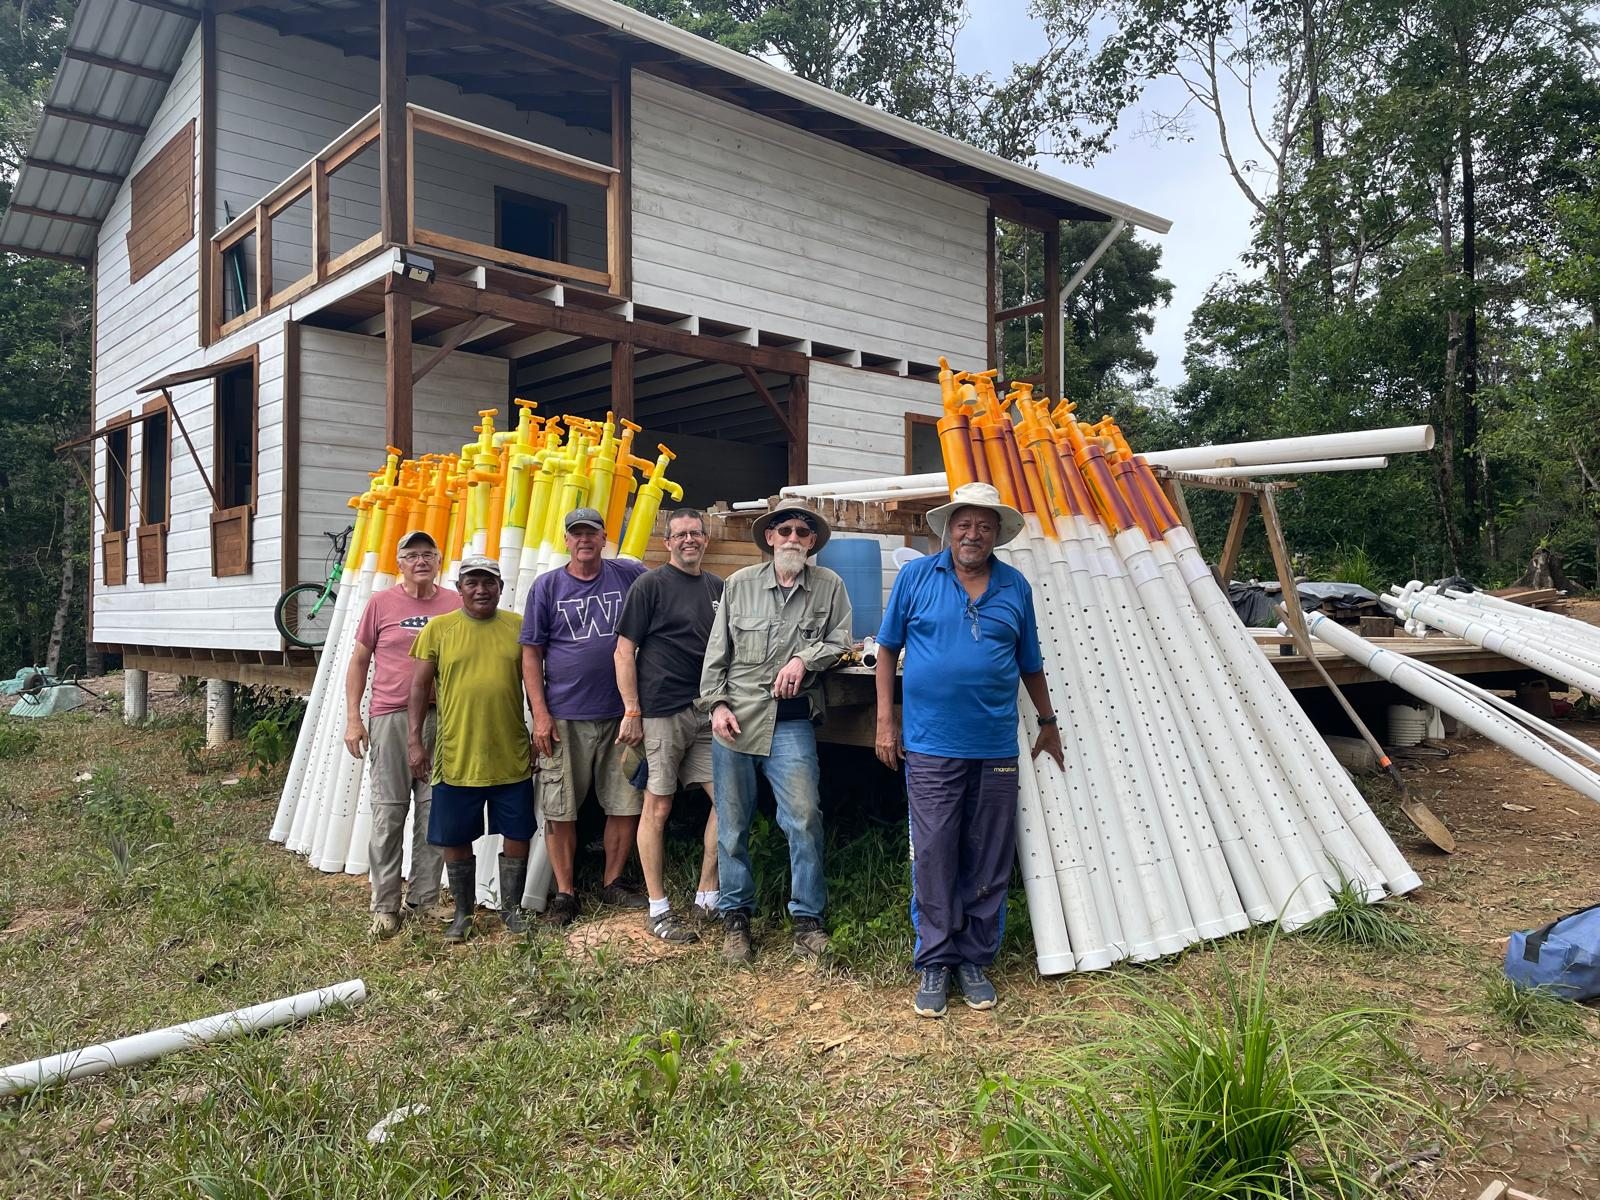
Volunteer team with prepared pump kits
Many hands prepare the kitsThe team stands with the pump kits prepared during a visit.
Archive source1c PumpCreation\4e Team with a years supply of pump kits.jpg
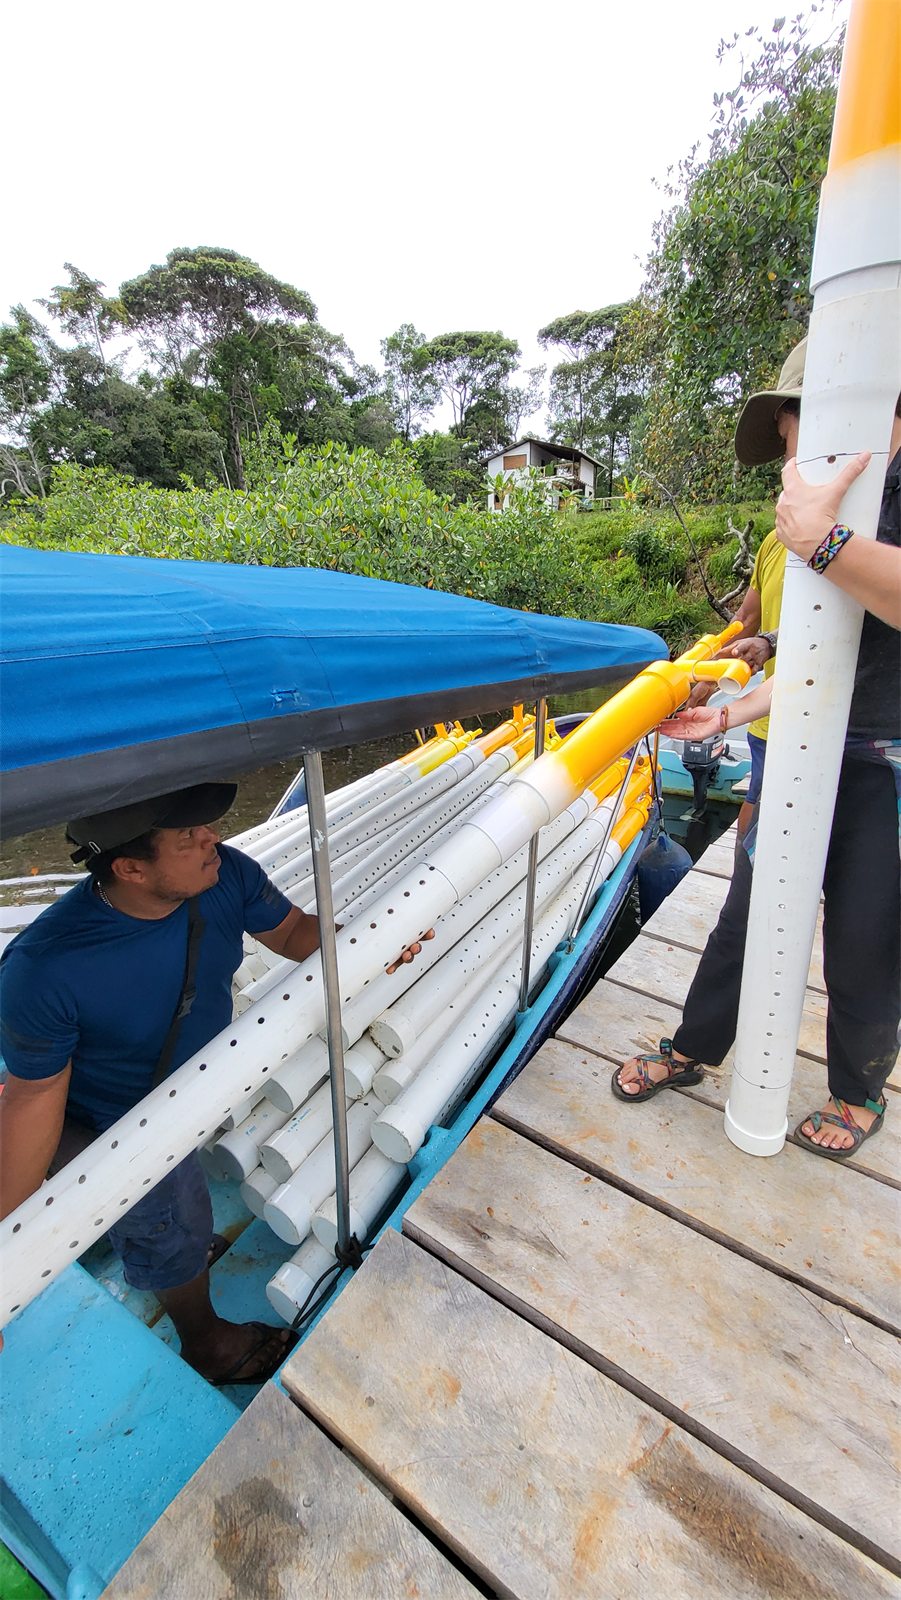
Loading completed pump kits into a boat
From workshop to communityCompleted pump kits are loaded into a boat for transport.
Archive source1c PumpCreation\4g loading completed pump kits into boat.jpg
Simón and Caitlin beside a loaded boat
Working alongside local leadershipSimón and Caitlin with a boat loaded for the field.
Archive source1c PumpCreation\4g Simon and Caitlin with loaded boat.jpg
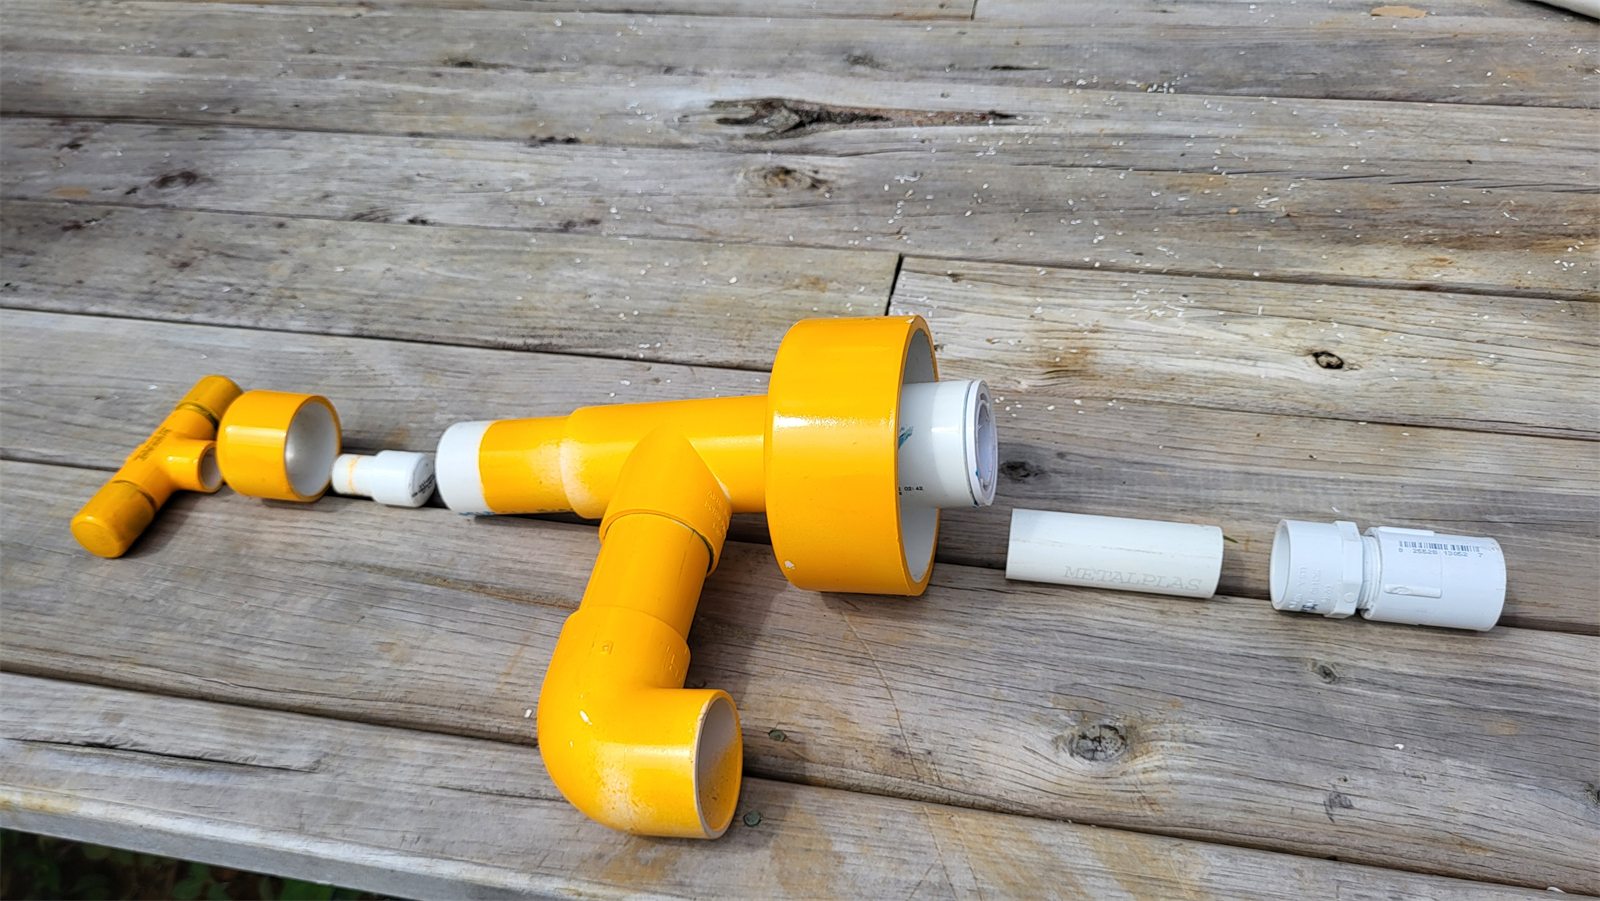
PVC spigot, handle, pipe and valve components laid out
The spigot, handle and valveIndividual PVC components make the pump's construction easier to understand.
Archive source1b PumpSpigotAssembly\0c2 Individual components of spigot and pump handle. and foot valve.jpg
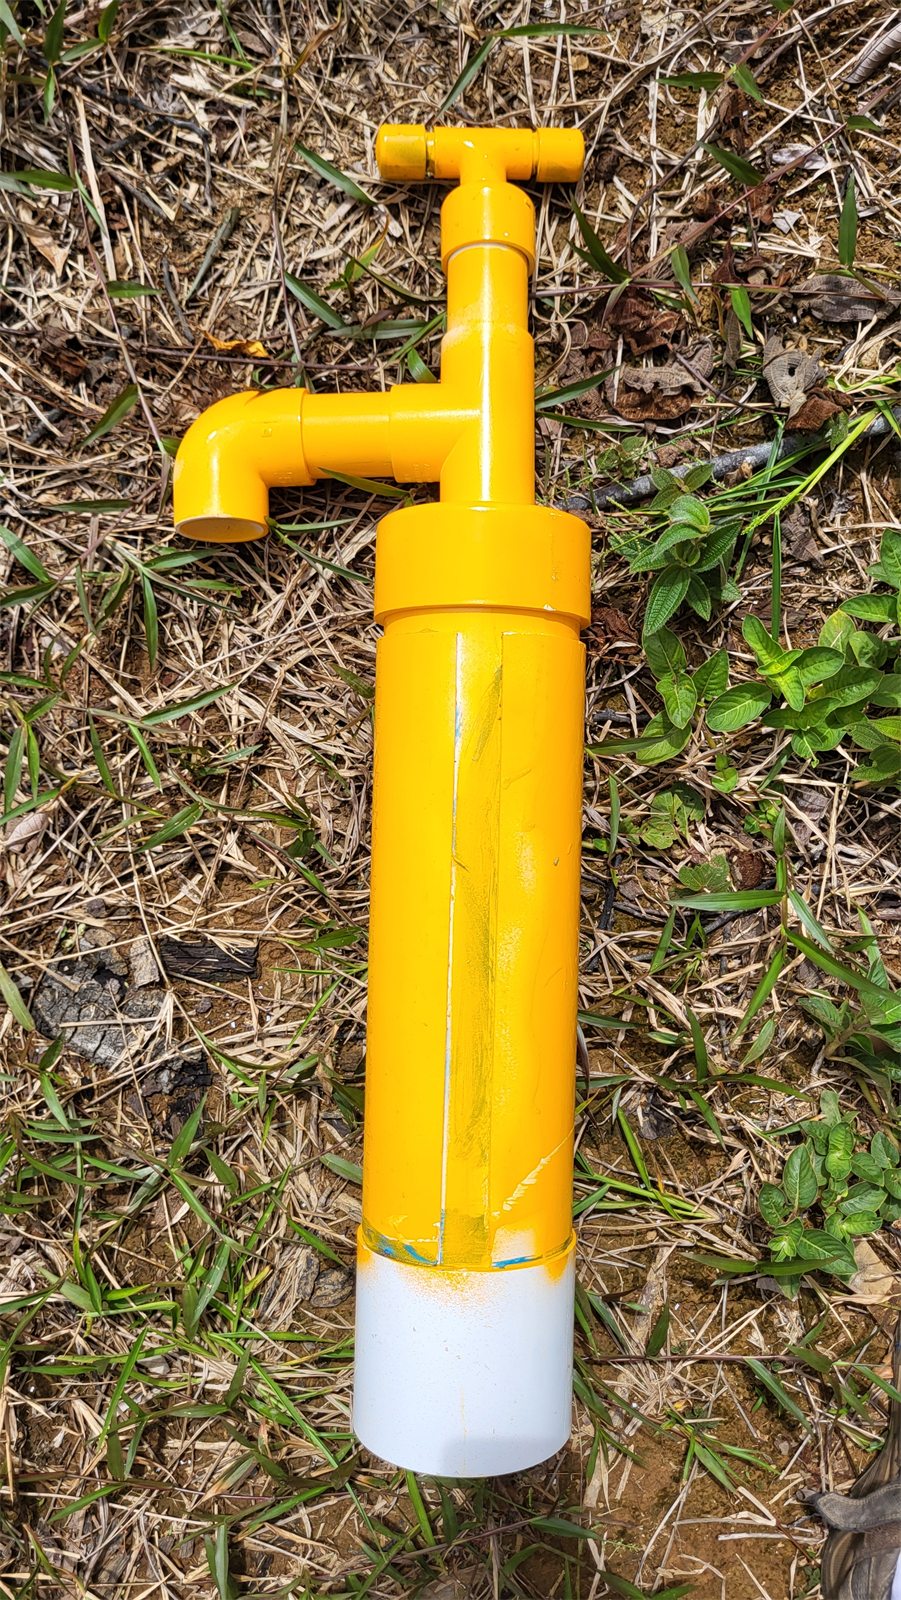
Yellow spigot and riser assembly
The assembled spigot riserThe yellow spigot assembly sits above the larger well riser.
Archive source1c PumpCreation\1d Pump Spigot and riser.jpg
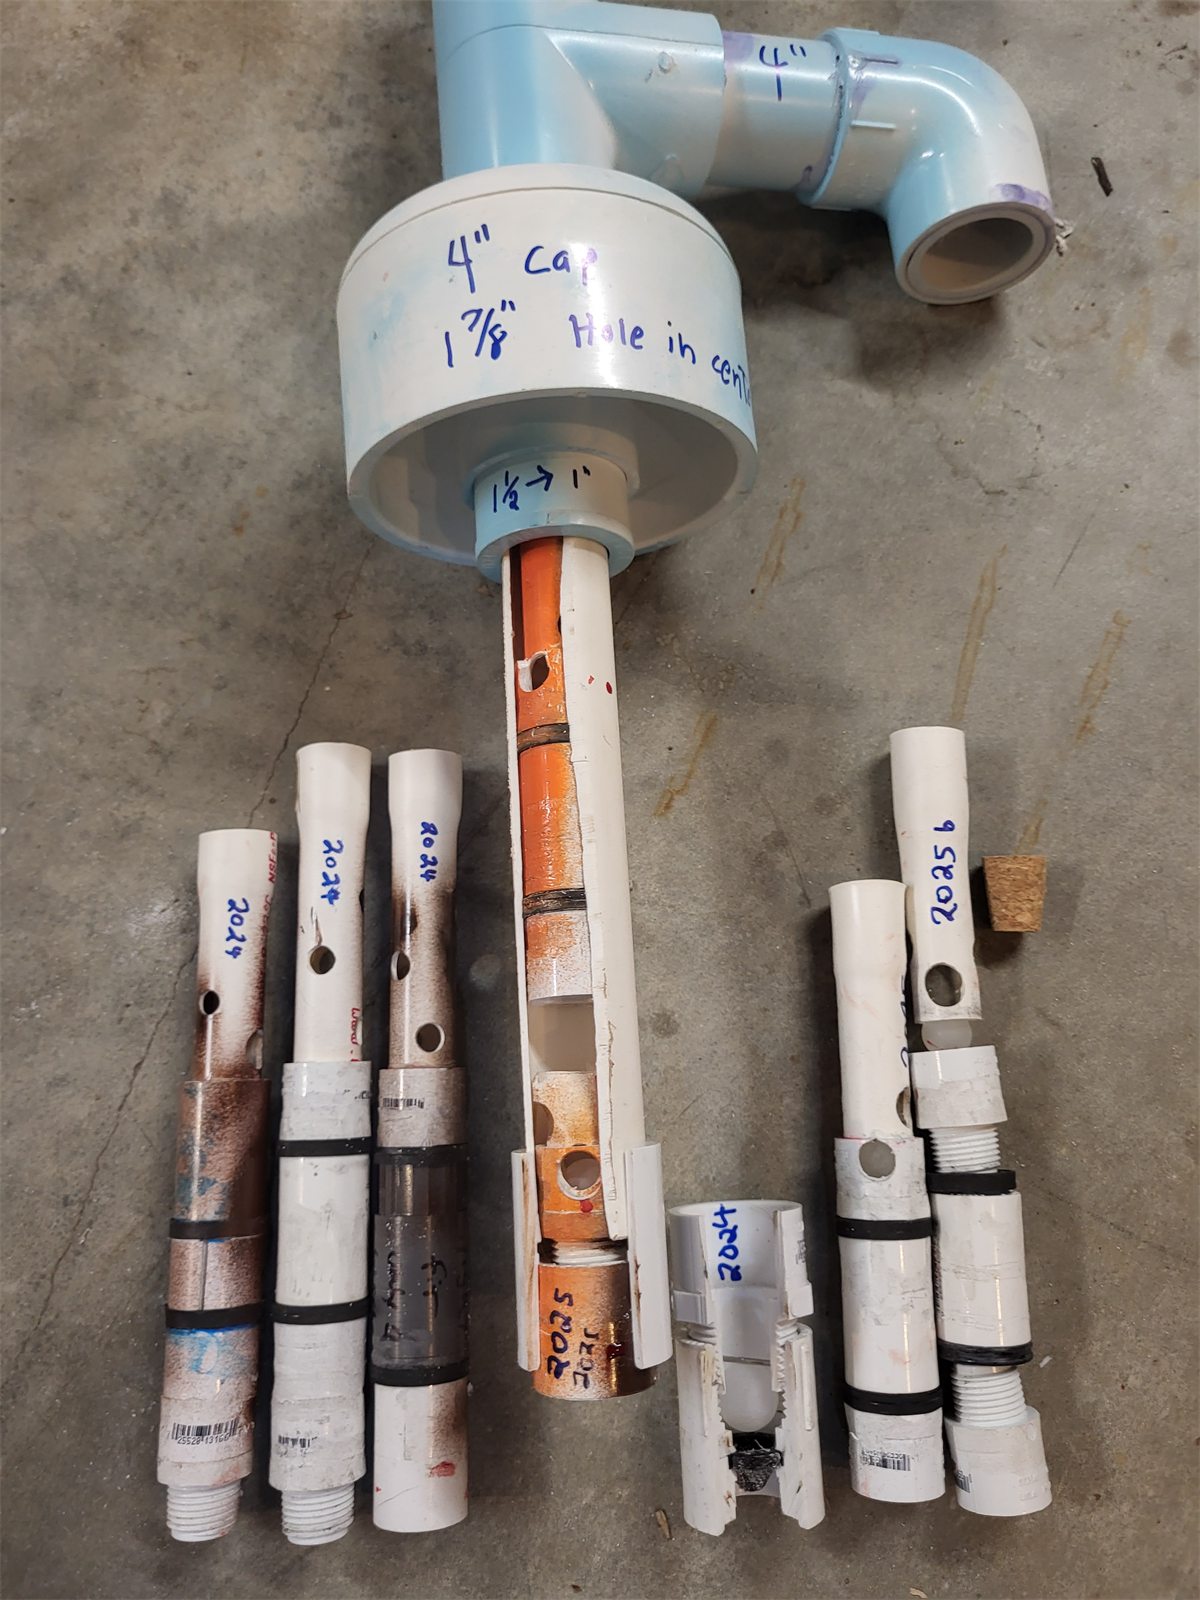
Several generations of inner valve designs
Improving the inner valveDifferent inner-valve designs show the project's ongoing practical experimentation.
Archive source1b PumpSpigotAssembly\IterationsOfInnerValveDesigns.jpg
Cutaway PVC pump showing the internal valve assembly
Look inside the pumpA cutaway shows the inner assembly within the outer pipe.
Archive source1b PumpSpigotAssembly\SpigotWithValveCutAway.jpg
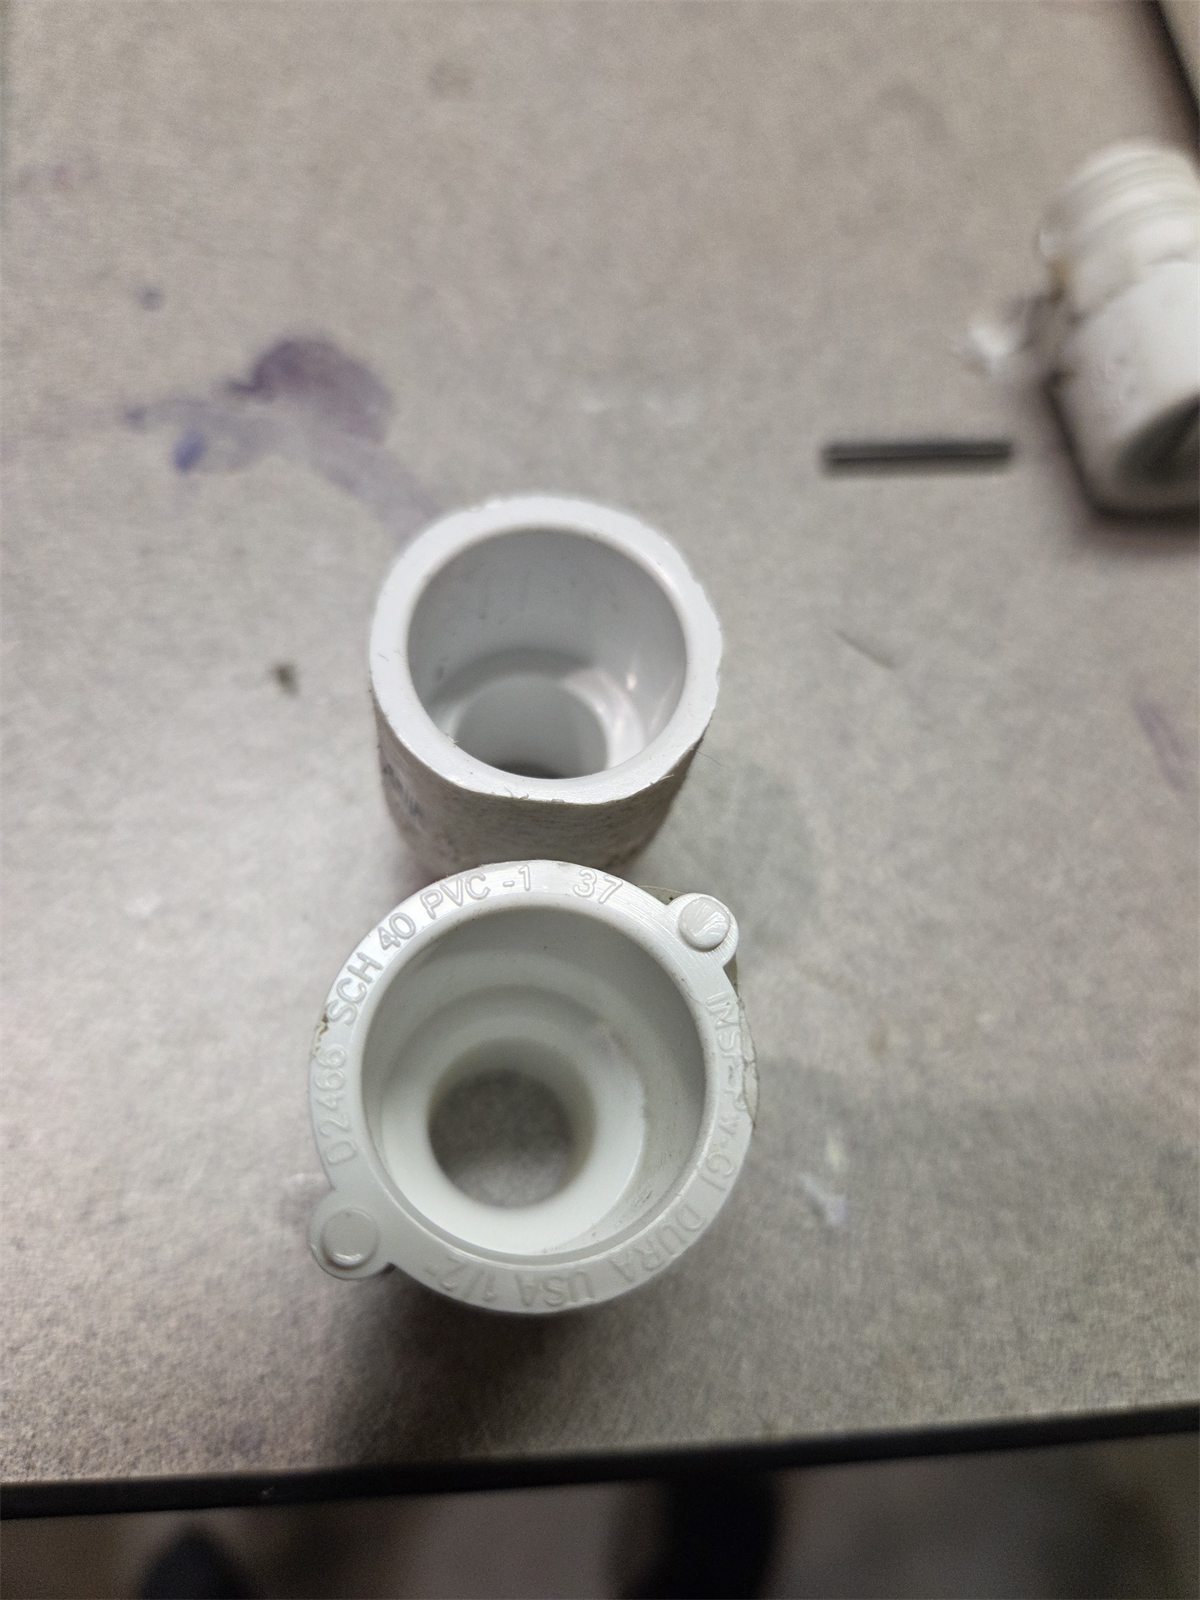
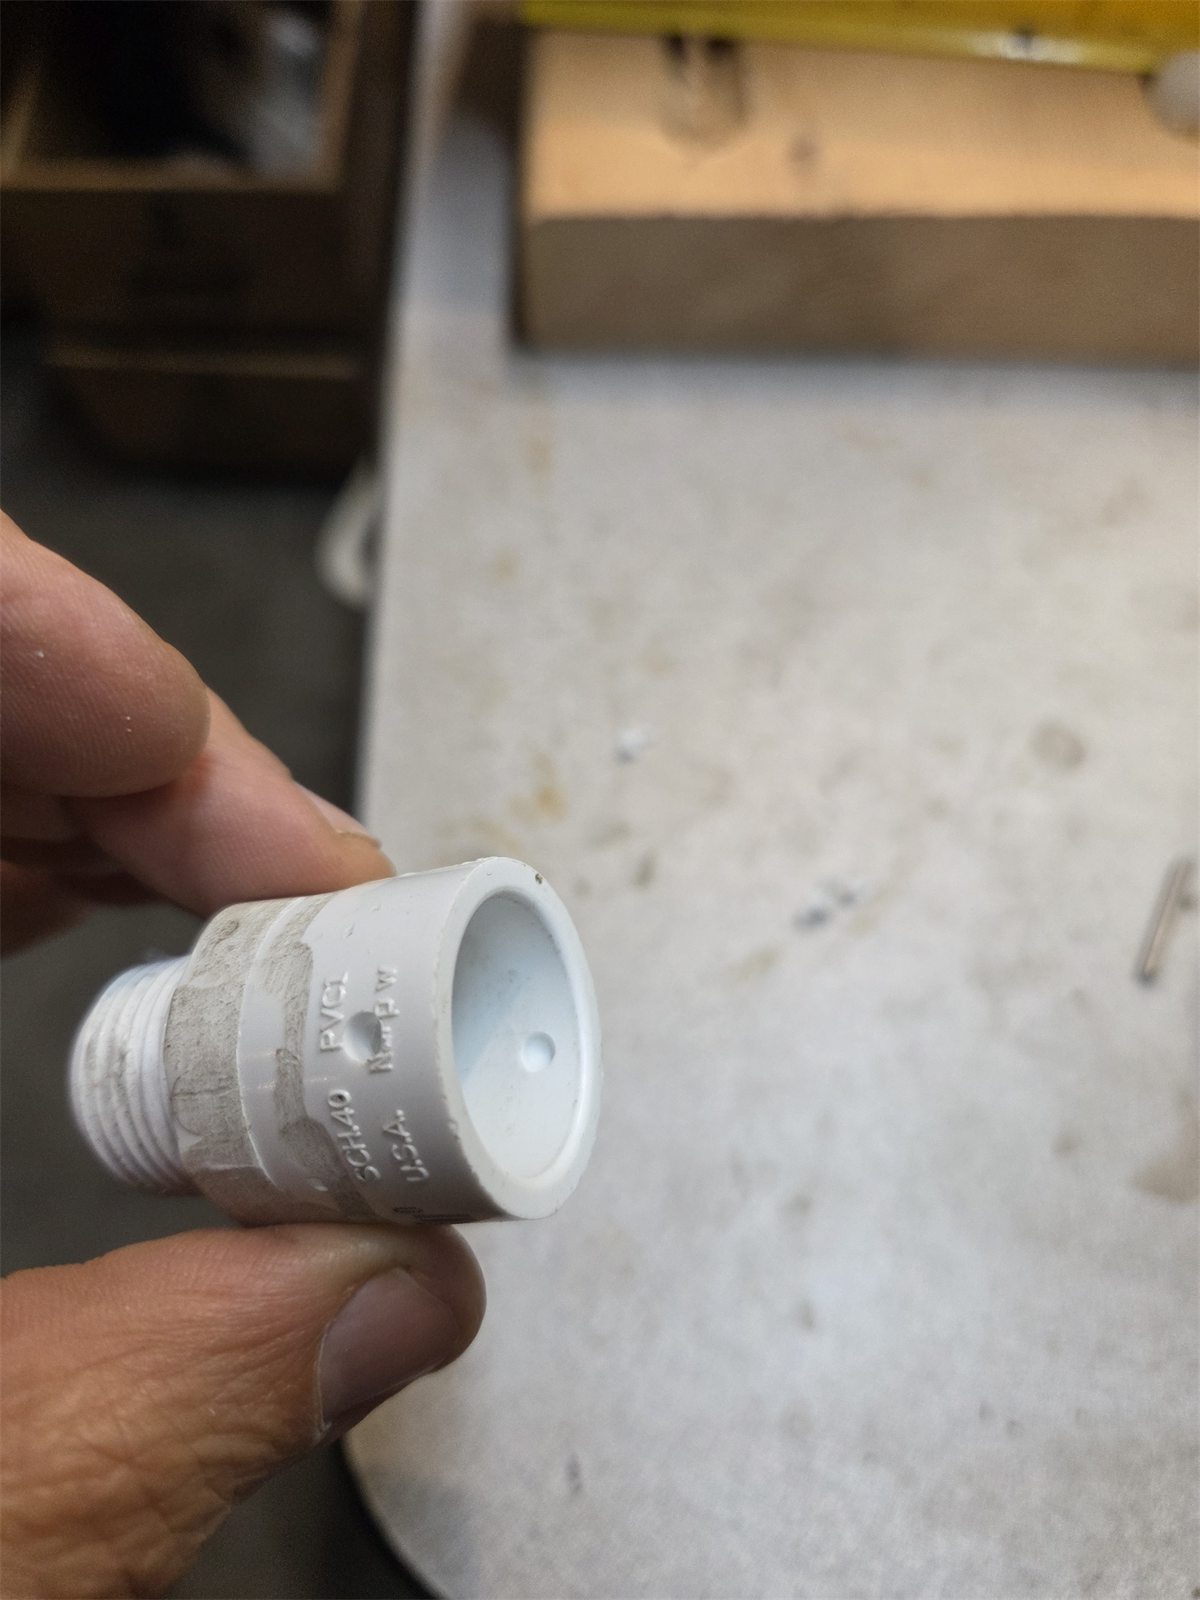
Comparison of two PVC fittings with different internal shapes
Choose the fitting's internal shapeThe specified fitting lets the ball seat and release; a smooth taper can trap it.
Archive sourceUniversalPumpValveAssembly\Compare PVCOnlinesHalfInchMPTToCouplerwithBrandThatBallCanGetStuckIn.jpg
PVC adapter with a drilled pin hole
Drill the pin holeDrill the pin hole near the socket rim, leaving the opposite outside wall intact.
Archive sourceUniversalPumpValveAssembly\1 Drill 35 drill 3-16 from edge. Don't drill all the way through.jpg
Cross-pin installed across a PVC adapter
Fit the cross-pinA stainless-steel cross-pin limits the ball's travel inside the valve.
Archive sourceUniversalPumpValveAssembly\2Push Pin until it bottoms out.jpg
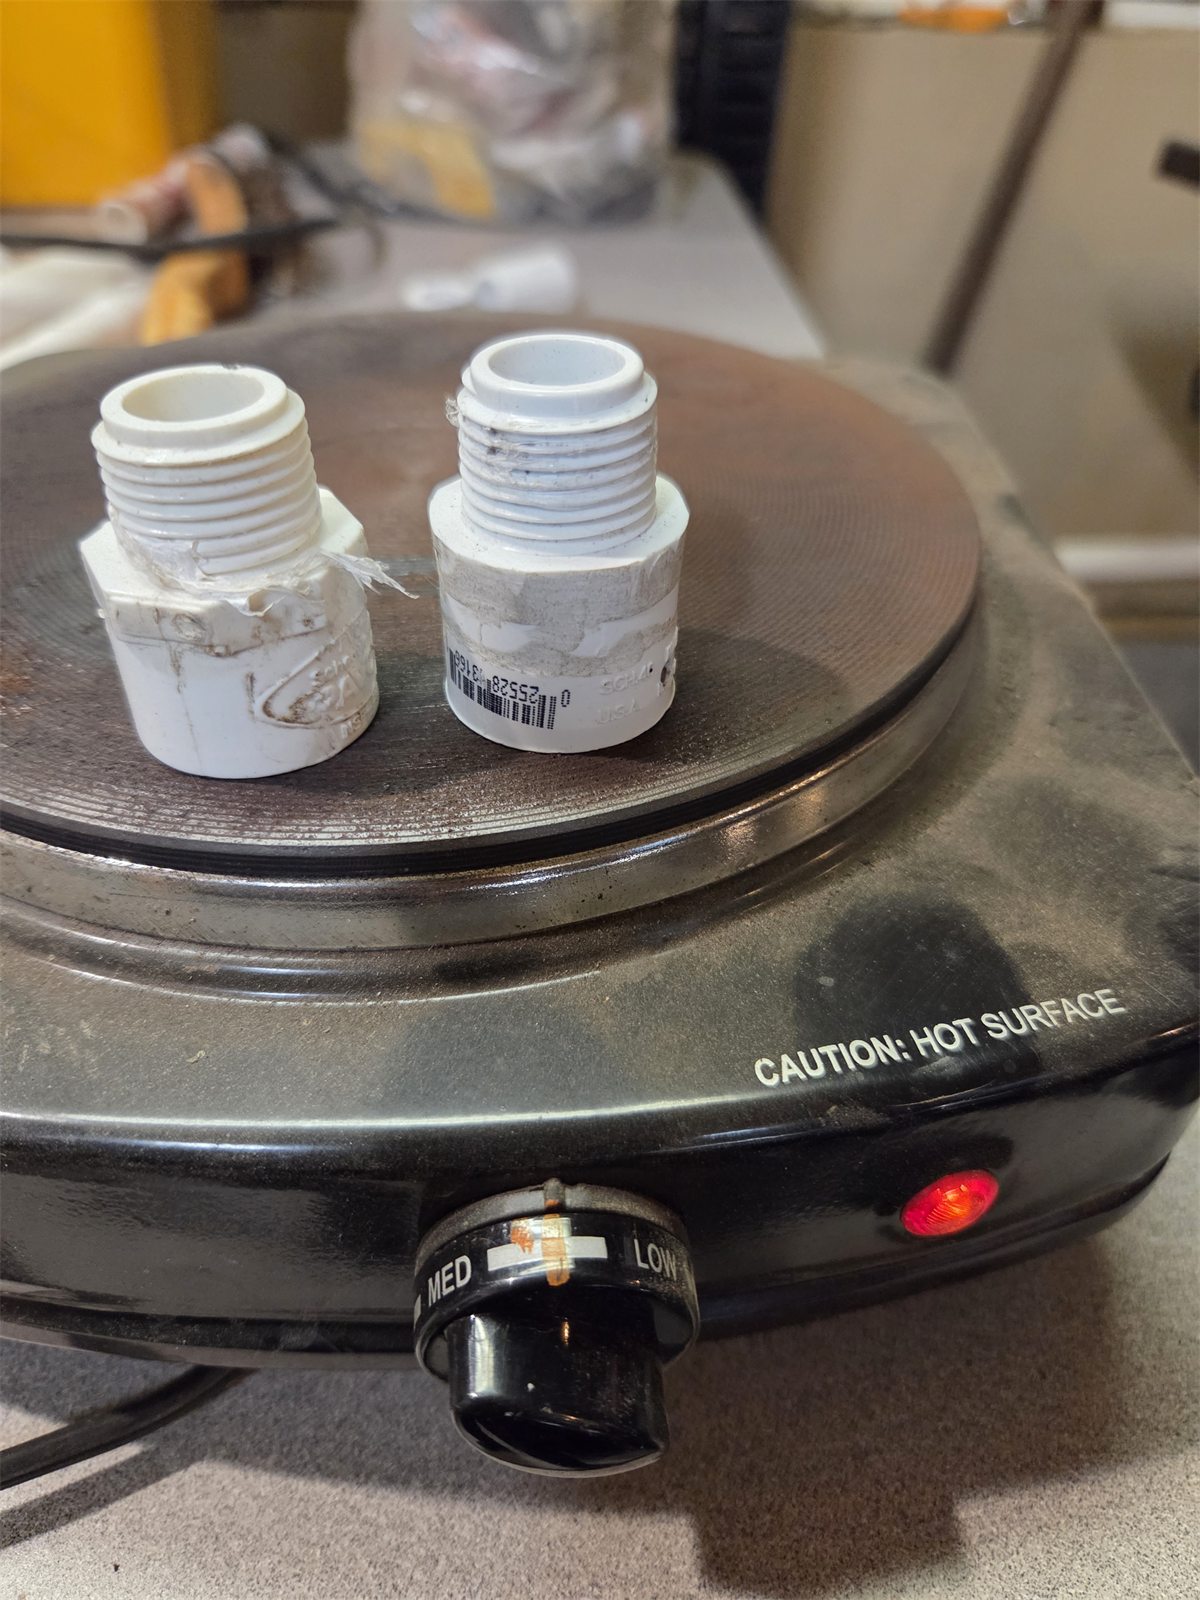
Two PVC adapters on a hot plate
Prepare the joining rimsHeat the two socket rims together, with their male threads pointing upward.
Archive sourceUniversalPumpValveAssembly\3 Put Two NPT-Coupler on hot plate set between med and low.jpg
Two PVC adapters joined into a valve body
The joined valve bodyThe ball is enclosed when the two prepared adapter rims are pressed together.
Archive sourceUniversalPumpValveAssembly\6 Drop ball in and press together.jpg
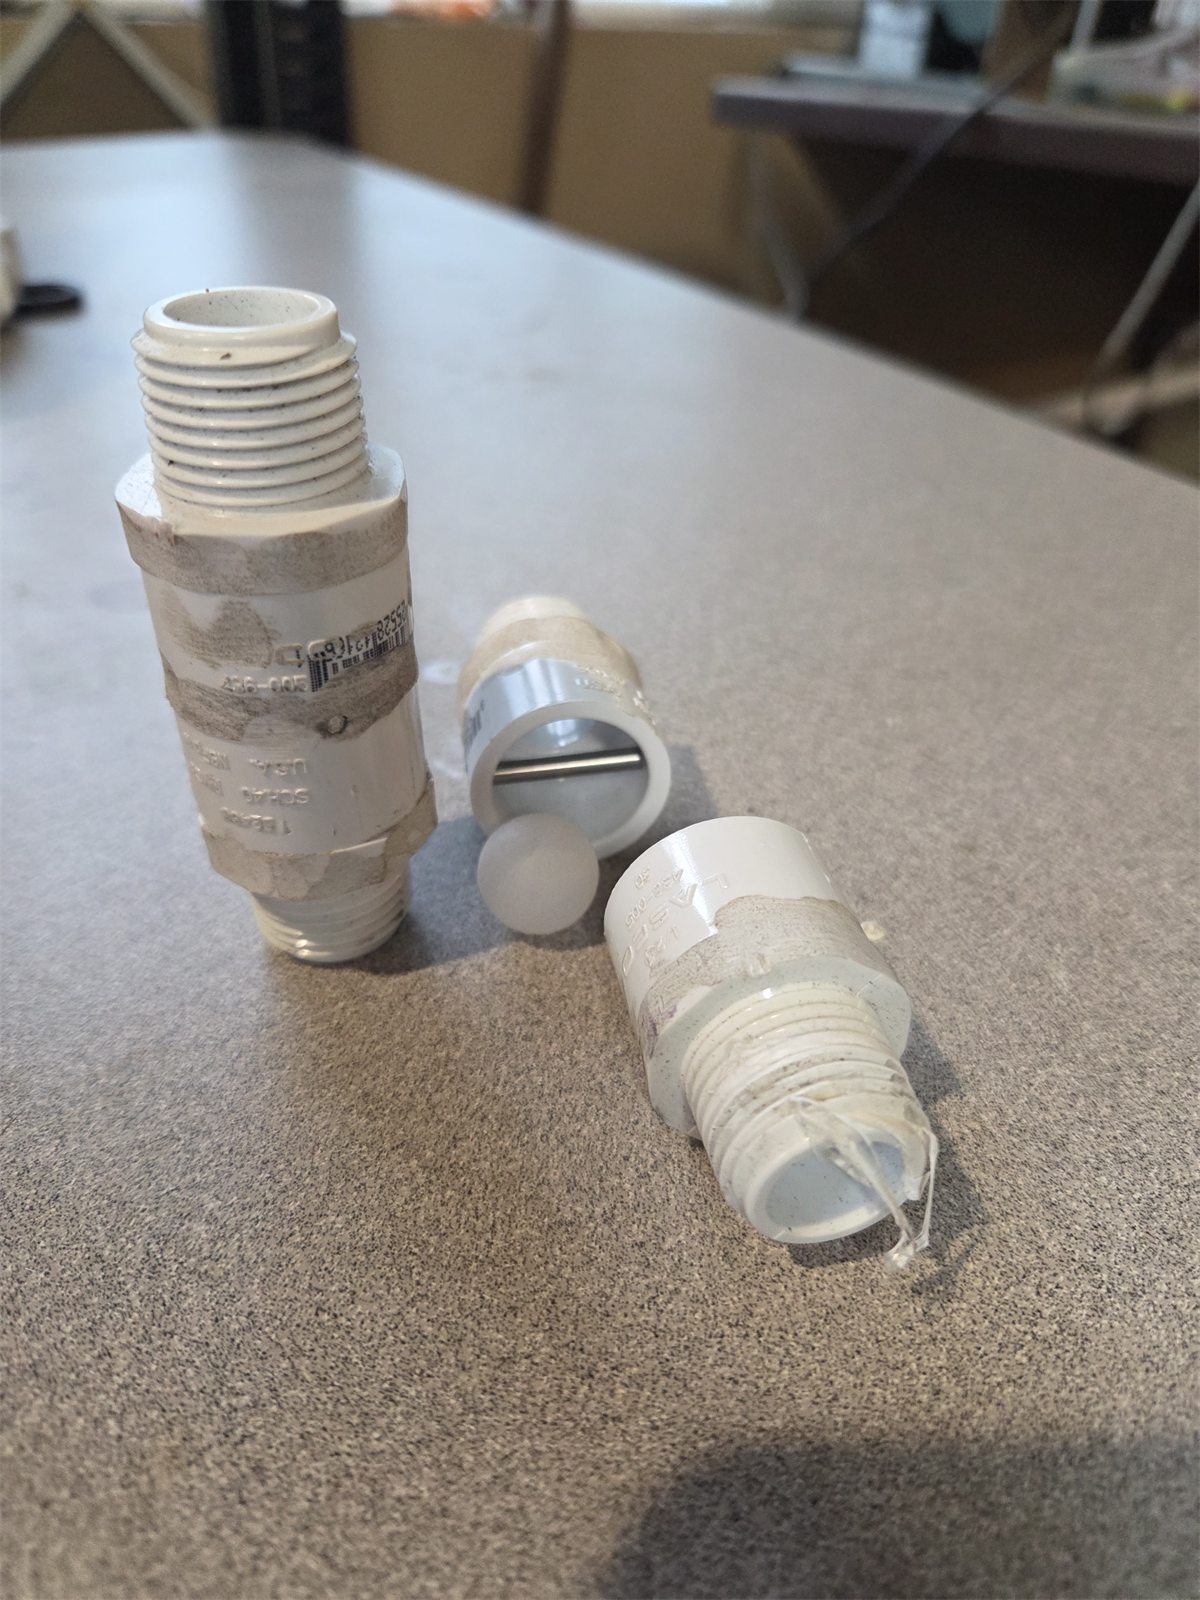
Universal valve with ball, pin and PVC adapters
A small set of serviceable partsThe assembled valve and its components are shown together.
Archive sourceUniversalPumpValveAssembly\2026_UniversalValveAssembly.jpg
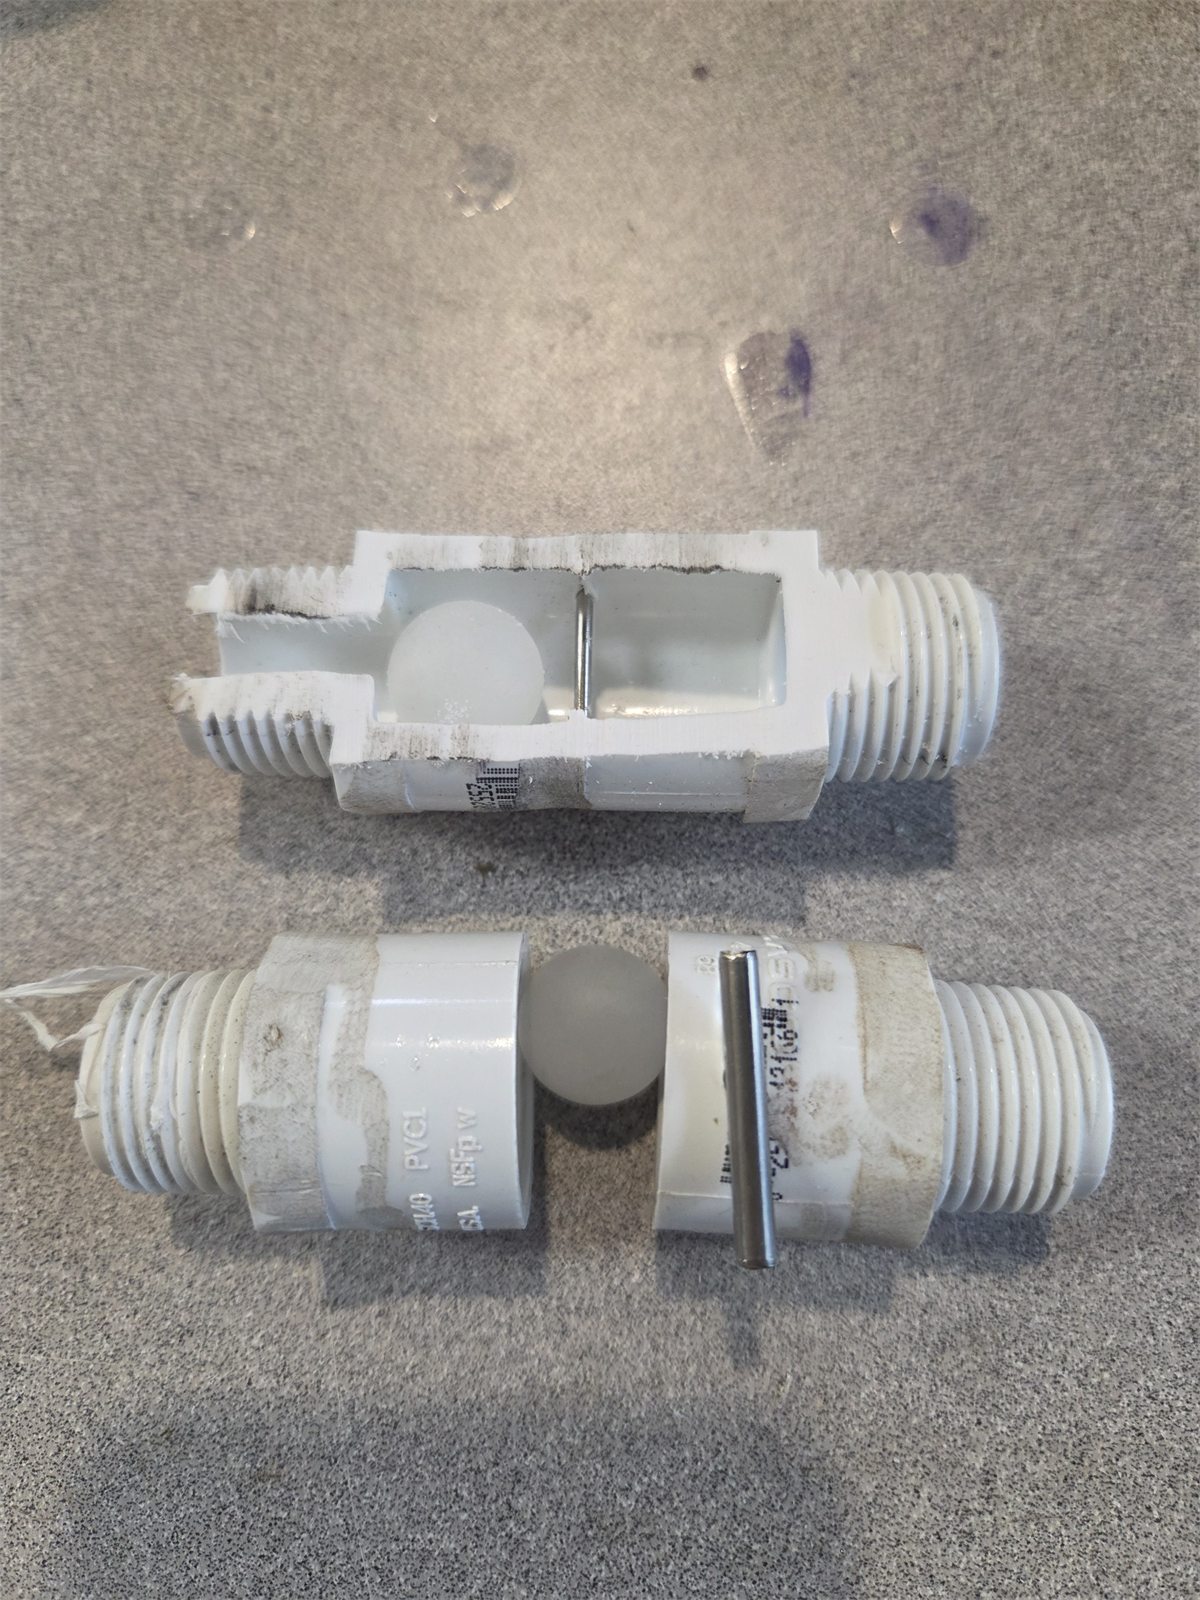
Cutaway ball-check valve with cross-pin
How the ball check worksThe cutaway reveals the ball chamber and travel-limiting cross-pin.
Archive sourceUniversalPumpValveAssembly\2026_UniversalValveCutaway.jpg
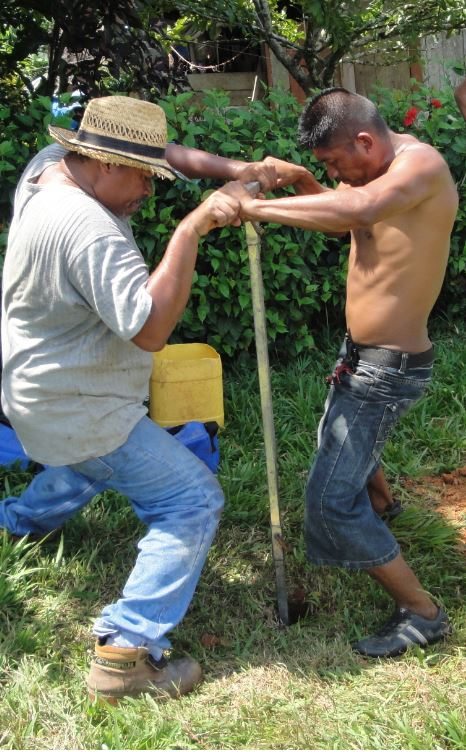
Two people turning a hand auger
Turn togetherTwo operators turn the hand auger as part of the well-drilling process.
Archive source2a Auger Well Drilling\00a_DrillingWithFelix_HardWork.JPG
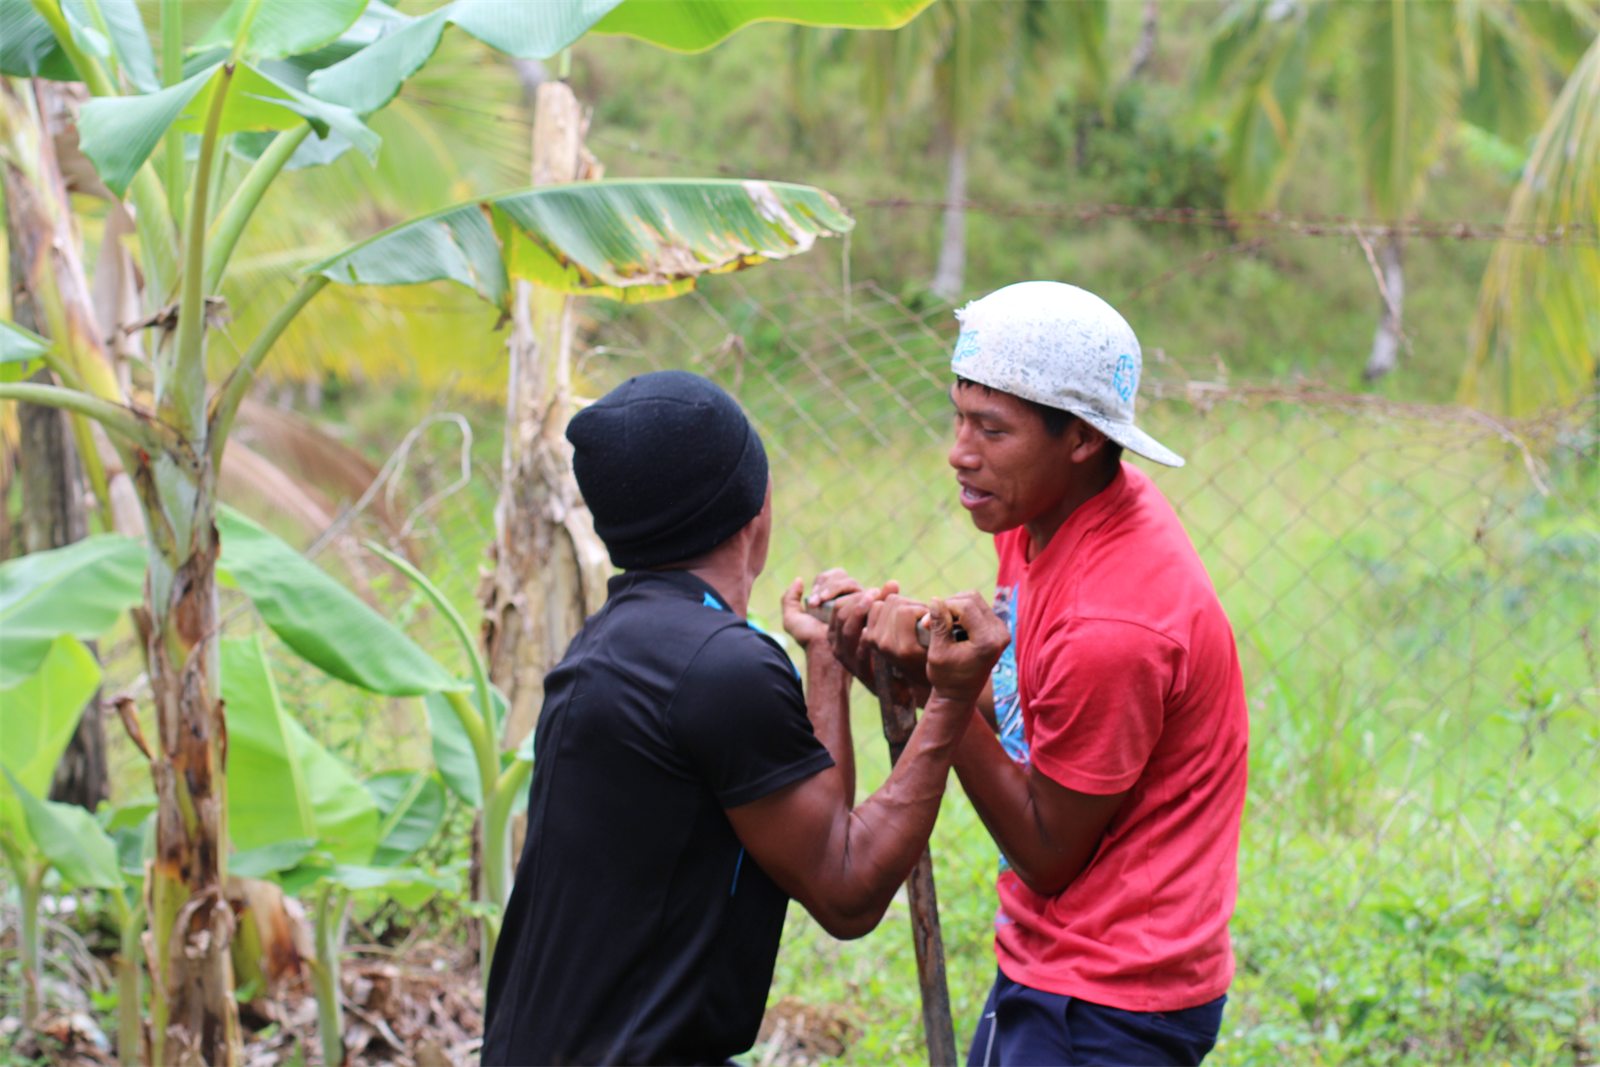
Two operators working together on a well auger
Neighbors help neighborsPastor Juan helps drill a neighbor’s well.
Archive source2a Auger Well Drilling\00a_LocalPastorJuanHelpingDigANeighborsWellHardWork.jpg
Two people lifting a well auger together
Families contribute the workFamily participation is central to the project approach.
Archive source2a Auger Well Drilling\00c_InlistingSweatEquityOfFamilyMembers_TwoGuysLiftingHeavyAuger.JPG
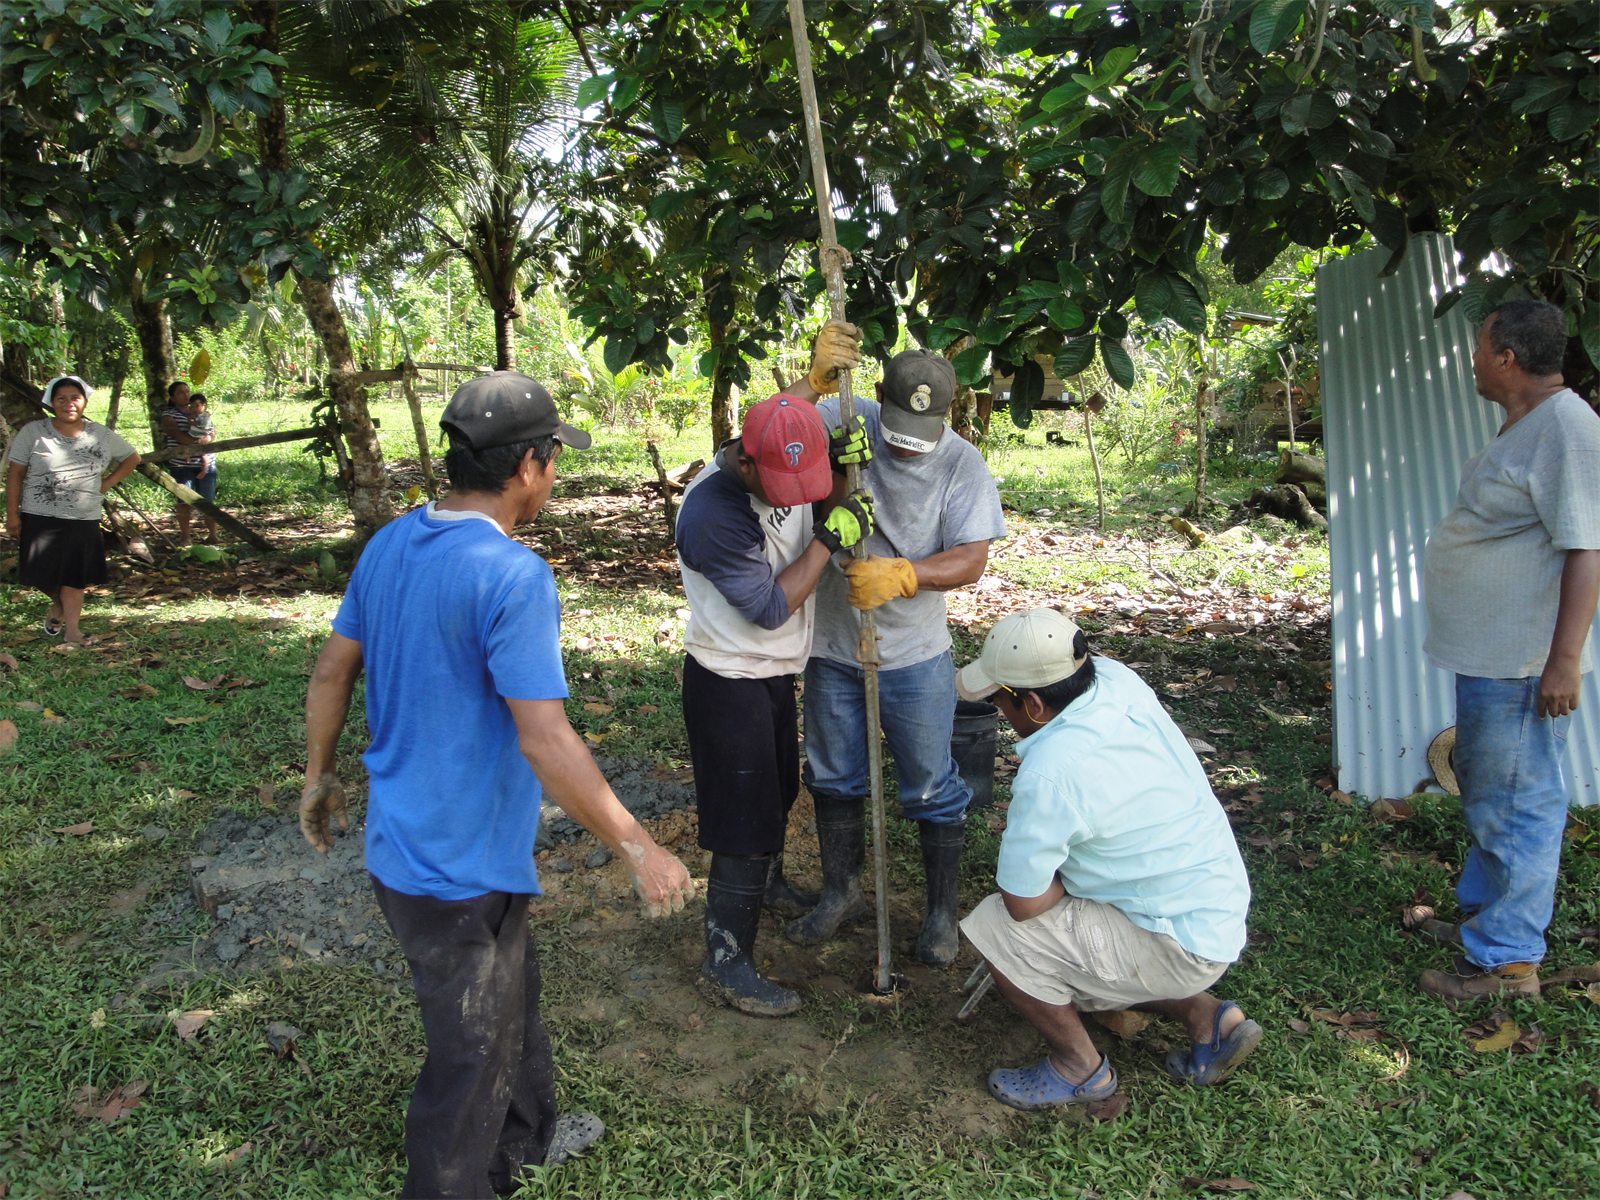
Team lifting a long auger from the borehole
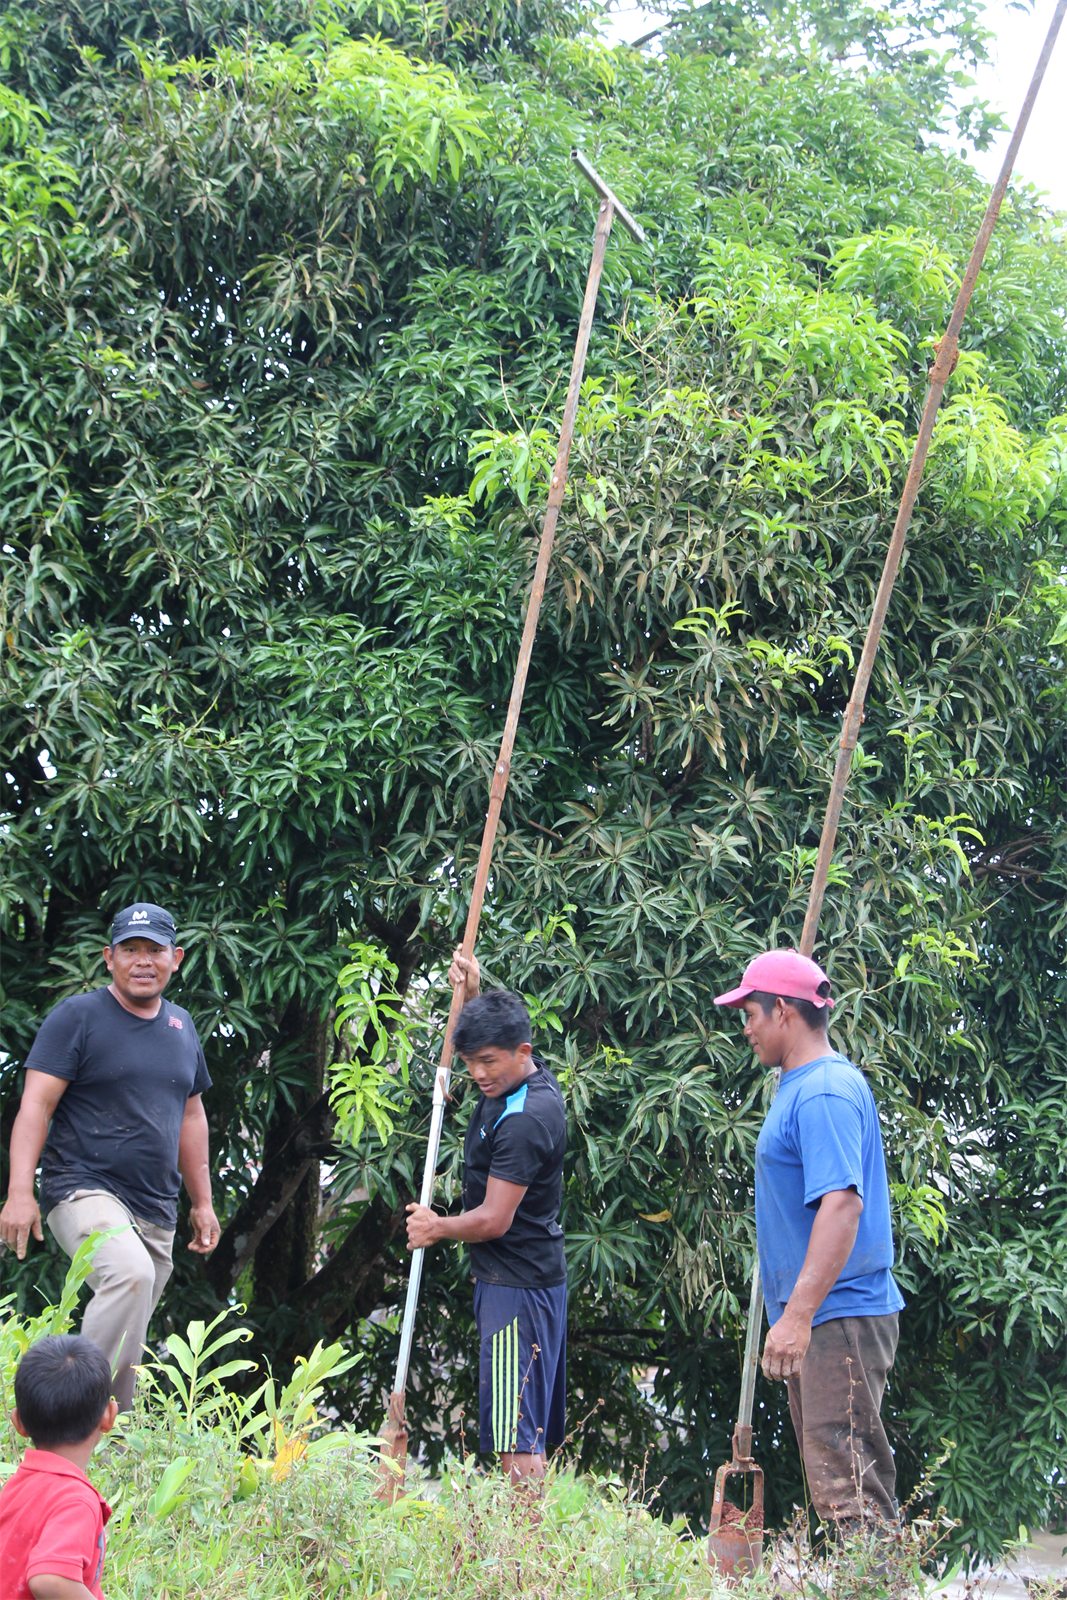
Lift and emptyThe drilling team lifts the auger out of the borehole.
Archive source2a Auger Well Drilling\01a_PullingAugerOutOfDeepWell.JPG
Long auger extension rods at a drilling site
Add depth in stagesExtension rods allow the auger to reach deeper while retaining its normal handle.
Archive source2a Auger Well Drilling\01b_AugerWith16ft extension rods.JPG
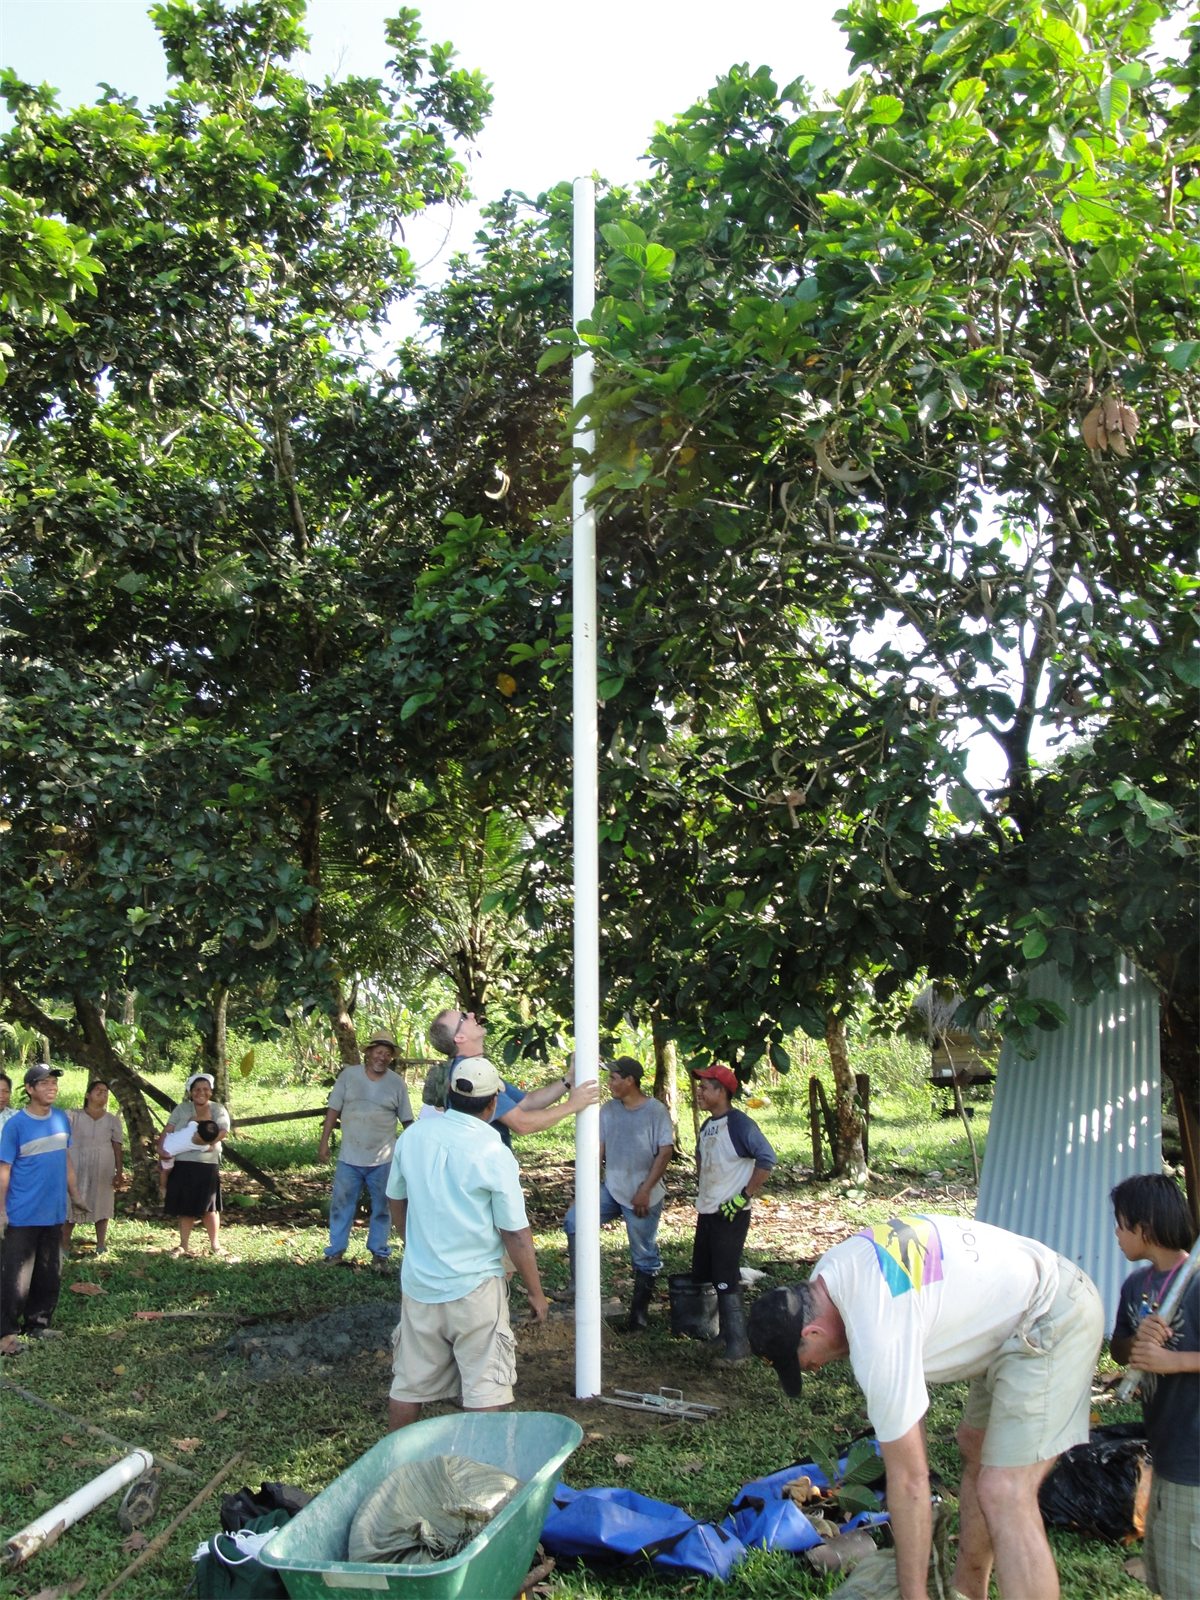
Team lowering PVC well casing
Lower the casingThe team lowers the assembled PVC casing into the borehole.
Archive source2b CasingTheWell\1a placing the 4 pvc well casing.JPG
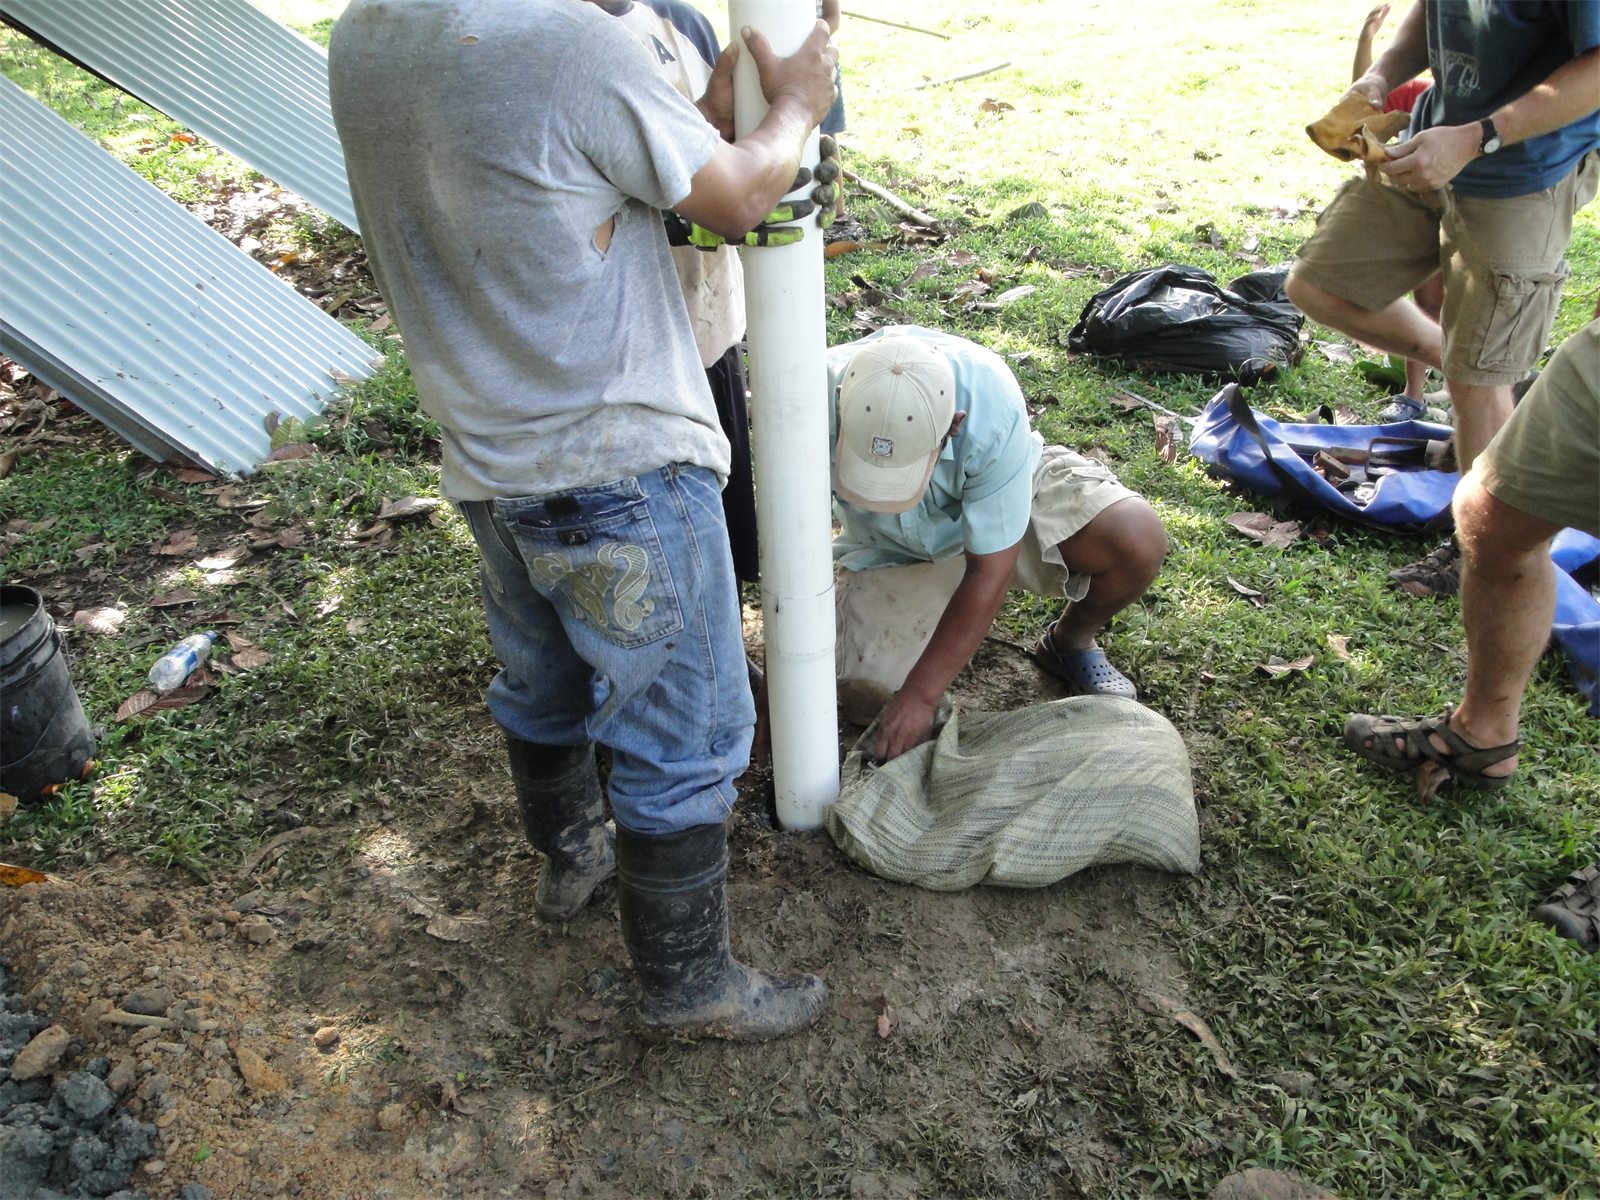
Adding pea gravel outside the well casing
Build the filter packPea gravel is added outside the casing around the cloth-covered perforated section.
Archive source2b CasingTheWell\1b DroppingPeaGravelIntoWellForFilterPackInAdditionToFilterFabrickAlreadyArountBaseOfPerferatedLowerSection.JPG
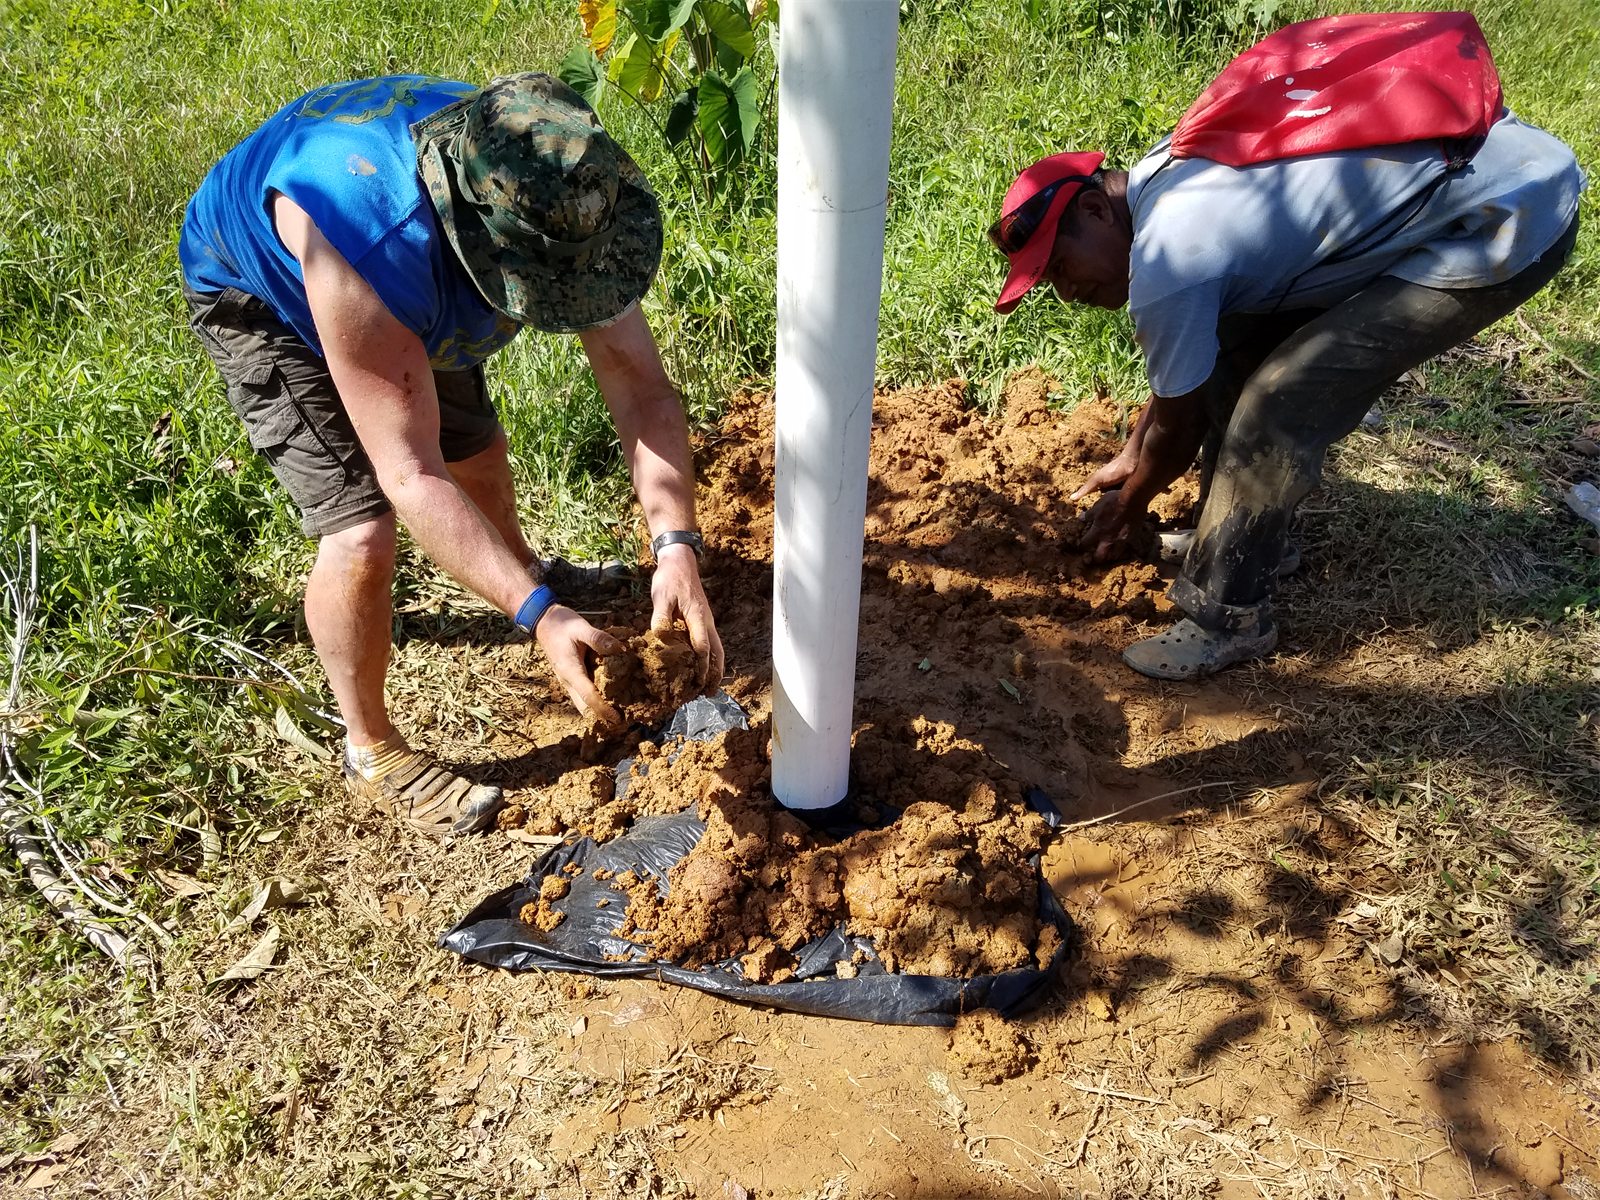
Two workers covering a temporary plastic skirt with soil
Protect the base temporarilyA plastic skirt is held down with soil until permanent wellhead finishing is completed.
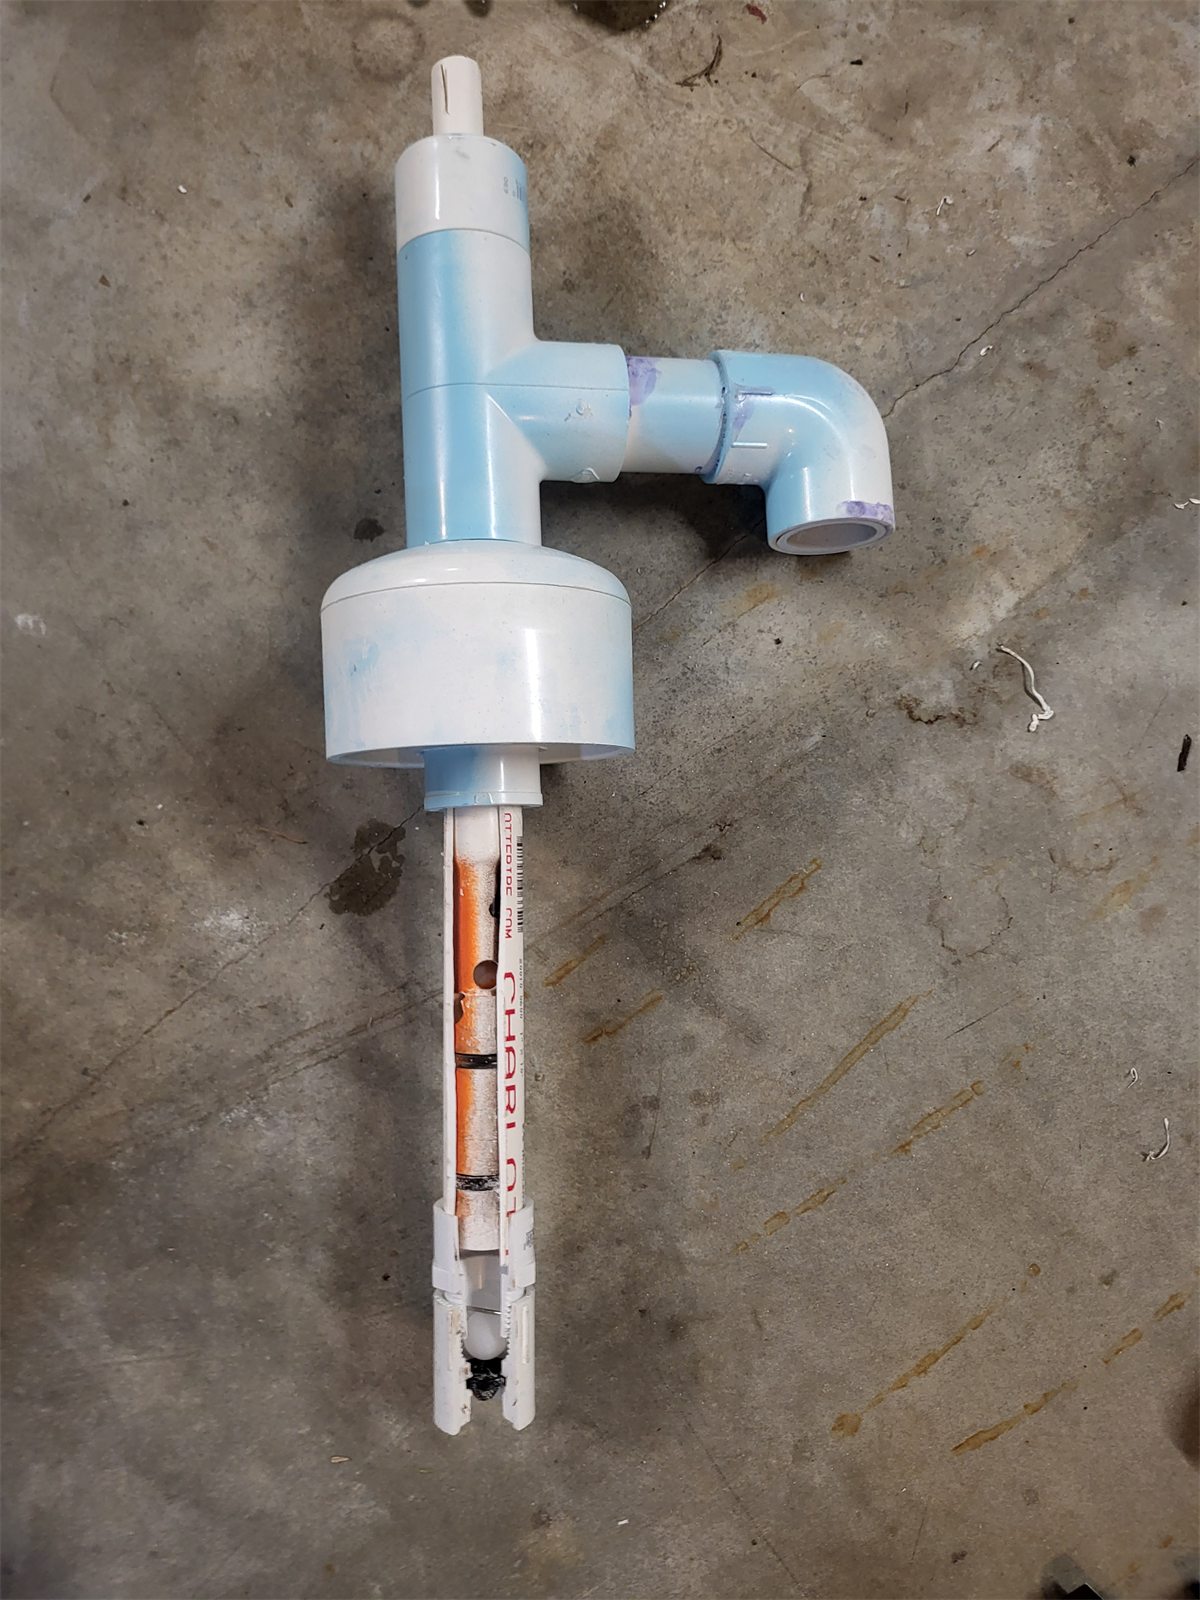
Archive source2b CasingTheWell\1c AndyCoveringTemporaryPlasticSealWithDirtUntilConcreteIsPoured.jpg
Caitlin demonstrating a white bailing bucket
Teach sediment cleanoutCaitlin demonstrates the bailing bucket used to clear sediment from the well.
Archive source2b CasingTheWell\1c2 CaitlinExplainingCleaningOutWellSedimentWithBailingBucket.jpg
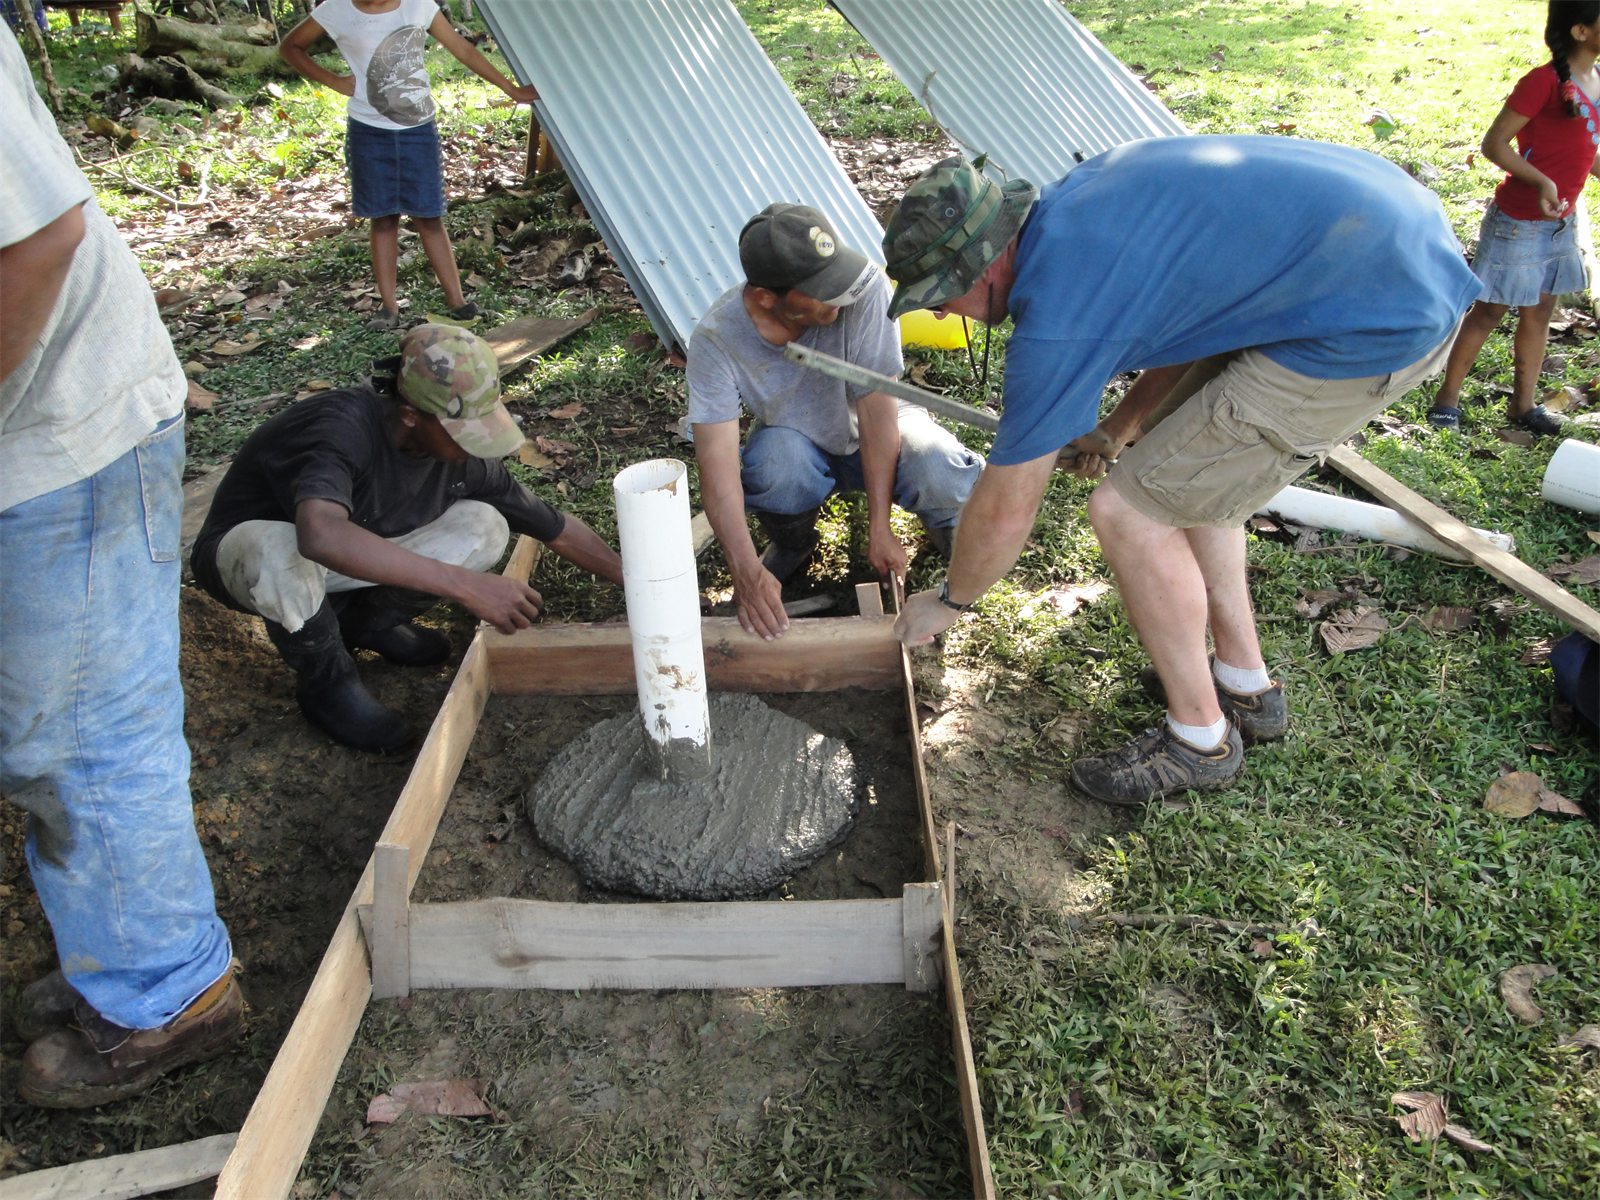
Workers forming a concrete well base
Finish the wellheadThe team forms the concrete seal and base around the casing.
Archive source2b CasingTheWell\1e11 MakingConcreteSealAndBaseForWell.JPG
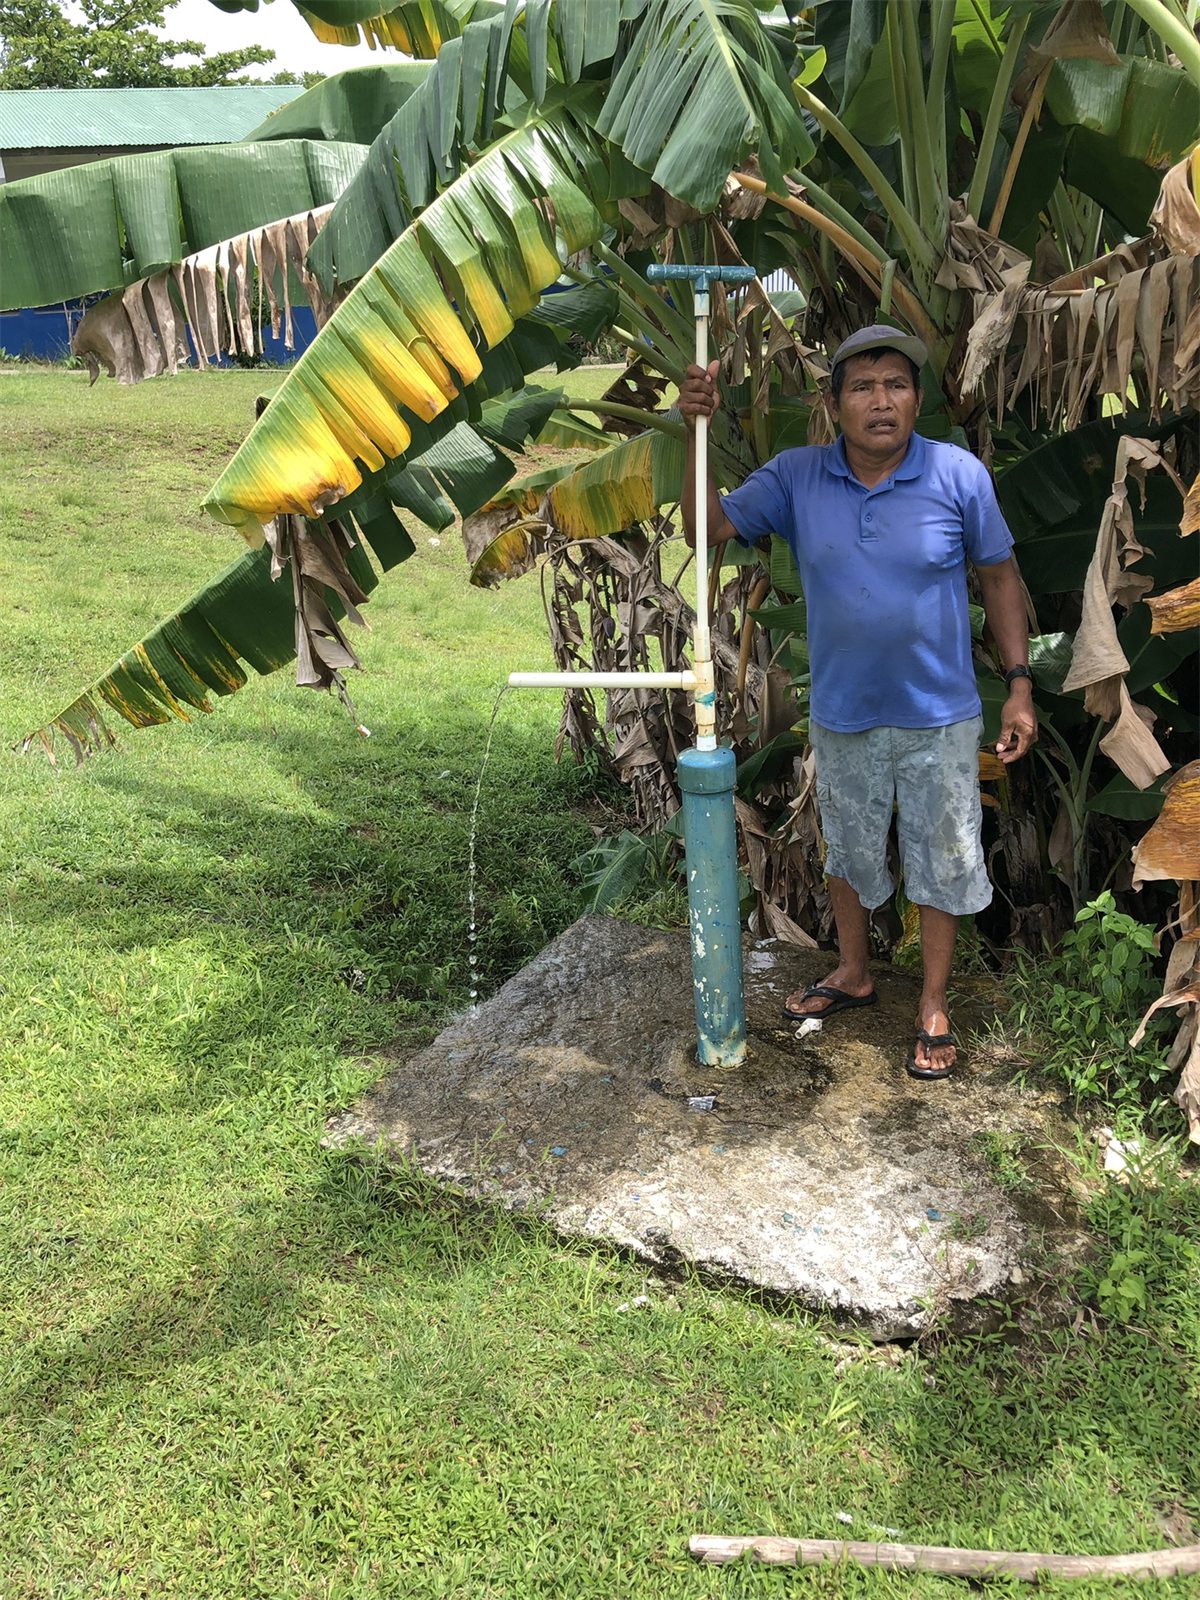
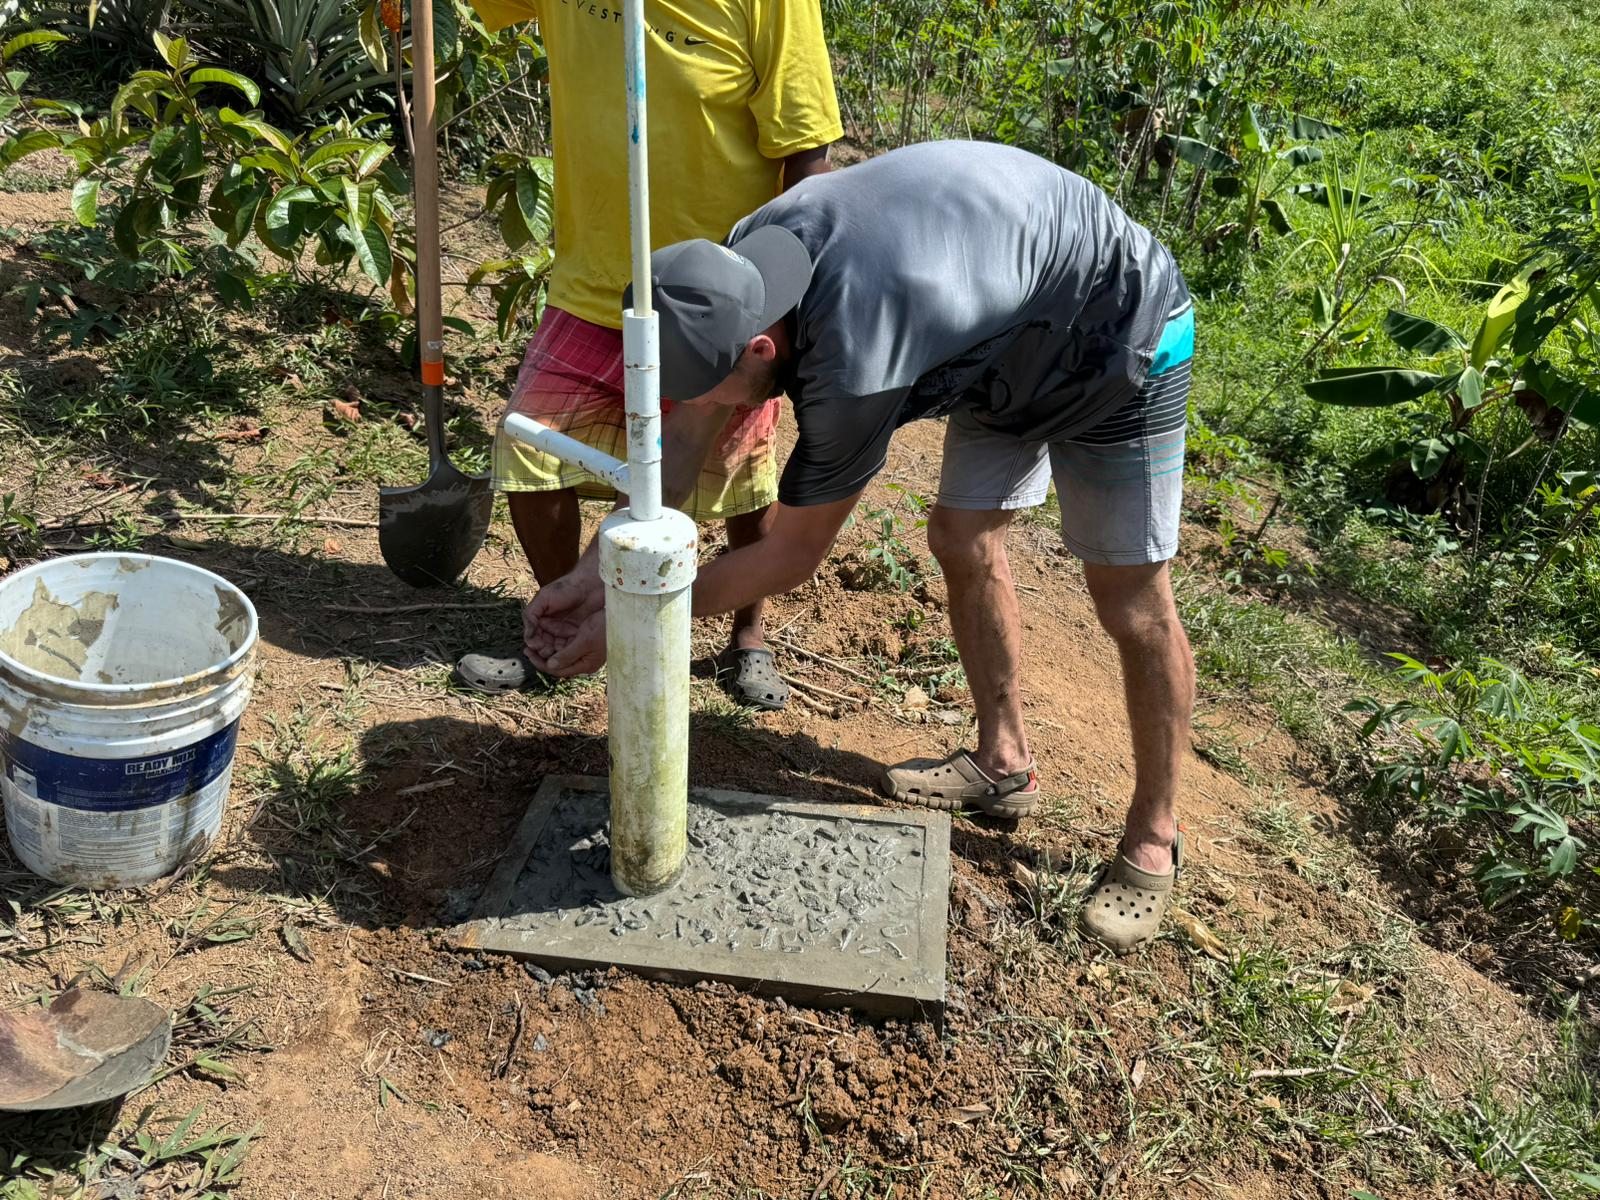
Installed hand pump on a concrete well base
The installed pumpAn installed hand pump and its finished concrete base.
Archive source2b CasingTheWell\1e12 InstalledWellPump.jpg
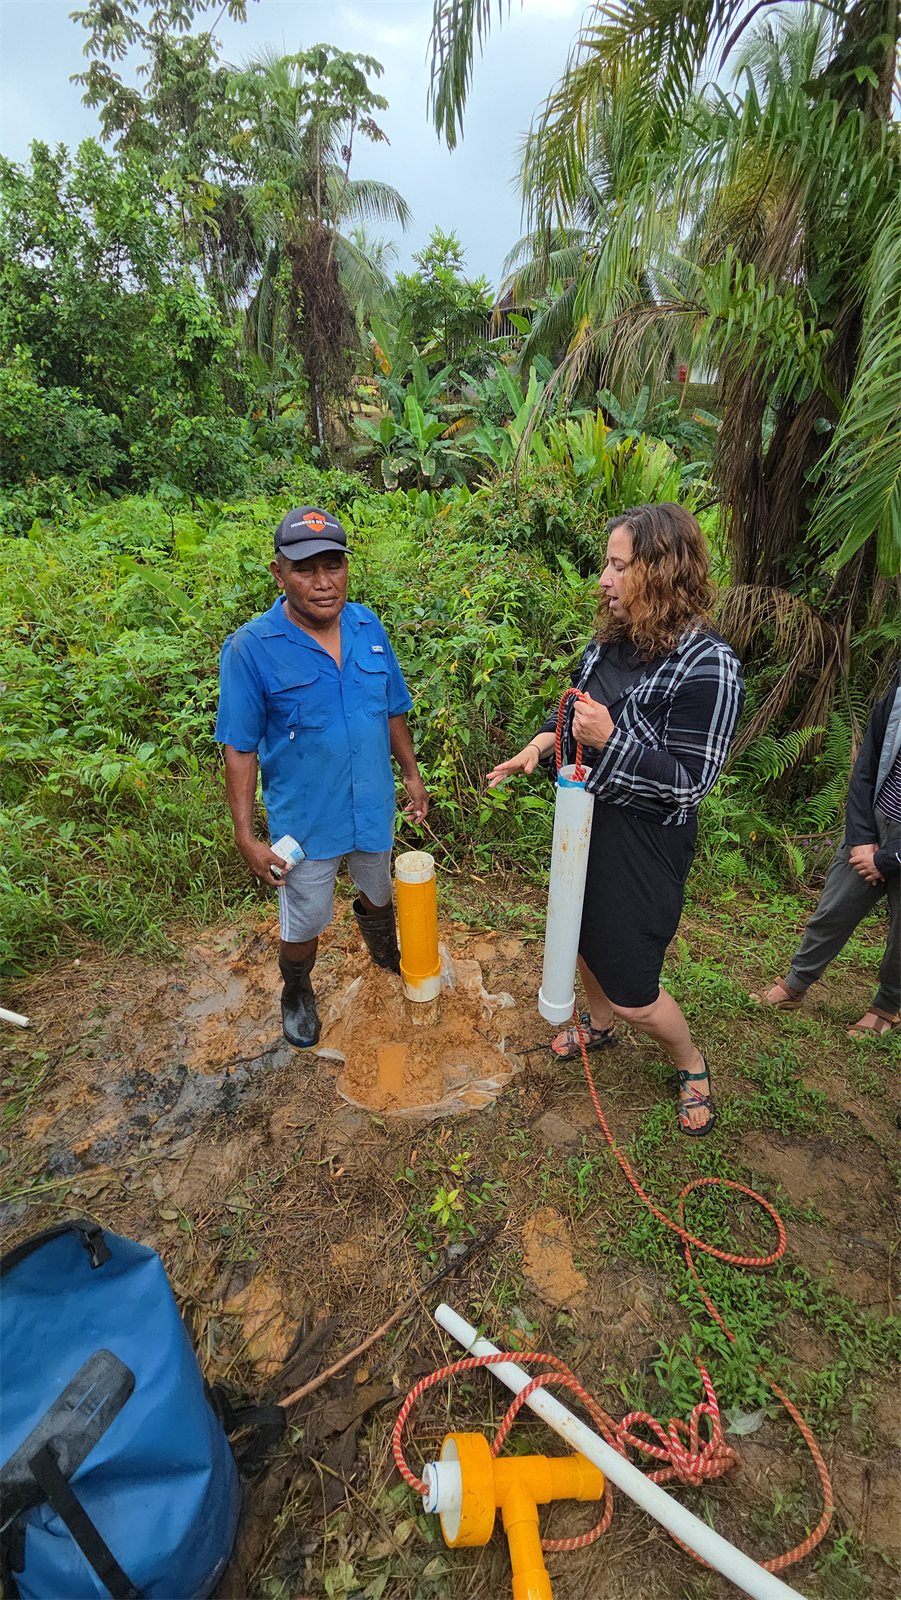
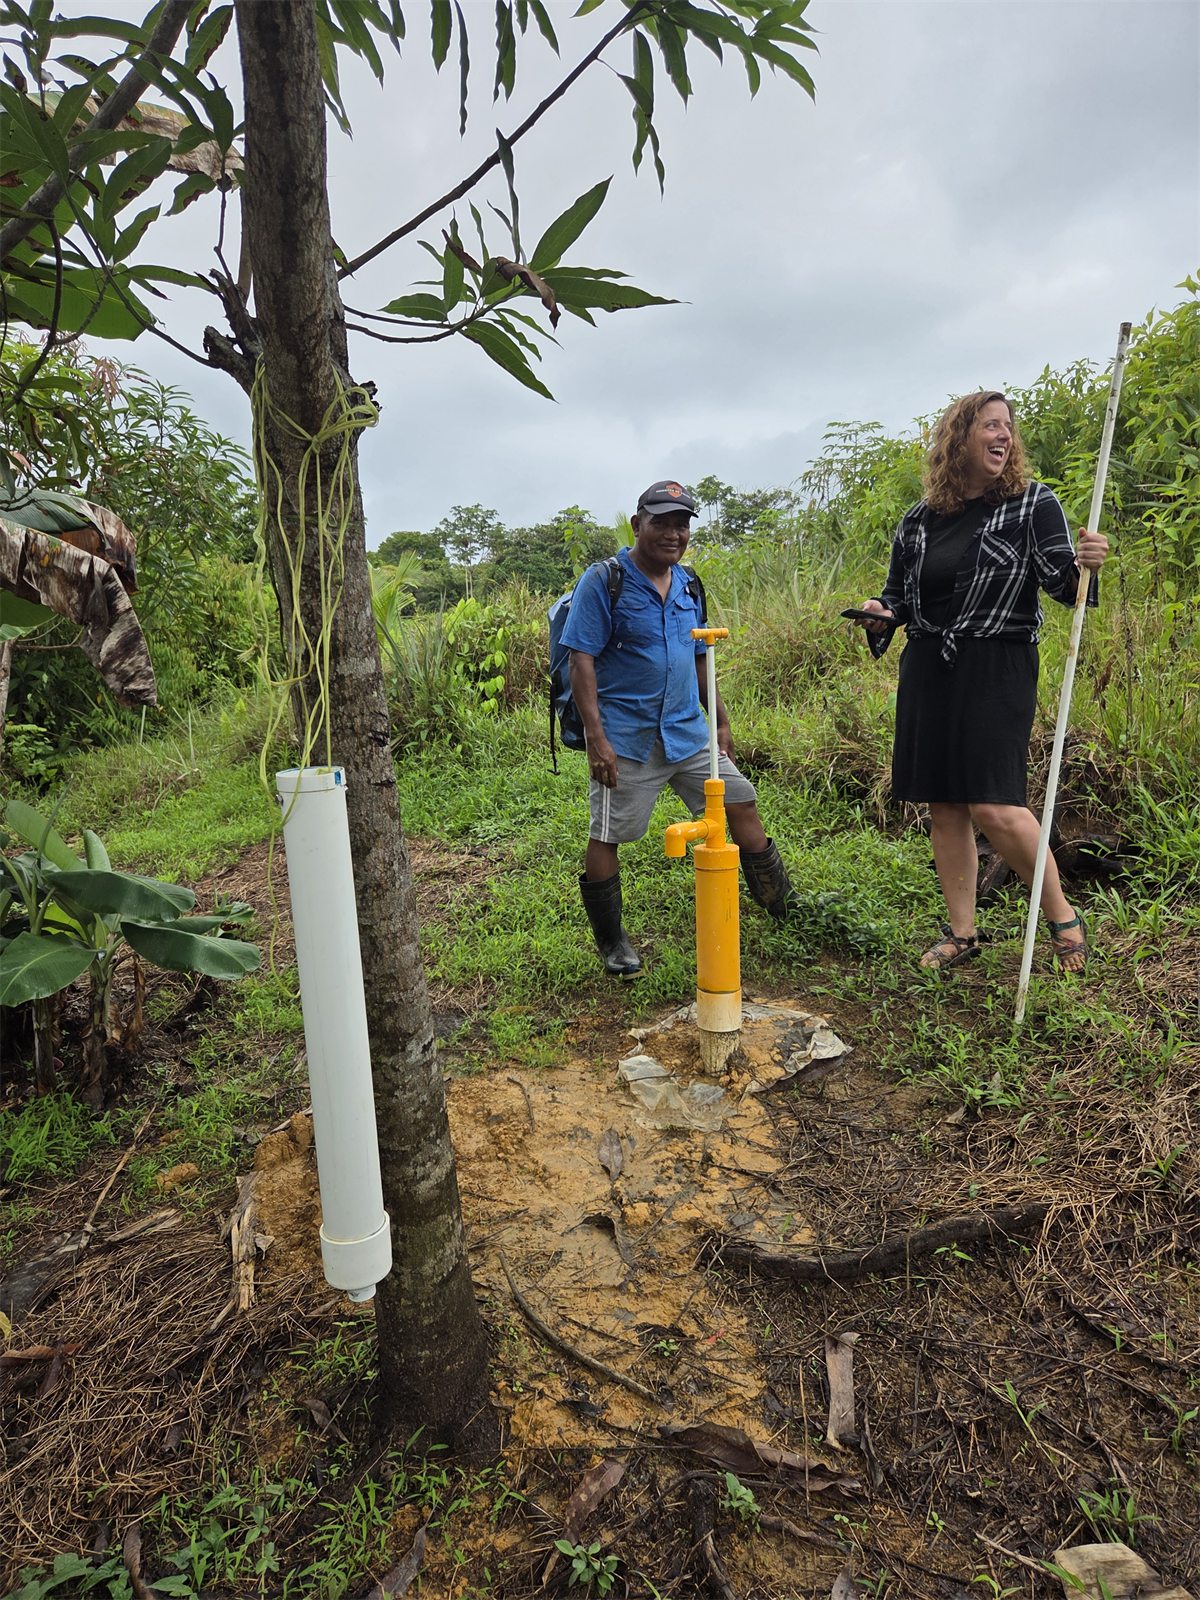
Simón and Caitlin beside a yellow hand pump with a white bailing bucket nearby
Simón and Caitlin in the fieldSimón and Caitlin beside a yellow pump; concrete wellhead finishing is still pending in this photograph.
Archive source2b CasingTheWell\CaitlinAndSimonWithInstalledPumpWithNearbyBailingBucket-WellStillNeedsConcrete.jpg
Extending inner and outer pump pipes at the well site
Fit the pump to the wellThe inner and outer pipe lengths are extended for the depth of the well.
Archive source3a Installing pump\1a expanding well kit to match well depth at well site, extending 1 and .5 inch pipes to well depth.jpg
Caitlin and Simón installing a foot valve on PVC pipe
Attach the outer foot valveCaitlin and Simón prepare the foot valve on the 1-inch pipe.
Archive source3a Installing pump\1d CailtinAndSimonINstallingFootValveOn1InchPipe.jpg
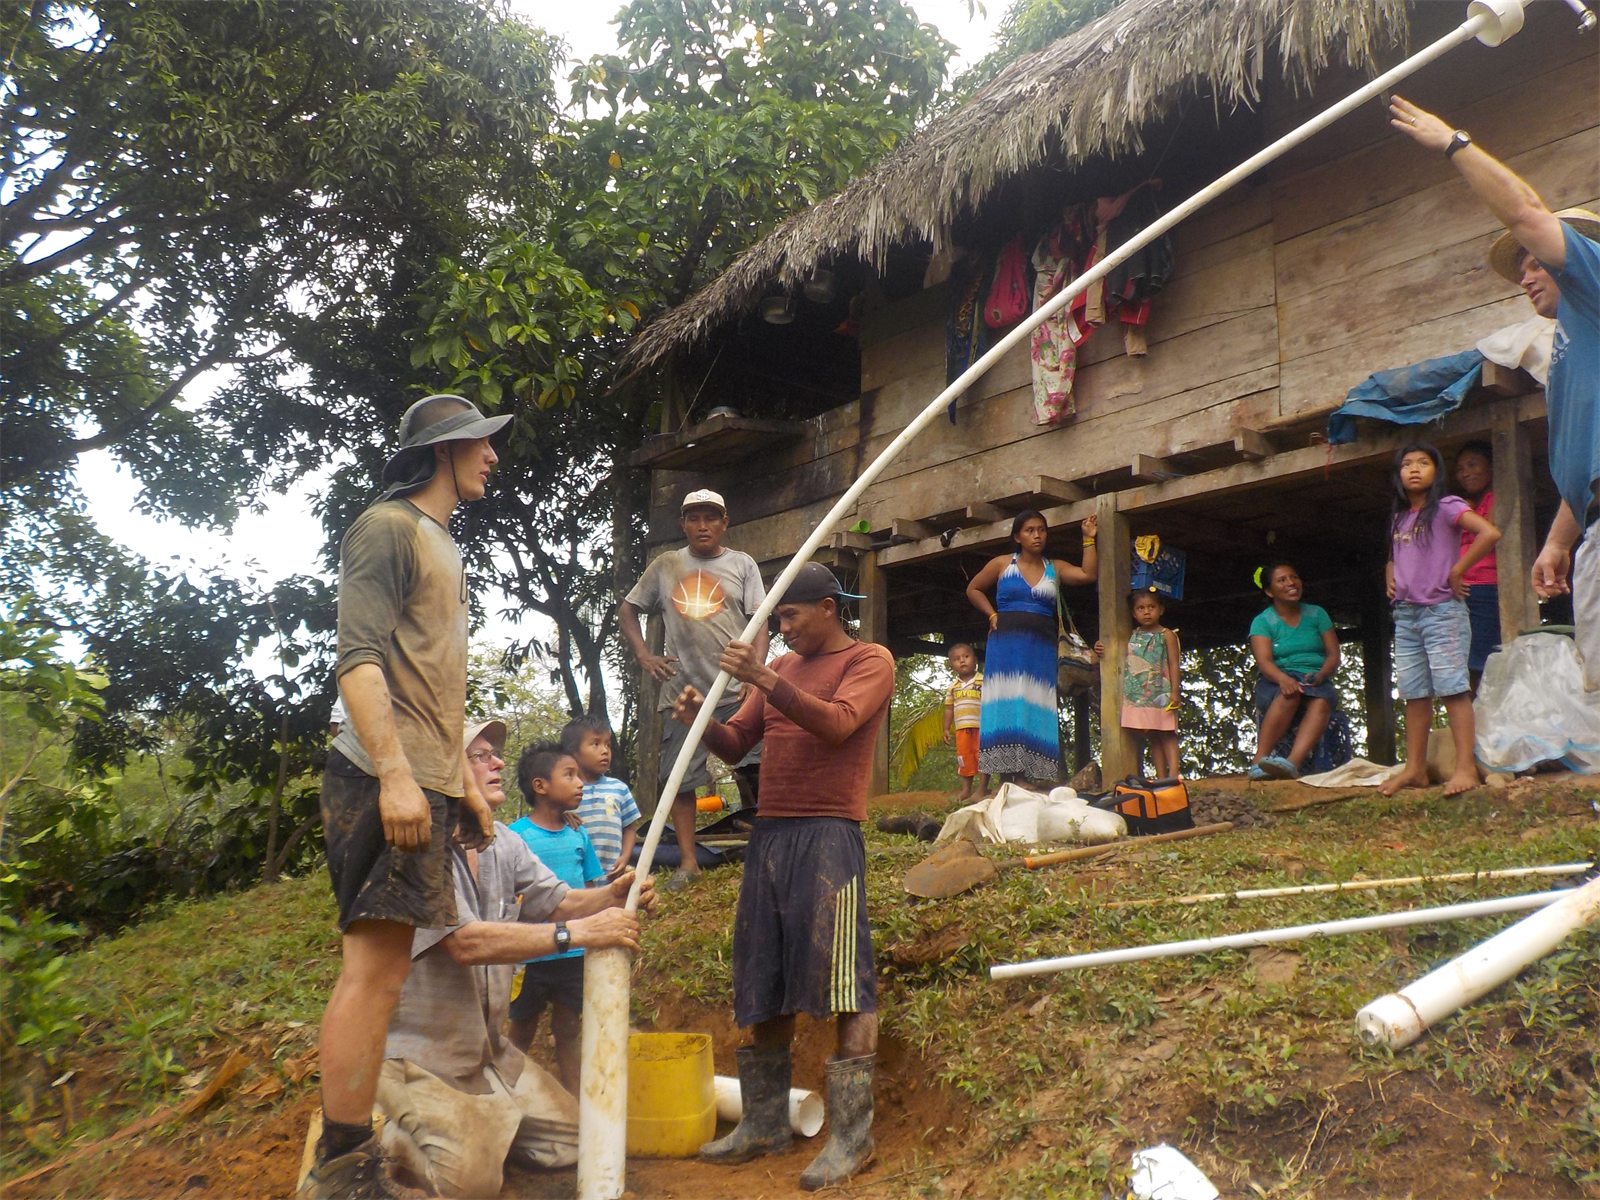
Team guiding pump pipe into a well
Install as a teamThe team guides the long pump assembly into the well.
Archive source3a Installing pump\1d1 _TigerIslandInstallingPumpJackAndy.JPG
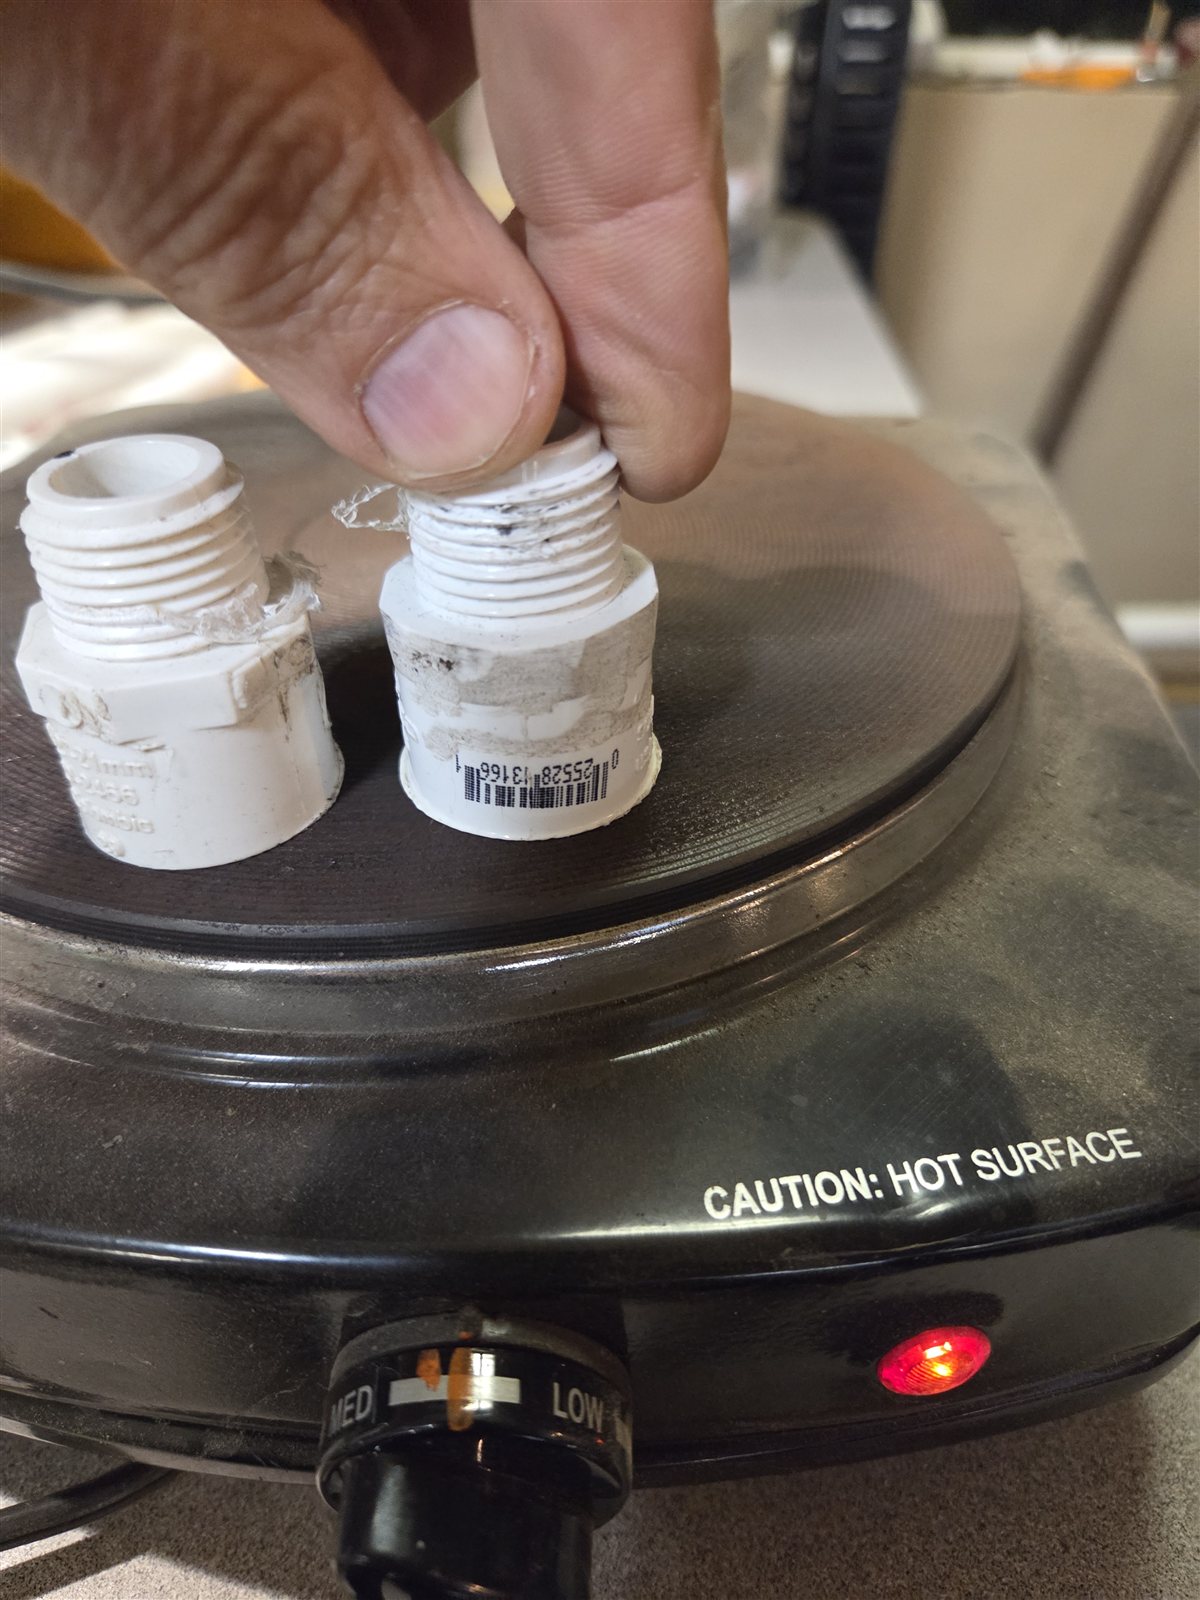
Two PVC adapters with their socket rims on a hot plate and male threads upward
4. Press and gently twistPress and gently twist both socket rims against the hot plate until they just begin to soften.
Archive sourceUniversalPumpValveAssembly\4 Press And Twist until both just start to melt.jpg
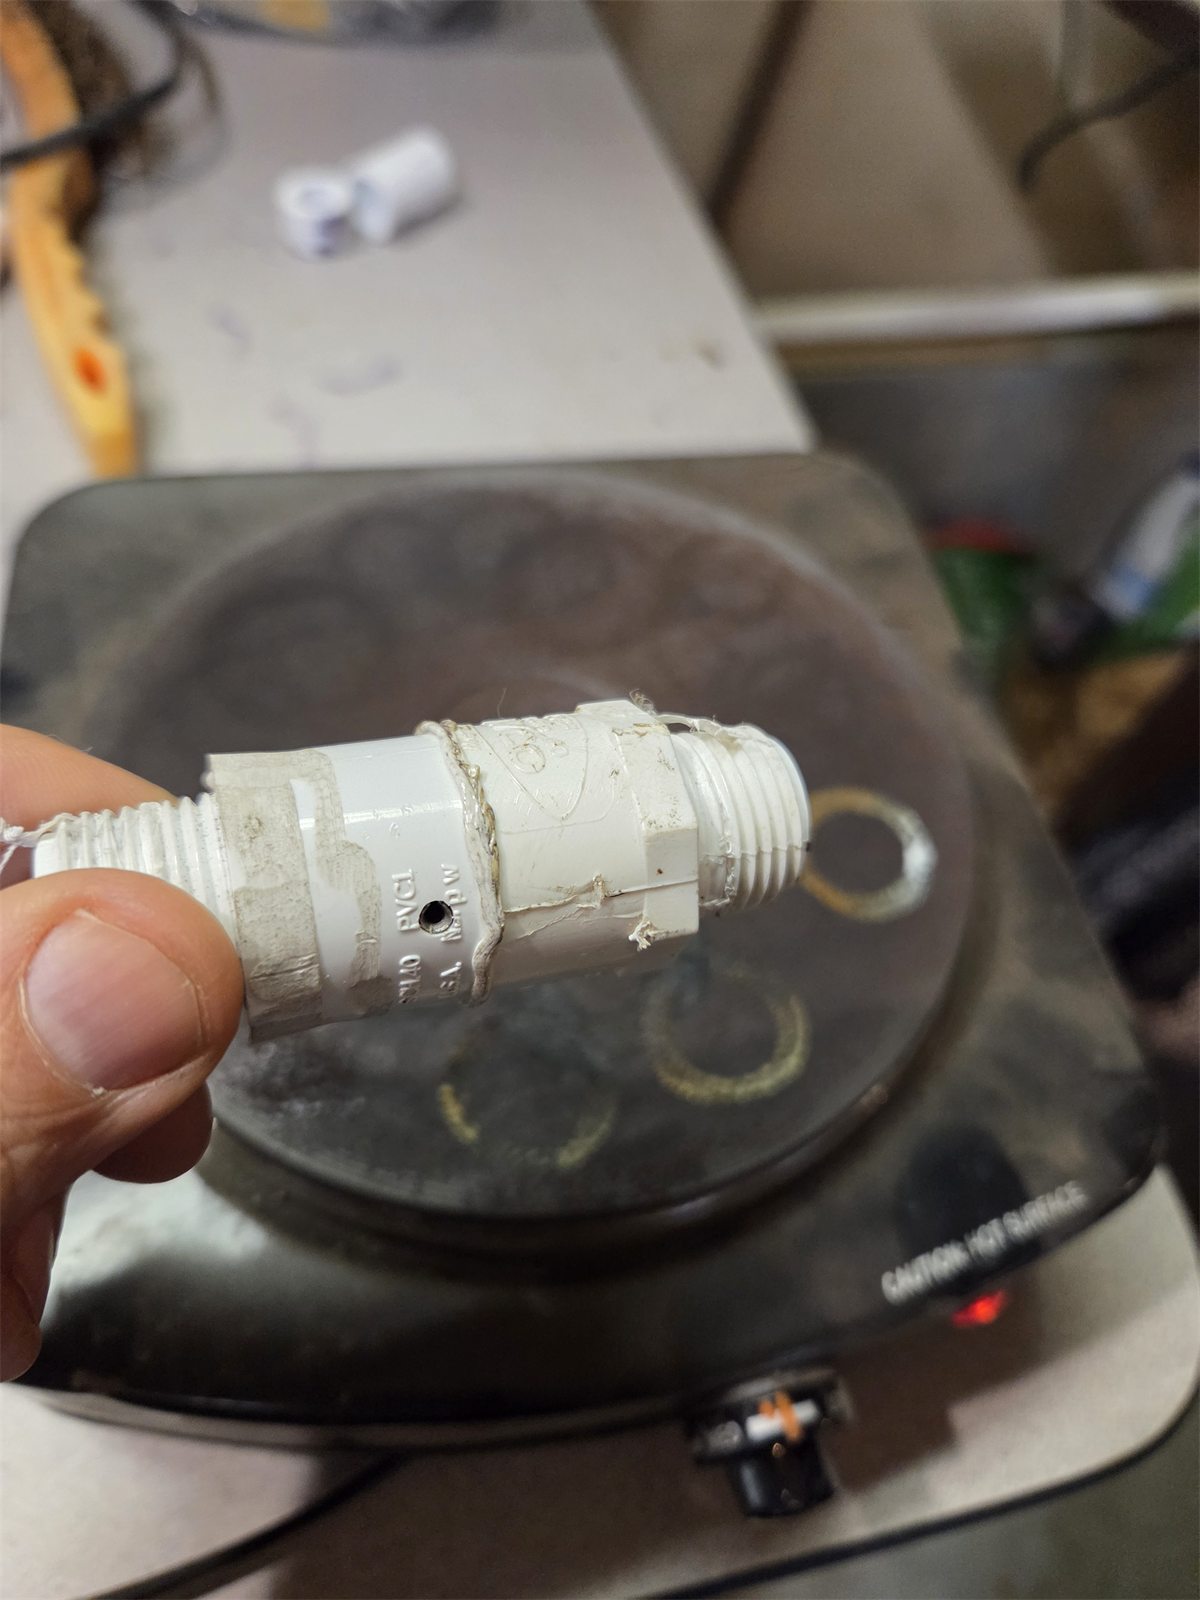
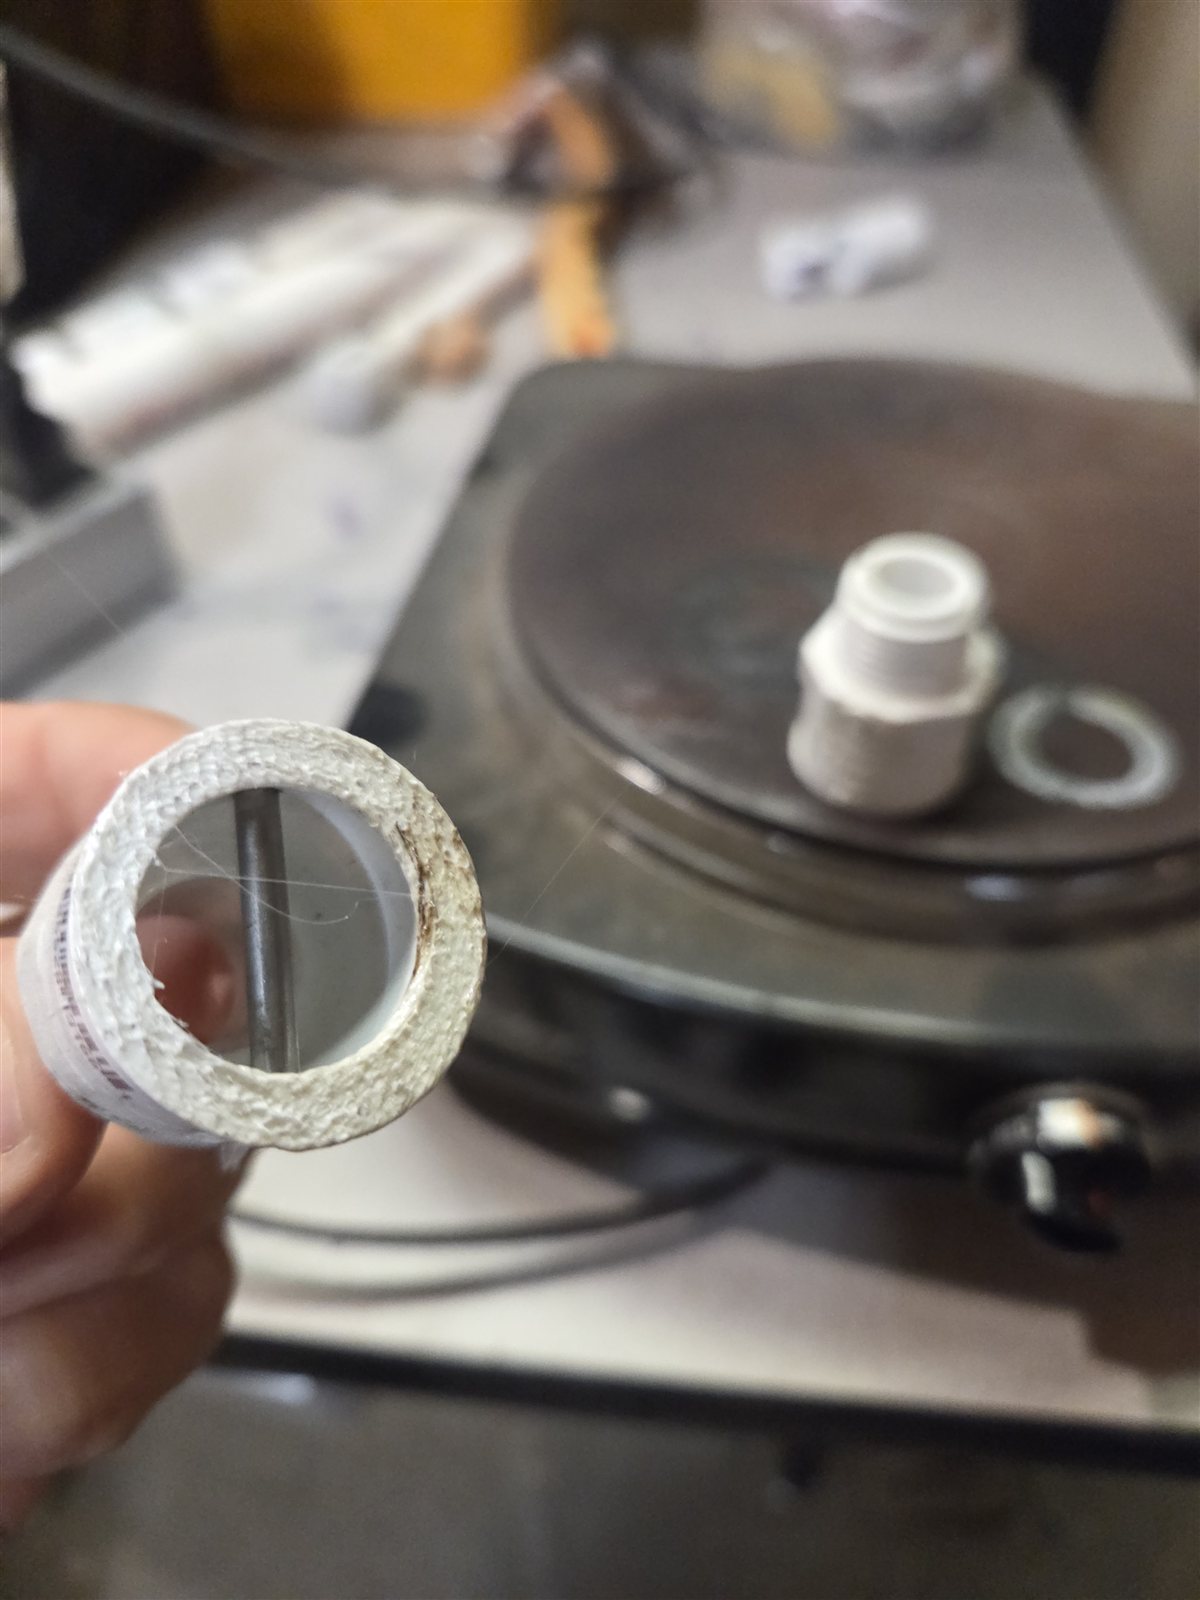
Close view of a softened PVC socket rim with the retaining cross-pin visible inside
5. Check the softened rimRemove the adapters when the joining rims soften, before the PVC burns. The cross-pin stays inside the outlet adapter.
Archive sourceUniversalPumpValveAssembly\5 make sure melted but very little if any burned pvc.jpg
Download JPG